Over the past month I have been exploring SSTV, so I thought I would put together a brief summary of my findings to help others that might be tempted. If you have anything to add or amendments, please comment below. I will be producing a final PDF as a reference document.
With a background in photojournalism, I’ve always been fascinated by the idea of transmitting images over the airwaves. The thought of sending a photograph directly through radio — a picture encoded as sound and decoded again miles away — feels like the perfect meeting point between two of my long-held passions.
As Summits on the Air (SOTA) is my main amateur radio activity, I often find myself wondering what the view looks like from the other summits where operators are calling in. That curiosity, combined with my love of imagery, made Slow Scan Television (SSTV) an irresistible mode to explore. Instead of simply trading callsigns and reports, it allows you to see where others are operating from — adding a visual layer to the voices that travel across the bands. What follows is a summary of my early experiments and a few lessons learned along the way — shared in the hope of inspiring others to give SSTV a try.
Introduction
My first steps into Slow Scan Television (SSTV) were surprisingly simple. I started out by holding my phone’s microphone next to an earbud speaker, using the Android app Robot36 to listen on the 20m SSTV calling frequency (14.230 MHz). To my amazement, I managed to receive a few images quite successfully. Watching them appear slowly, line by line, was fascinating — proof that even the most basic setup could work.

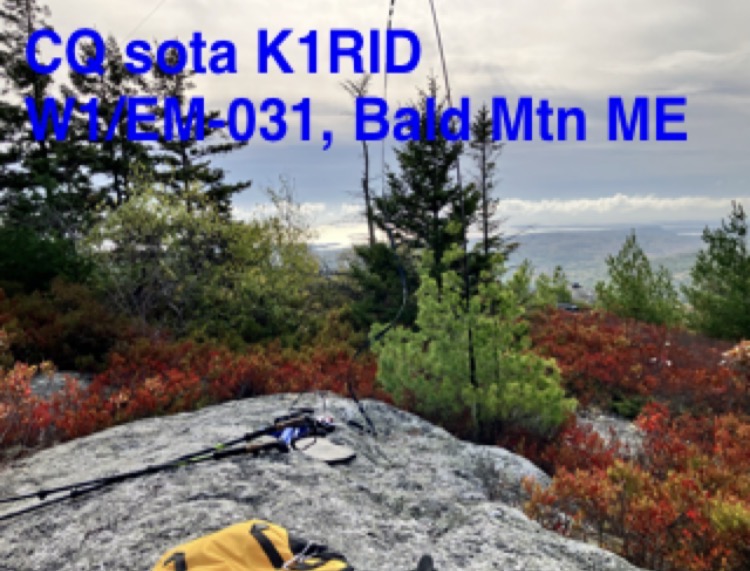
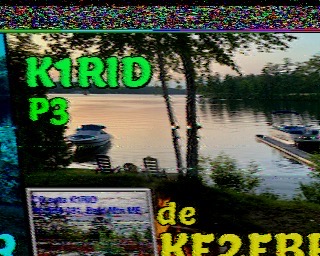
Left: My first image. Received just by holding my phone up to an earphone bud.
Right: If nothing else, my experiments have shown that in the event of a world -wide internet collapse, we will still be able to send cat pictures to each other!
Early Transmission Attempts
Transmitting, however, was another story. My first efforts at sending images weren’t so successful. The phone’s microphone picked up too much ambient noise—especially wind on the summits—and the resulting signals were messy and unreadable. I realised that to improve image quality, I needed to take things up a notch.
Avoiding Over-Complexity
At first, I started overthinking the solution — perhaps a laptop with a digital interface would provide cleaner results. But that idea was quickly abandoned; it would add too much complexity and weight to carry on SOTA activations. Instead, I decided to make the most of what I already had: my phone (a Samsung A54) and a handheld 2-metre radio. Another big advantage of using the phone is having instant access to the built-in camera — perfect for capturing and transmitting images directly from the summit.
Working Around Modern Phones
Modern smartphones have made life harder for experimenters by removing the headphone jack, forcing you to use either Bluetooth or the USB connections to get sound in and out. To get around this, I ordered a USB sound card and a simple USB-C DAC adapter, both of which provide separate audio input and output. Both worked perfectly with my phone.
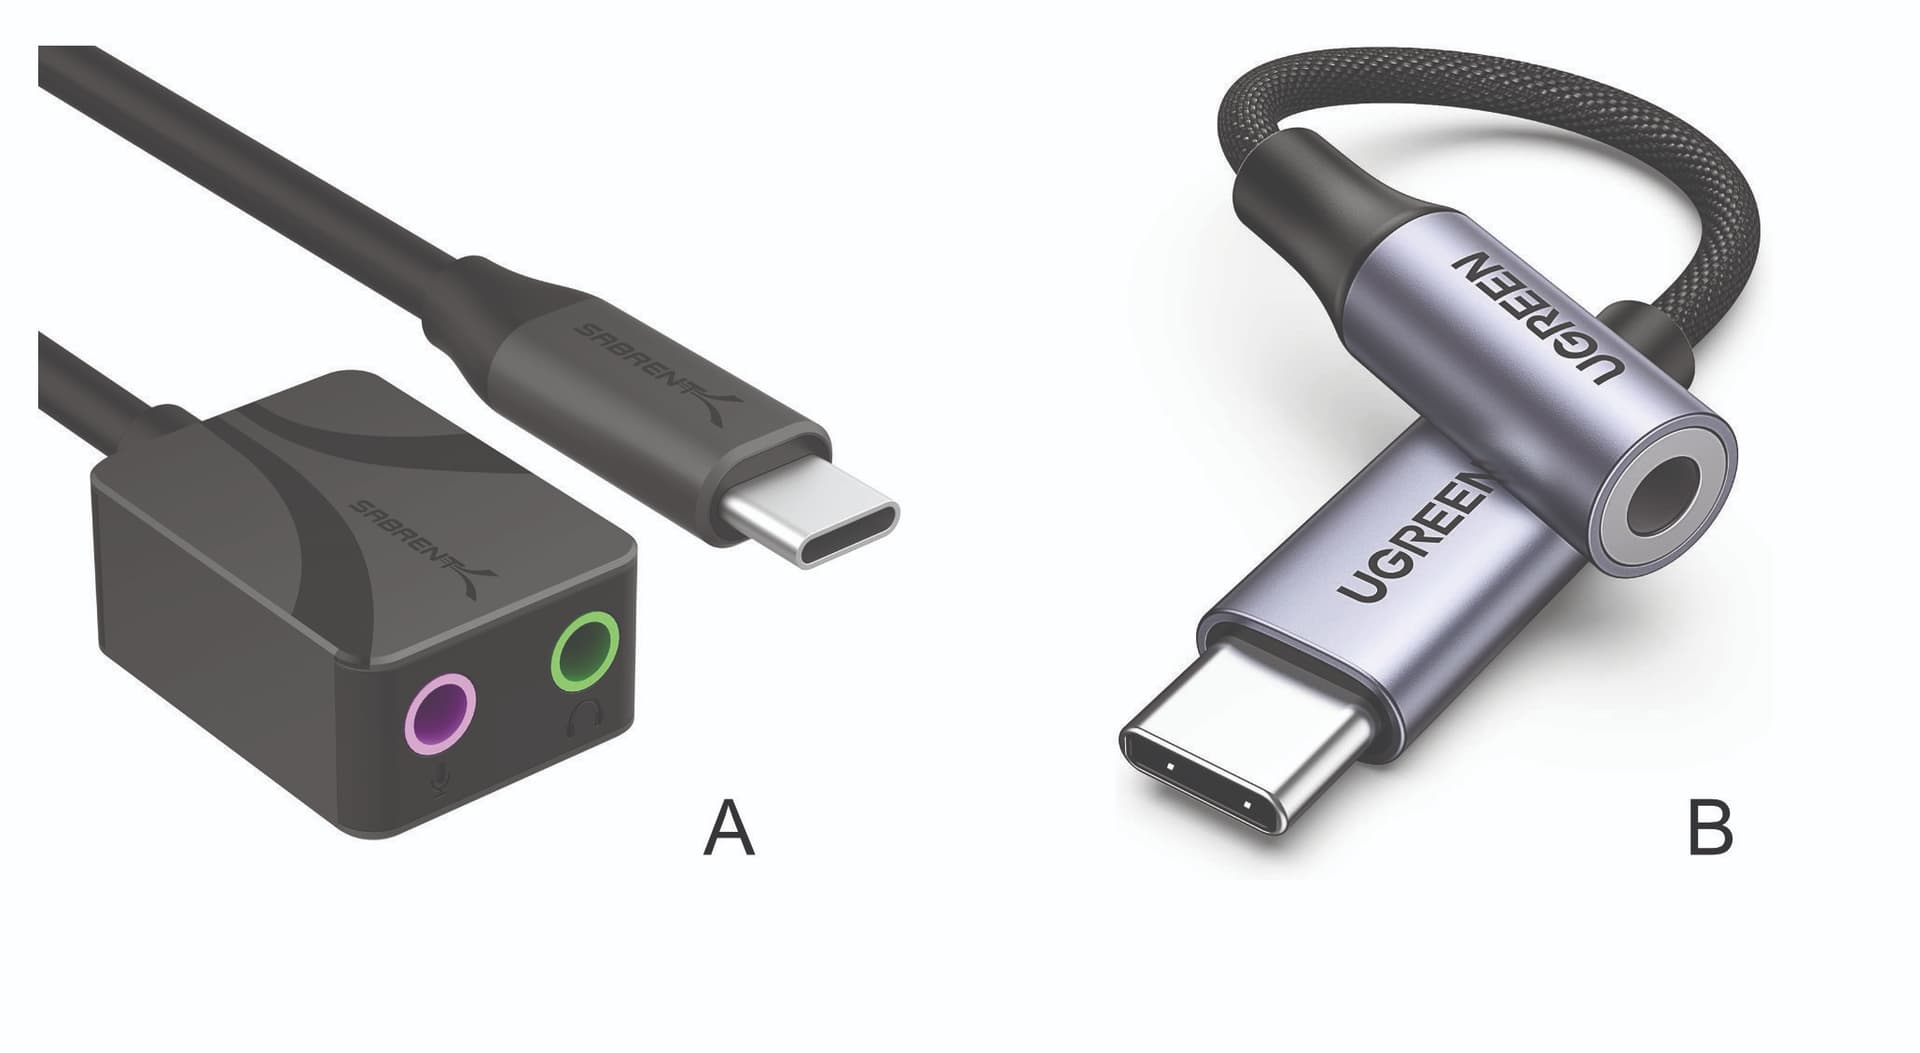
A: SABRENT USB-C to 3.5mm Audio Adapter (£9.99): https://amzn.eu/d/0GCWFso
B: UGREEN USB C to 3.5mm Jack DAC Hi-Fi Stereo Audio Type C Aux Headphone Adapter (£8.99). https://amzn.eu/d/hATagdj. (Best choice as it doesn’t need a splitter cable).
Connecting the Radio.
The next challenge was connecting everything to the radio. The phone apps are very simple and do not include any form of CAT (computer-aided transceiver) control, so another challenge was how to toggle the radio into transmit mode. The simplest solution is to use a radio that has a VOX (voice-activated transmit) feature.
Although I normally use a Yaesu FT-70D for my SOTA activations, I wanted to keep this project cheap and cheerful to encourage others to experiment. I had a Quansheng UV-K5 and a Baofeng Mini UV-5 on hand—both use the Kenwood twin-plug connector and include a VOX feature. On AliExpress, I found a Kenwood APRS adapter with a twin-plug on one end and a TRRS (four-pole) plug on the other. By simply plugging the USB sound card into the APRS adapter and connecting it to the radio, everything came together—and, almost like magic, it worked.
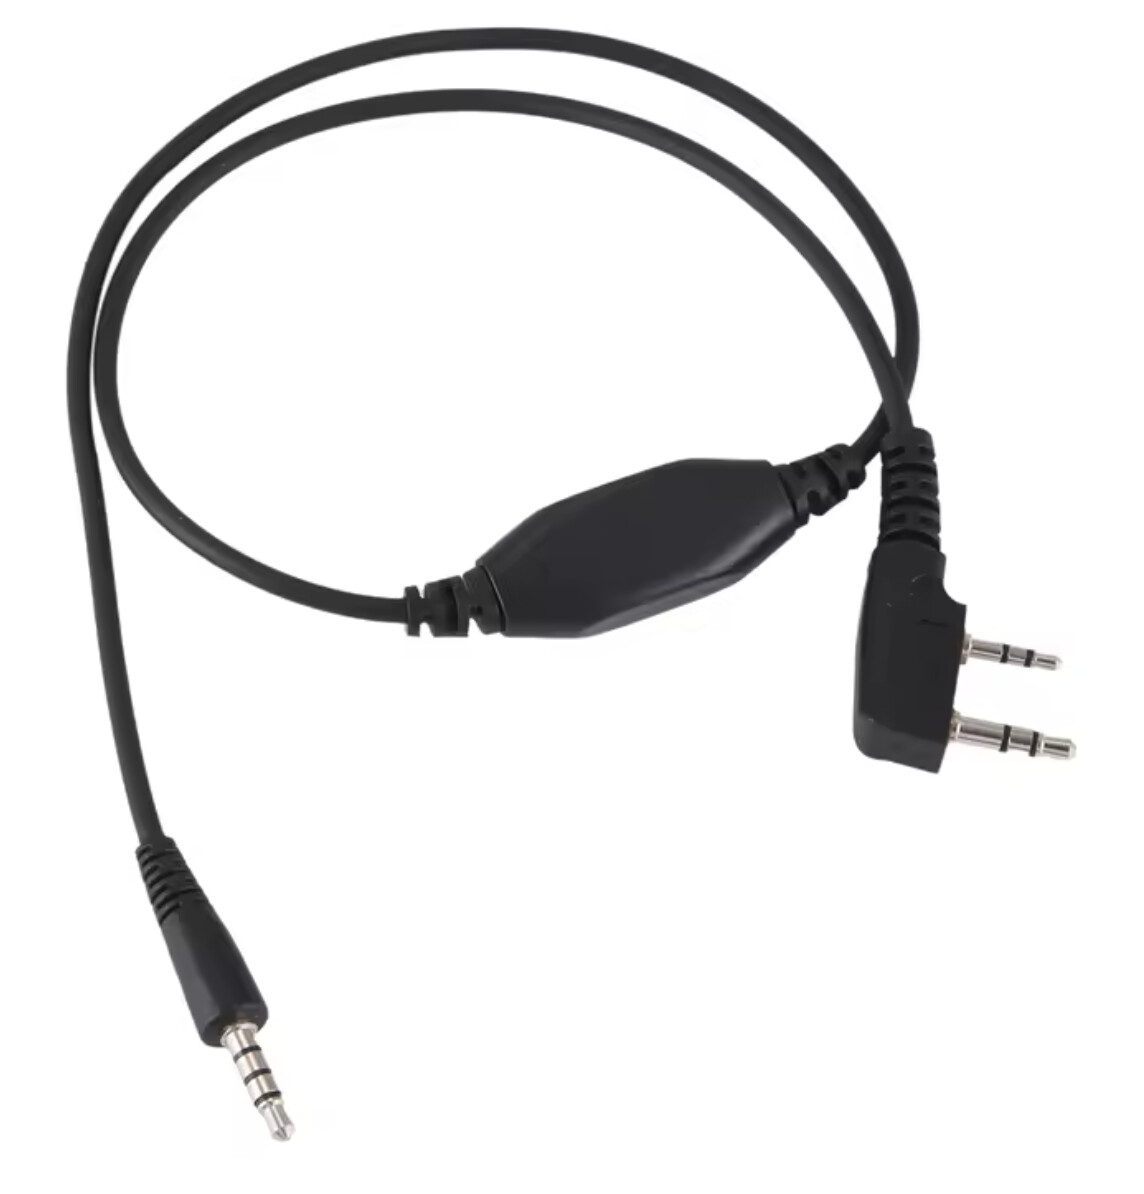
Kenwood APRS Adapter (£6): https://www.aliexpress.com/item/1005007267811812.html
The Results and the Future
With this simple, lightweight setup, I was finally able to send and receive SSTV images cleanly on 2m using just a handheld radio and my smartphone—a perfect combination for portable or SOTA operation.
For me the next area for experimentation is to adapt this setup for HF. I use Xiegu Radios, both the X6100 and a G90. Both of these use RJ45 type mic adapters, so I am working on a phone adapter for these. To keep everything simple the plan is to use my phone and the same apps for transmitting and receiving.
Remember with some experimentation with antennas you should be able to receive images from satellites and the International Space Station (ISS). How cool is that!
Recommended SSTV Apps
Android
Robot36 – Receive SSTV (Scottie, Martin, Robot modes). Free on Google Play.
SSTV Encoder – Transmit SSTV images. Free on Google Play.
Use both together for full TX/RX operation via mic and speaker or VOX cable.
SSTV Droid is also available but it does not seem to be actively maintained. It can be downloaded from https://droidsstv.en.aptoide.com/app
iOS (iPhone/iPad)** (Not tested by me).
CQ SSTV (Black Cat Systems) – Full TX/RX, multiple modes, waterfall display.
SSTV Slow Scan TV (Wolphi LLC) – Simple TX/RX interface, ideal for portable use.
SSTV Decoder – Receive-only, useful for monitoring.
Radio Setup
144.500 MHz SSTV Call Freq.
Mode: FM for VHF/UHF,
Power: Low (1–2 W) for short range.
CTCSS/DCS: Off.
Squelch: Just above noise floor.
VOX: On (if using audio cable), or use manual PTT. On the Quansheng I have this set on 5 (half way).
For HF
USB/LSB for HF bands.
20 metres: (USB)14.230 MHz 20m Band SSTV Call Freq.
14.233 MHz 20m Band SSTV Call Freq.
14.240 kHz Europe SSTV Call Freq.
Trouble Shooting.
| Issue | Cause | Solution |
|---|---|---|
| First line missing | VOX delay | Manual PTT or pre-tone |
| Image slanted | Audio overdriven | Lower TX volume |
| Image streaked | Mic too far / echo | Move closer, shield mic |
| Weak image | Low RX volume | Increase radio volume |
| Wrong colours | Different SSTV mode | Both use same mode |
QSO Examples.
An SSTV contact can start with a voice call followed by a QSY to the SSTV frequency, or be done entirely with images.
1 - Call CQ: Send a CQ image on the SSTV calling frequency (e.g. 144.500 MHz) showing your callsign, “CQ SOTA”, and summit reference.
2 - Receive reply: The other station sends back an image including your callsign, a signal report, and their summit reference if it’s an S2S.
3 - Exchange reports: Swap a few more pictures (signal reports or a “73” image).
4 - All-image contact: The QSO can be fully completed without voice, just by exchanging images.
Reporting System.
As many people will know, for a QSO to count in SOTA you need to exchange signal reports. A simple method is to replace RST with RSP Readability / Signal Strength / Picture Quality. You can send the report in your image.
P1 – Barely visible
Only fragments of the image appear.
Heavy noise, mostly unreadable.
Sync often lost.
P2 – Very poor
Some outline or colour blocks visible.
Sync is unstable.
Slanting or breakup throughout.
P3 – Fair
Main subject visible and recognisable.
Colours mostly accurate.
Some noise or slant / partial decode.
P4 – Good
Clear image with only minor noise or distortion.
Colours mostly accurate.
Maybe slight slant or banding.
P5 – Excellent
Near-perfect copy.
No visible noise or slant.
Full sync and accurate colour.
My experiments are far from complete. I am sure others will have a lot more experience. Please add what you can.
If there is any interest I might try to organise a week of activity. Possibly between Christmas and New Year. We could send each other seasonal greetings!