I’m sitting on 1915 activator points, and I have a plan! A glance out of the window shows the snowline sitting at around 1200m. With winter bonus season in full swing, a 5-day sweep of the 2,4 and 6-pointers in the mid-latitudes of the Snowdon Forest will leave me within 8 points of my 2nd goat.
The following photo-essay shows how that plan turned out.
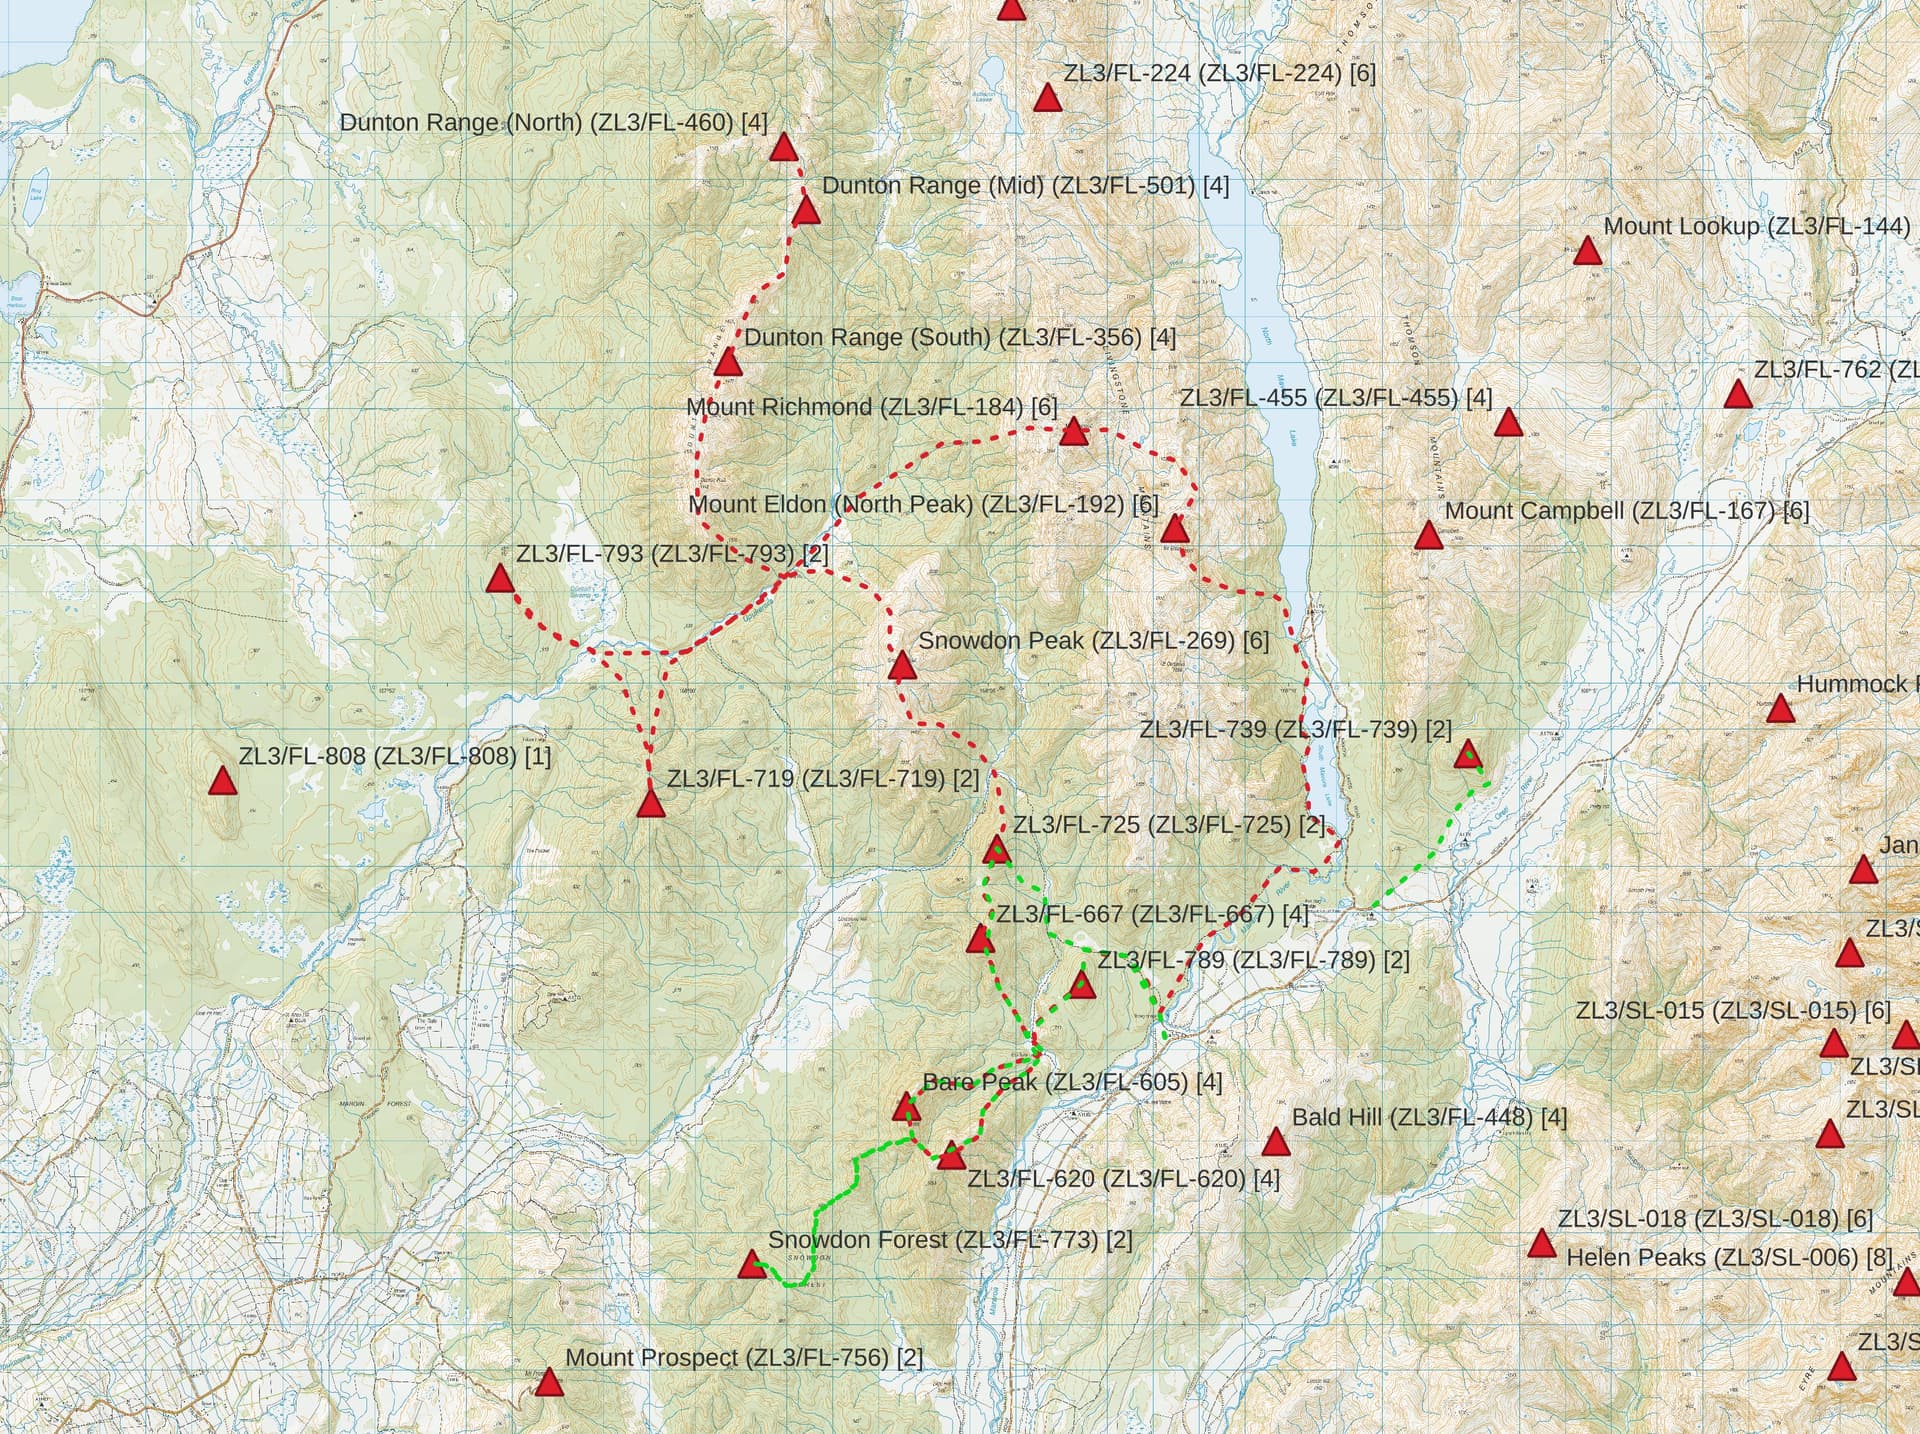
Red - plan, Green - actual. Yes - things did not go to plan!
Day 1
Plan: ZL3/FL-789, ZL3/FL-667 and ZL3/FL-725 to Kiwi Burn Hut
Actual: ZL3/FL-739, ZL3/FL-789 to Kiwi Burn Hut
The forecast was for clear weather north of the Waimea Plains, but rain and sleet continue to fall as we approach Snowdon Forest Park. The snowline is at about 800m - well down into the bush, and some 400m lower than hoped. An easy ascent of the forested 1005m ZL3/FL-739 in the southern Eyre Mountains seems like a sensible option whilst we wait for the snow to cease
In drying conditions we cross the Mararoa River and head into the Snowdon Forest - back on plan.
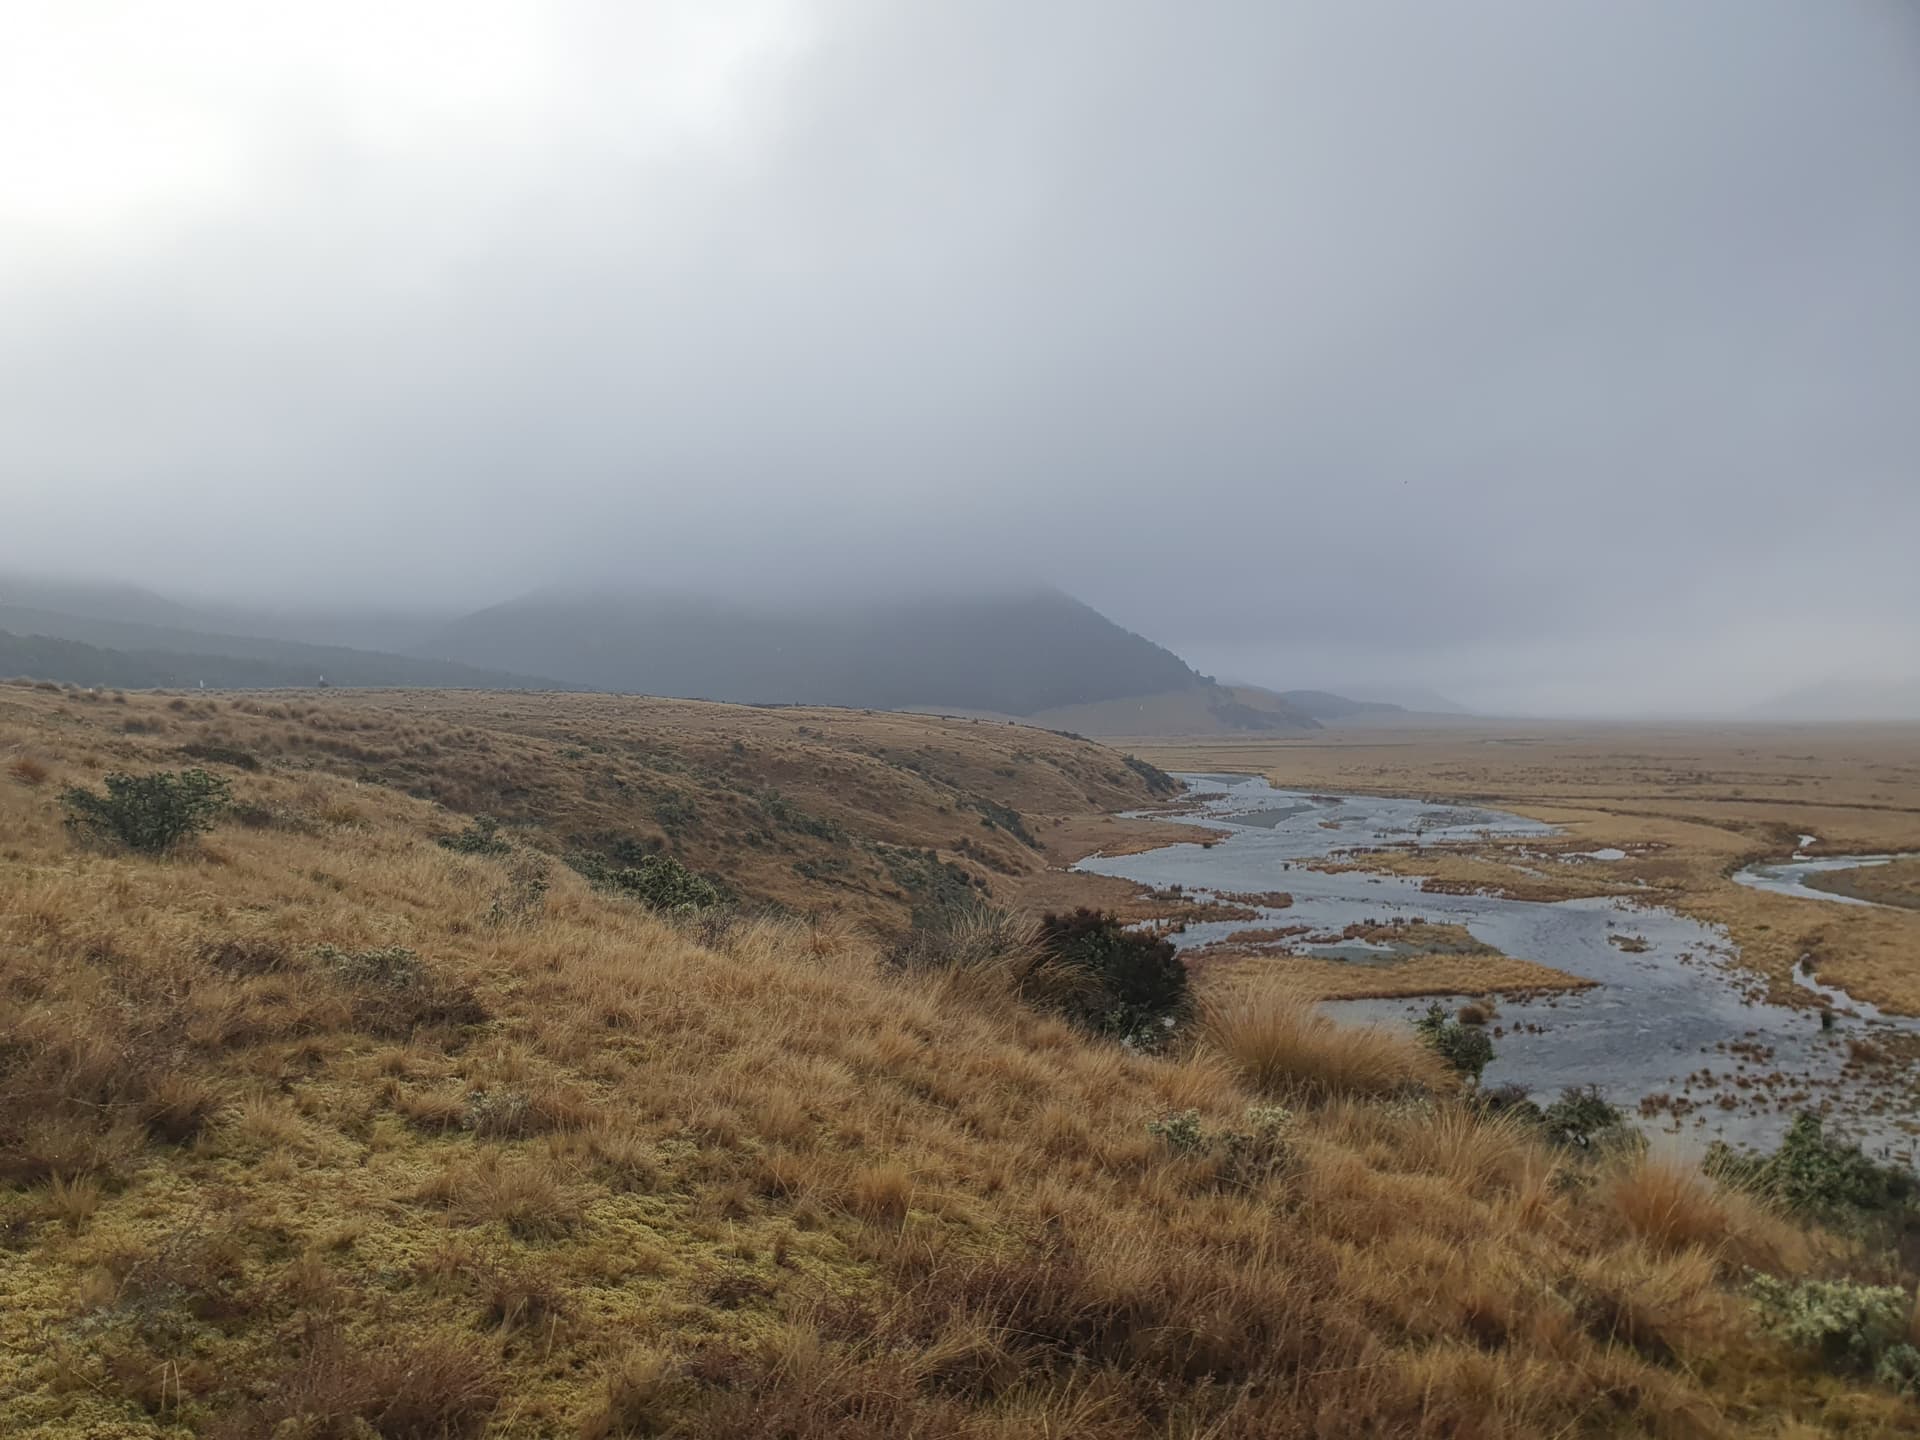
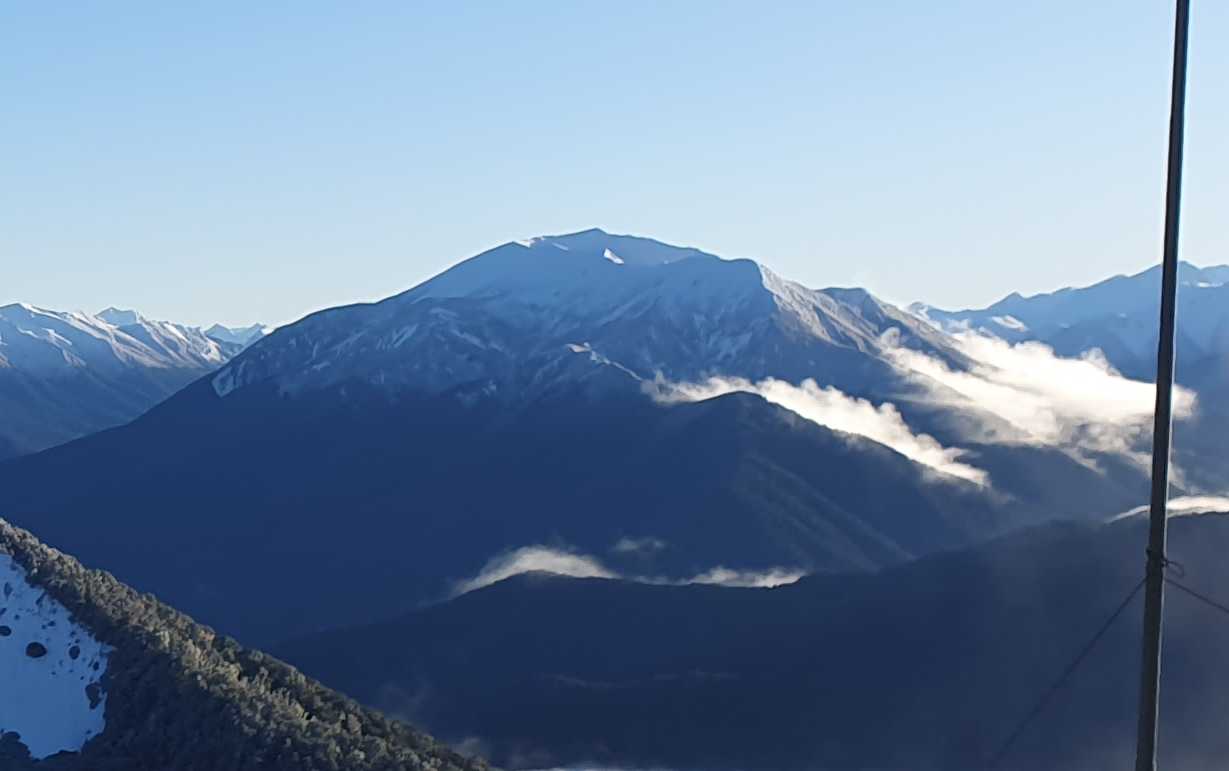
High red-tussock valley floors flanked by open mossy beach forest - so typical of the Eyres / Snowdon / Takitimus. We climb the easy wooded slopes of ZL3/FL-789 (2 points), our first Snowdon Forest peak.

Dropping to Kiwi Burn Hut - to be our base for the next couple of nights
Day 2
Plan: ZL3/FL-620, ZL3/FL-773, ZL3/FL-605 to Kiwi Burn Hut
Actual: ZL3/FL-620, ZL3/FL-773, ZL3/FL-605 to Kiwi Burn Hut
We’re a day behind now, but the plan still seems salvageable. A frosty dawn (8:30am) start from Kiwi Burn Hut for a 10am activation of Brad’s Peak ZL3/FL-620

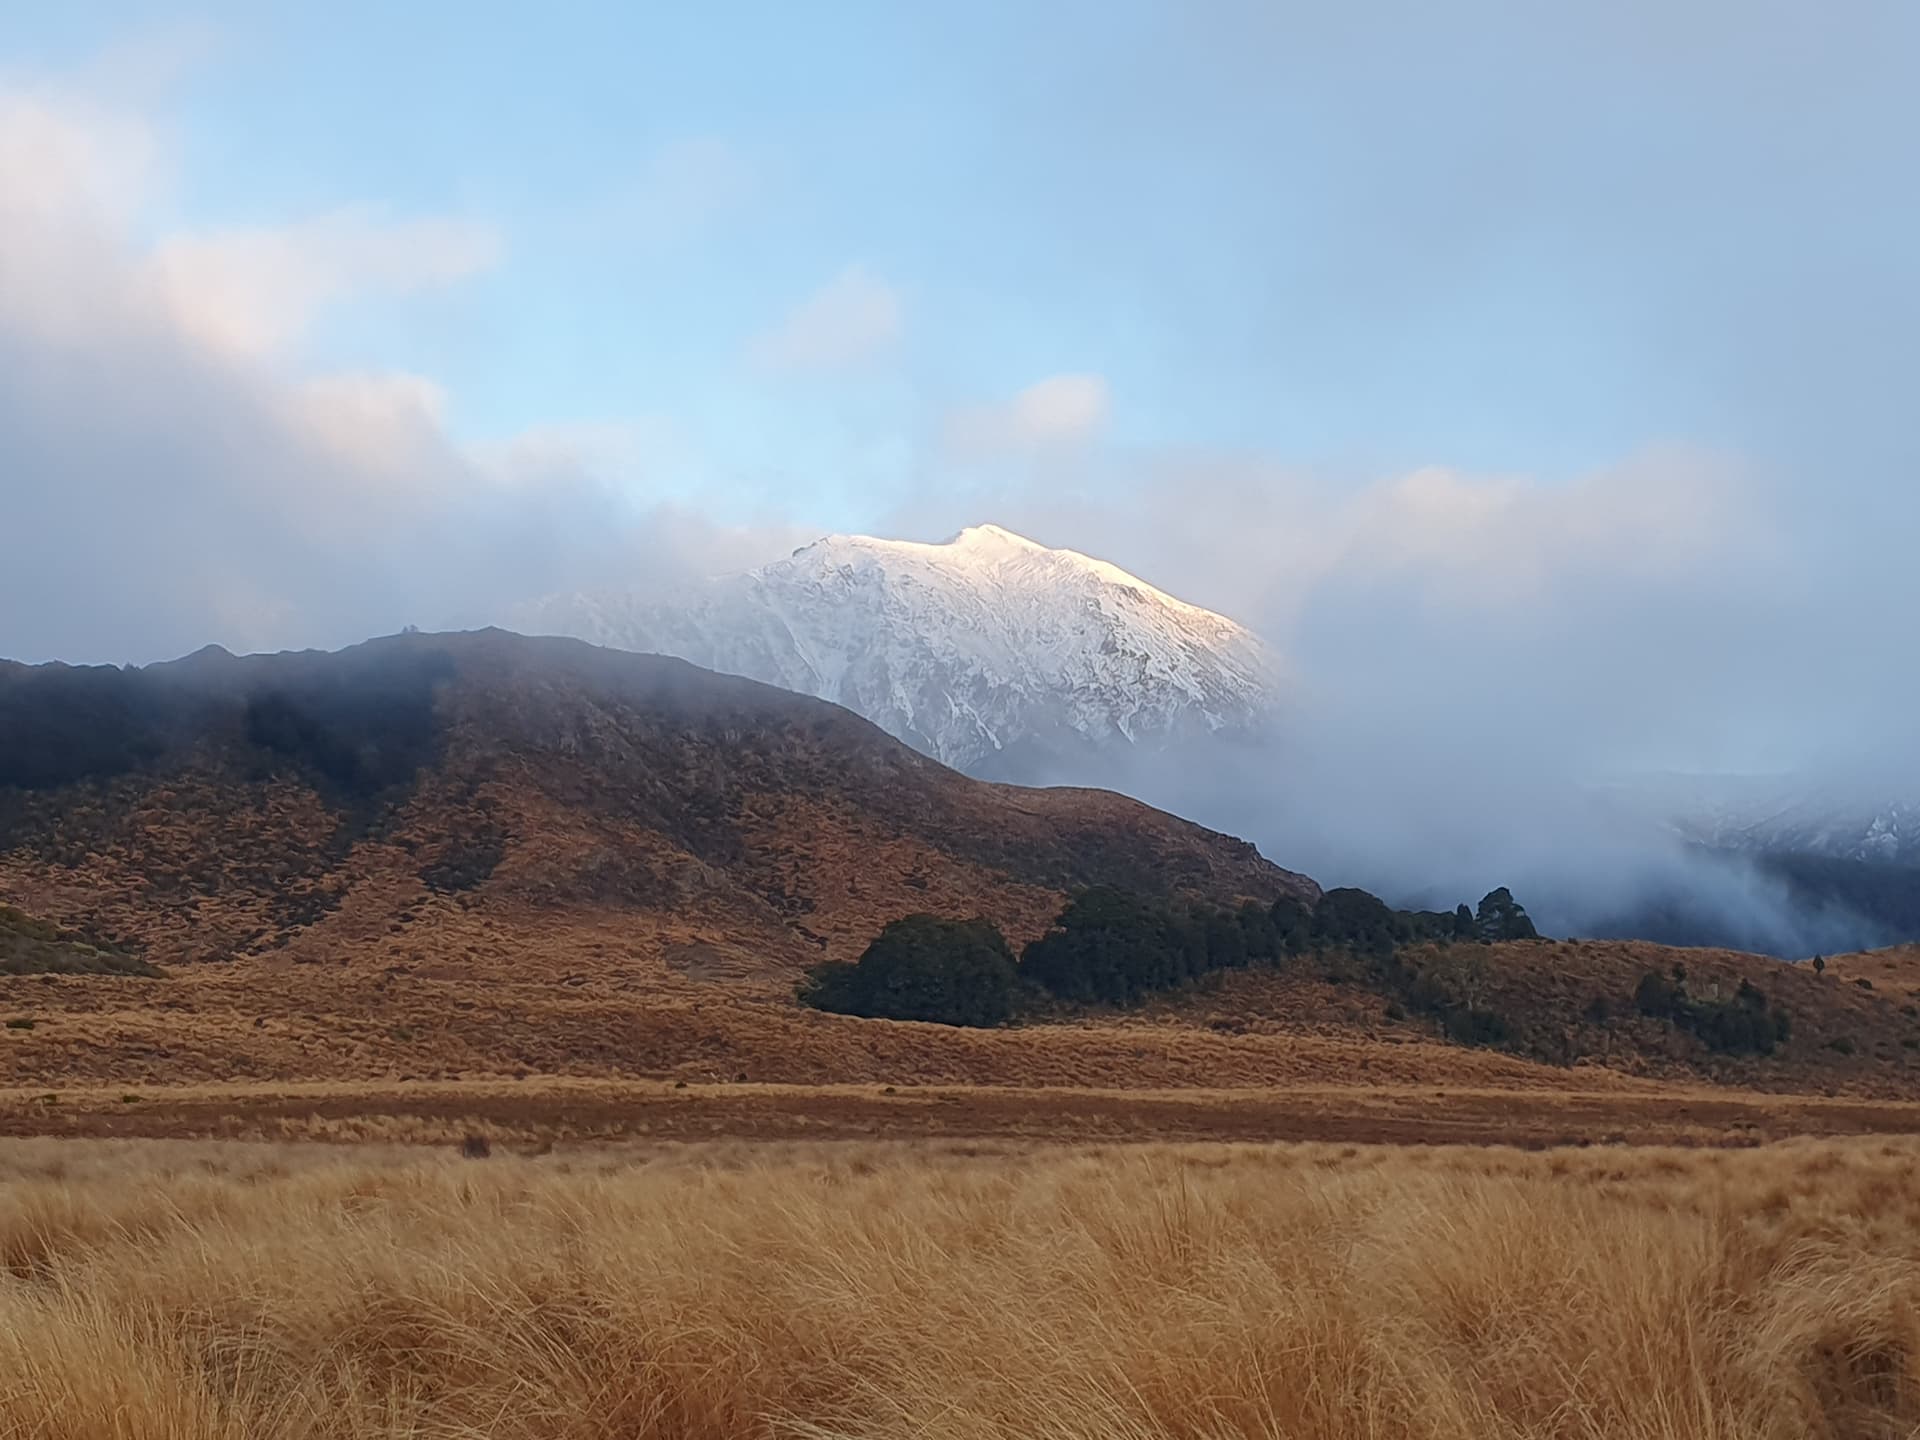
Cloud covering the Mavora and Oreti valleys below

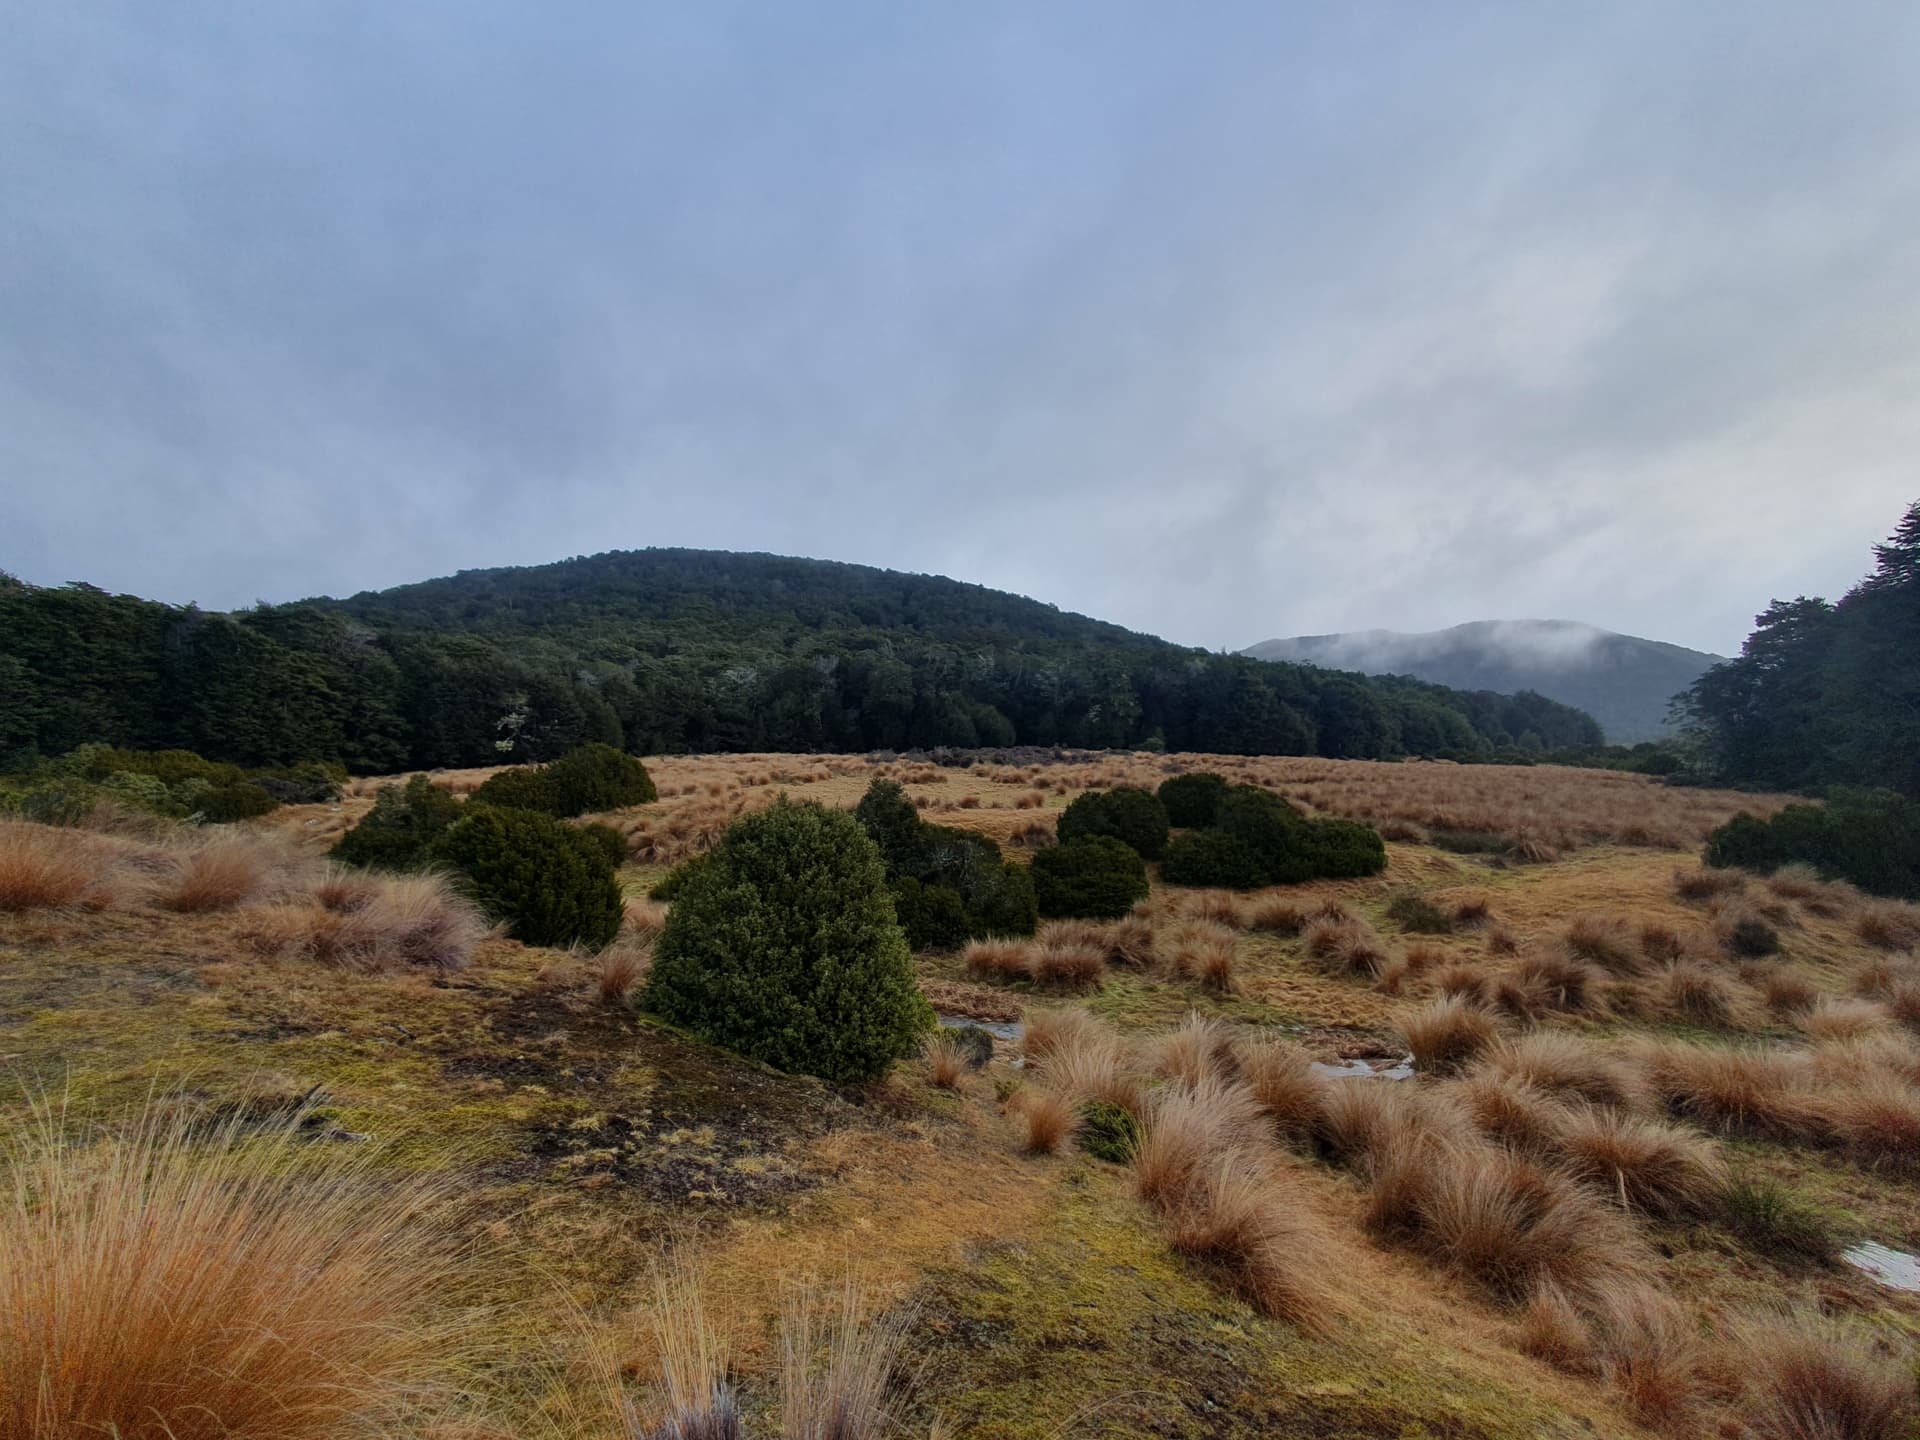
Glad to be down out of the snow, a 7km meandering untracked bushclad ridgeline leads to our southernmost peak - ZL3/FL-773
Then the long walk back the way we came to climb the Brad’s Hill neighbour - Bare Peak. Red deer spooked off the ridgeline, zig-zag down to the bushline under a watchful eye
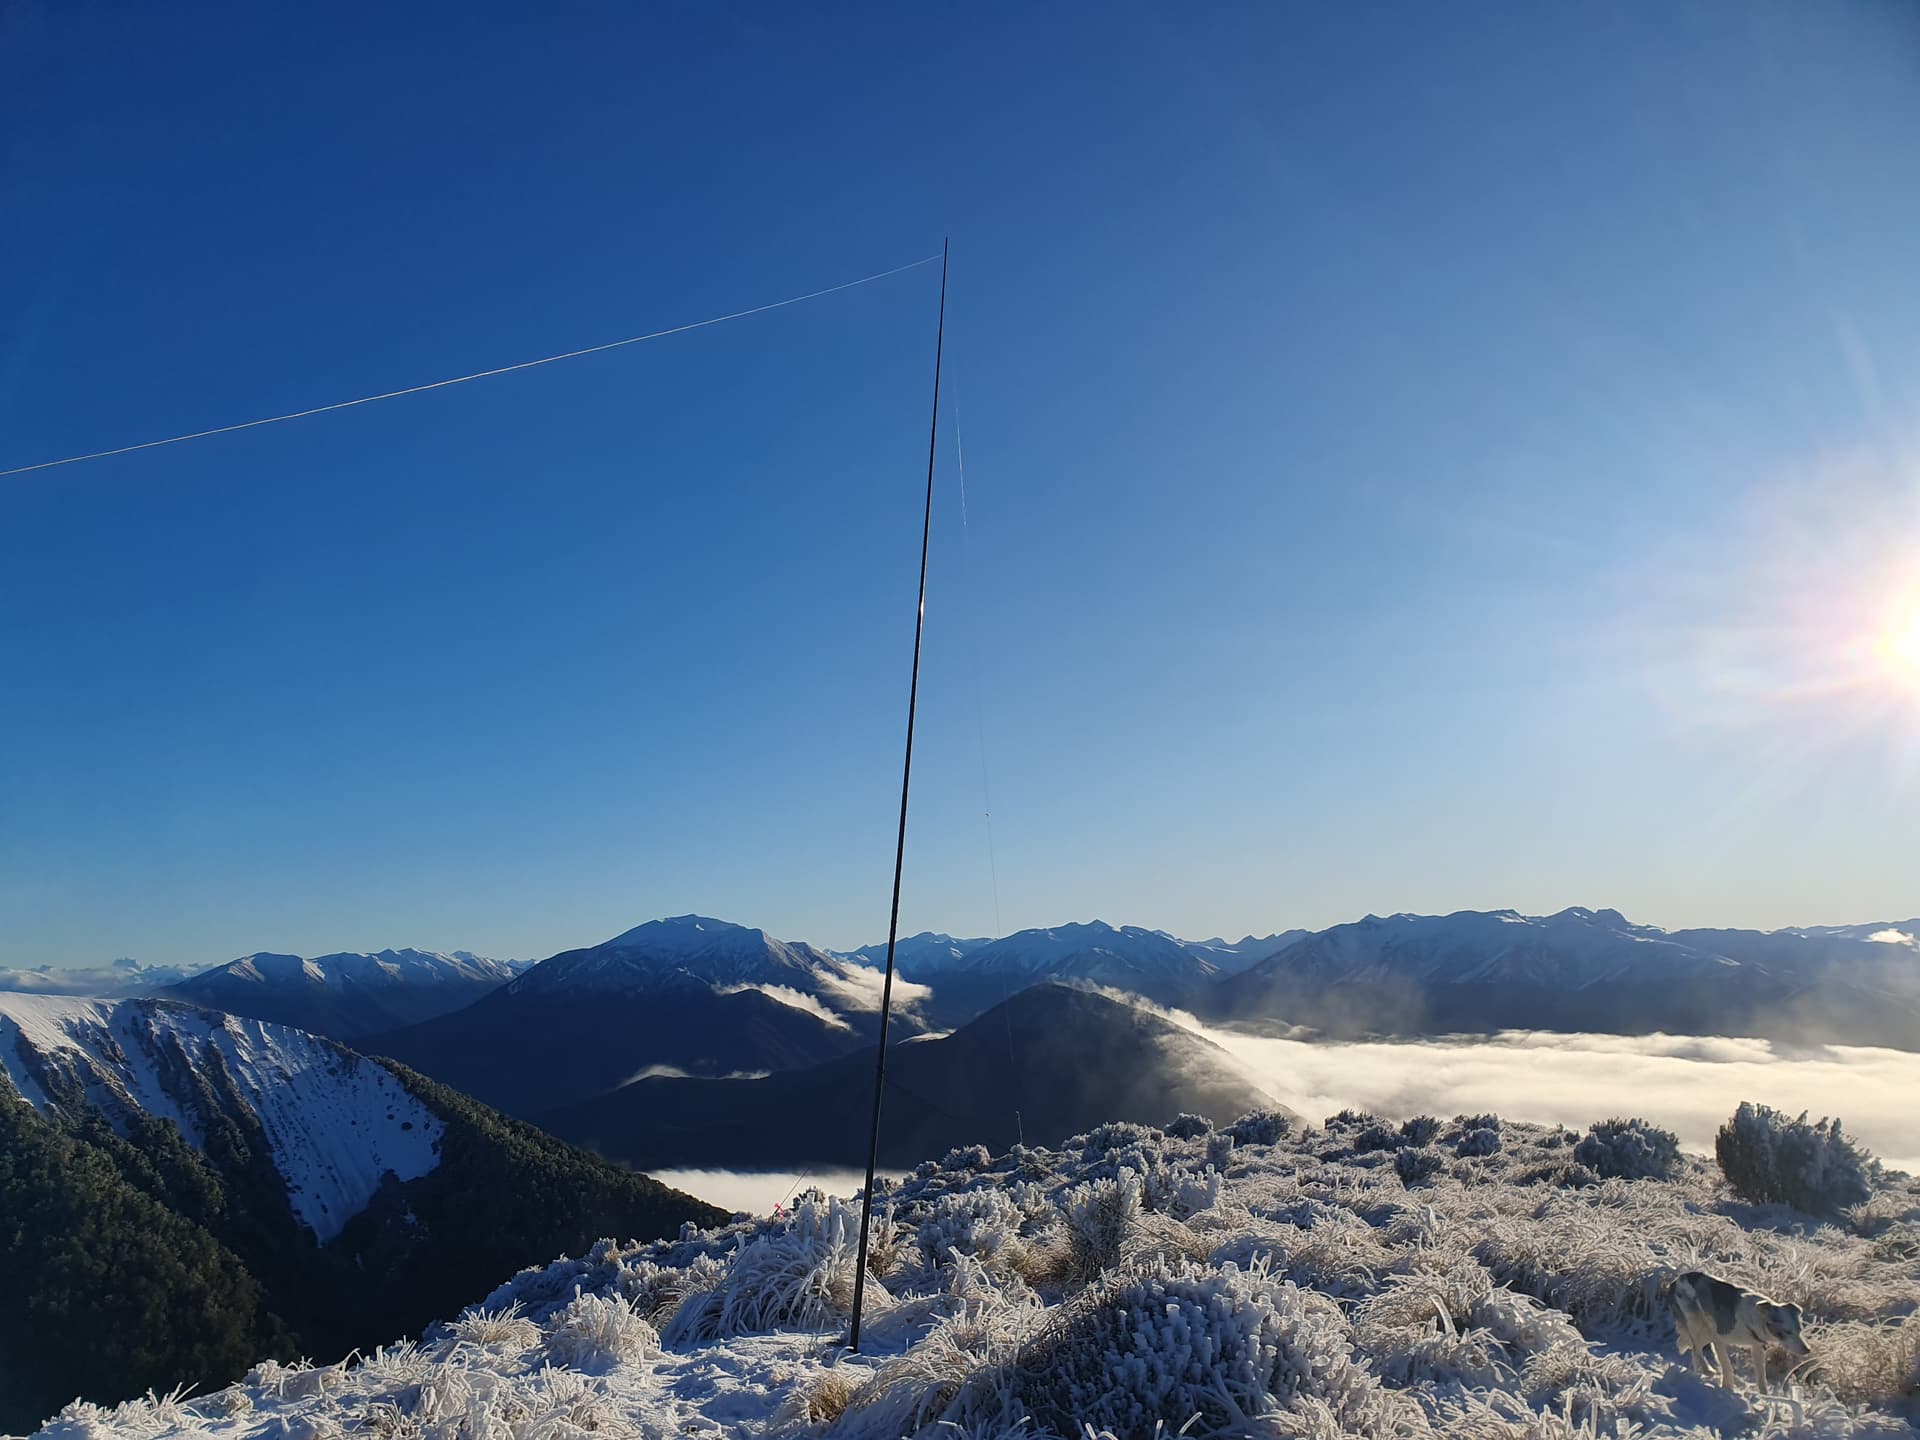
Activating the 1209m Bare peak [ZL3/FL-605] - 4pm and chasing the last of the light for the scrubby descent back to Kiwi Burn Hut
Day 3
Plan: ZL3/FL-667, ZL3/FL-725 and Snowdon - ZL3/FL-269 to Army Hut
Actual: ZL3/FL-667, ZL3/FL-725 to Becketts Hut

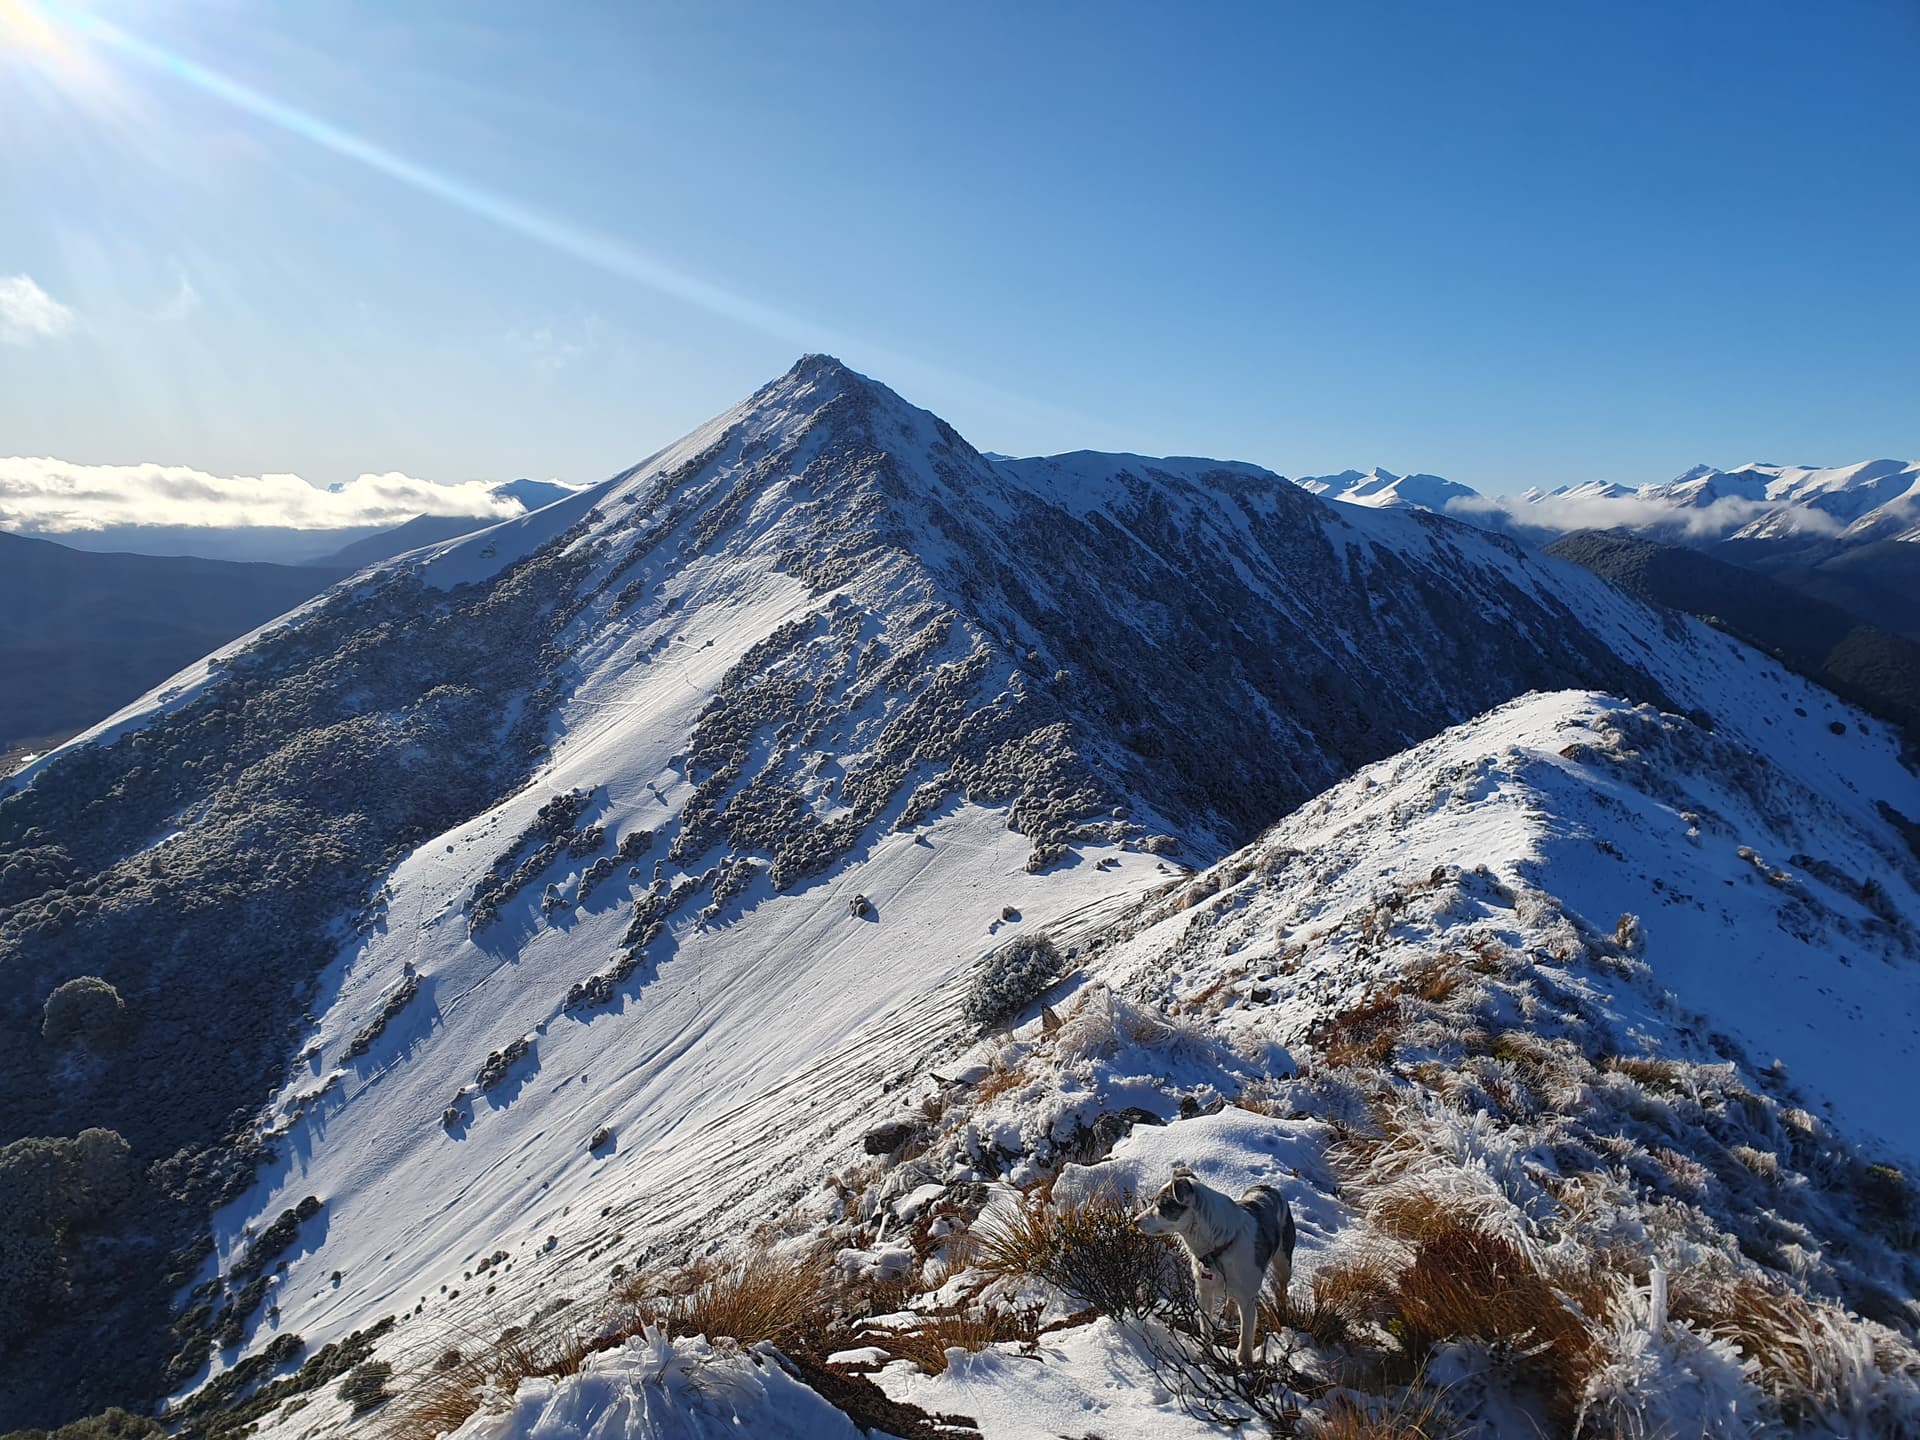
Another early frost start for the bush-bash up the 1130m ZL3/FL-667, this time with full 5-day pack ready for a traverse of Snowdon later the same day. A frosty 10am activation in the bitter-cold shadows
An easy descent to the saddle 840m saddle. Less impressive the scrubby beech-forest undergrowth on the unnamed 1036m peak ZL3/FL-775.
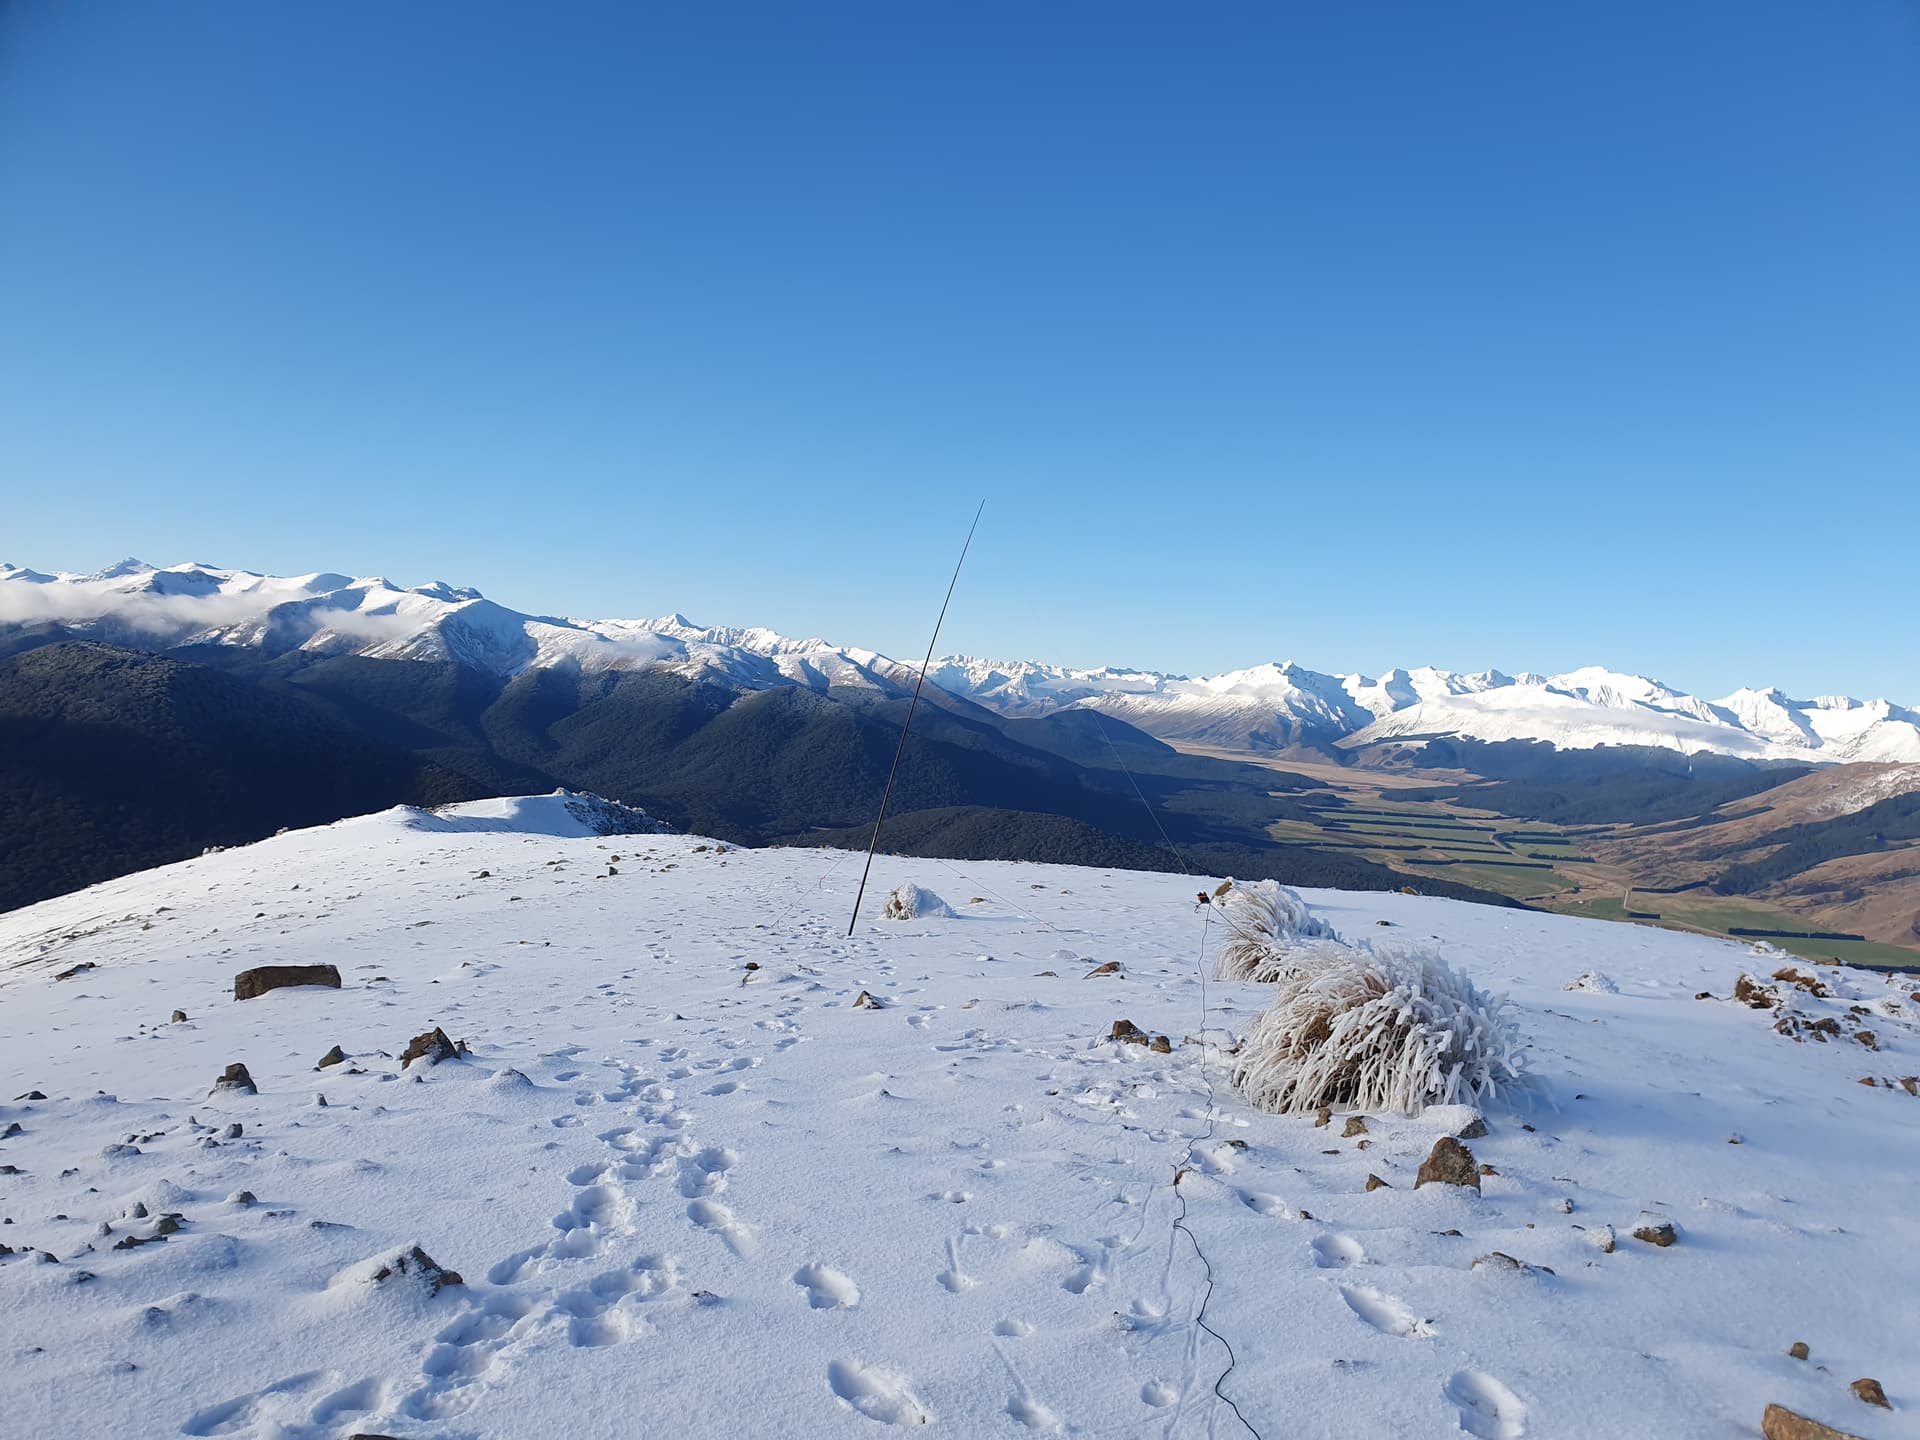
Snowdon - ZL3/FL-209. The morning’s summits allow a brief chance to get phone signal and check the forecast. Gale force southerlies for the next 3 days, with rain on day 5. The decision is made to abandon the traverse of Snowdon [ZL3/FL-209], necessitating a later alpine return via Mts Richmond [ZL3/FL-184] and Eldon [ZL3/FL-192].
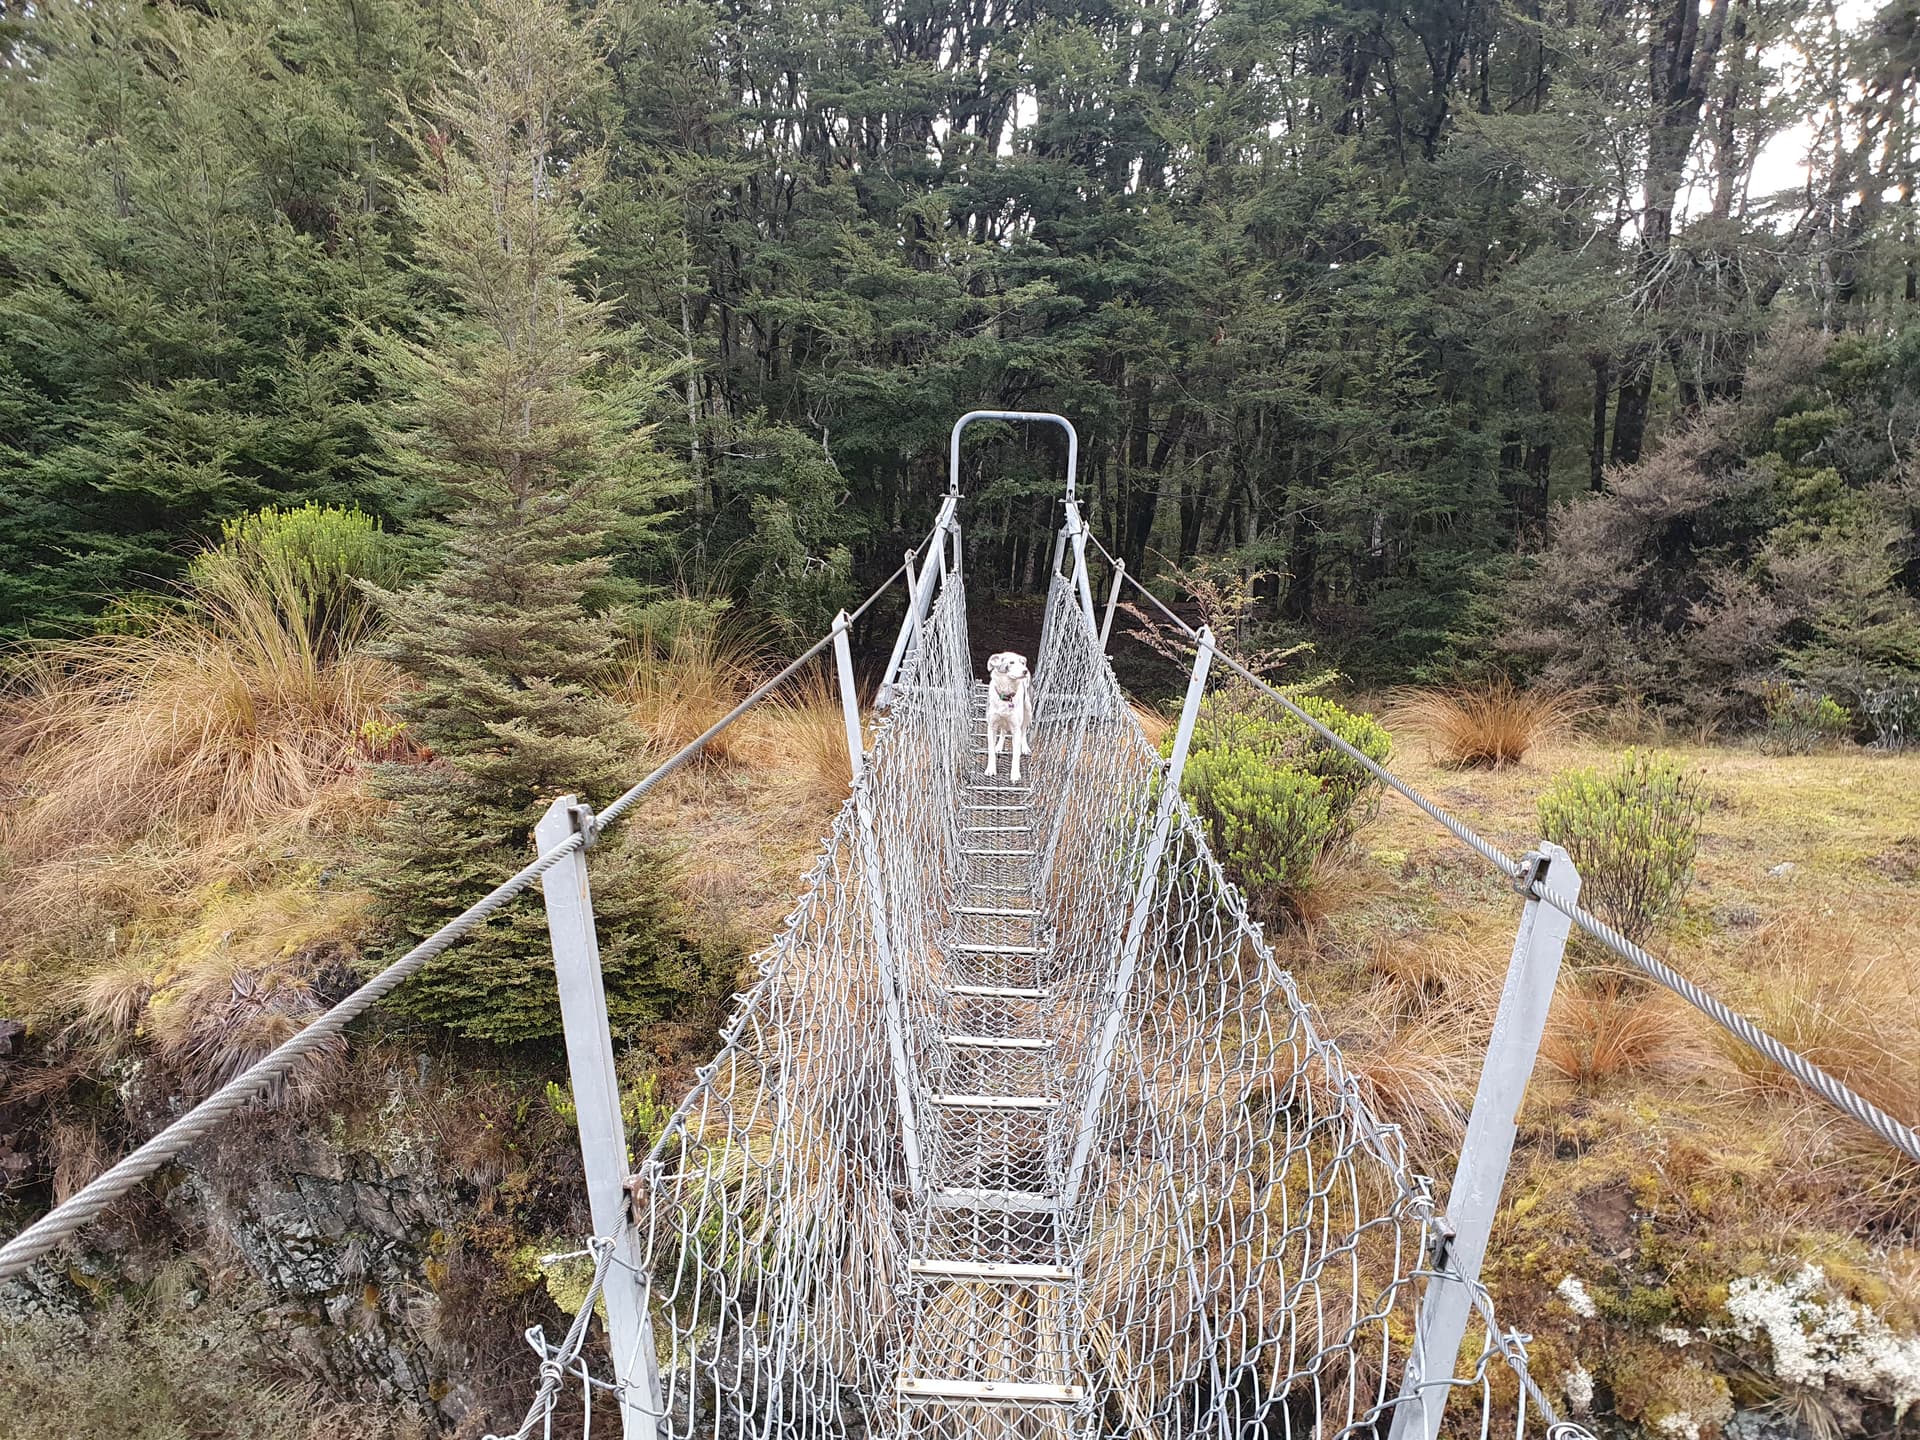
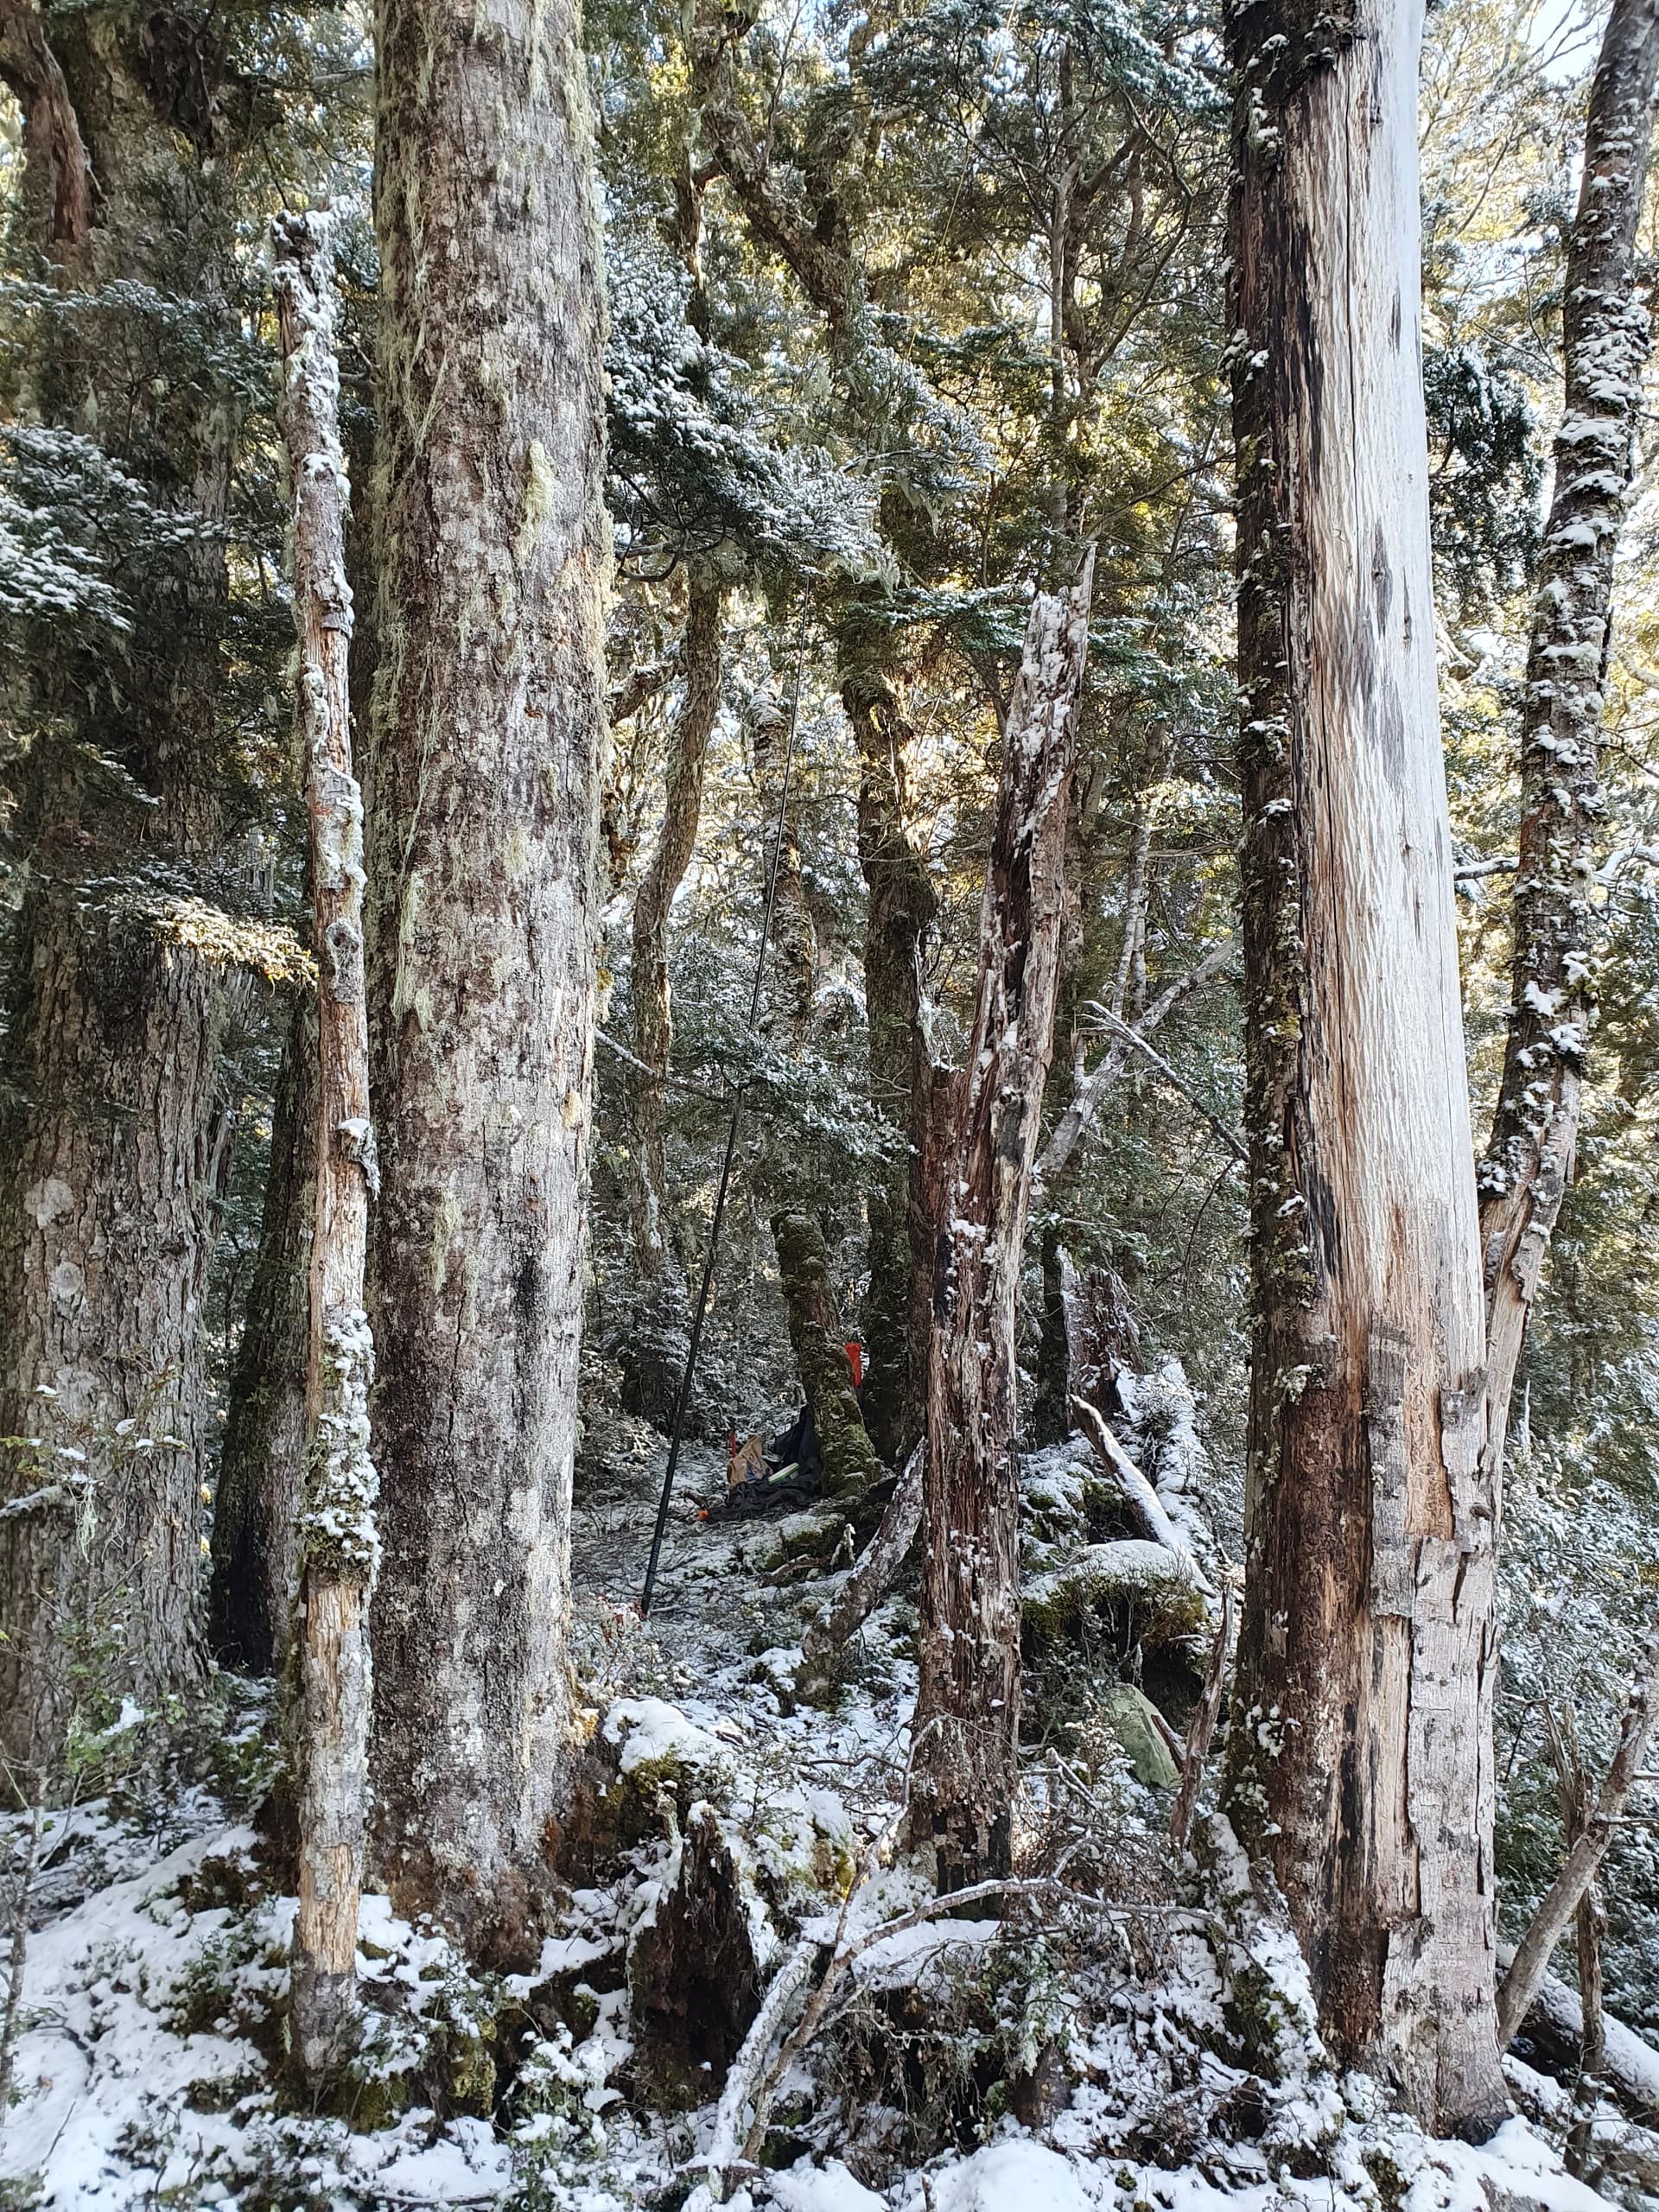
Instead we return to the truck and drive 30km south to Princhester Base in the Takitimu Range. An easy 300m climb to the saddle drops us into the Waterloo Burn - another broad tussock valley flanked by snow-clad peaks. Beckett’s Hut sits tucked just in the bush on the eastern valleyside, a 10km walk from the roadend

New plan: The Takitimu! Red; plan, Green-actual. We’re not getting any better here, are we!
Day 4
Plan: North Braxton [ZL3-SL/160], ZL3/SL-175 and Mt Hamilton [ZL3/SL-041] and back to Beckett’s Hut
Actual: North Braxton [ZL3-SL/160], ZL3/SL-175 and back to Beckett’s Hut

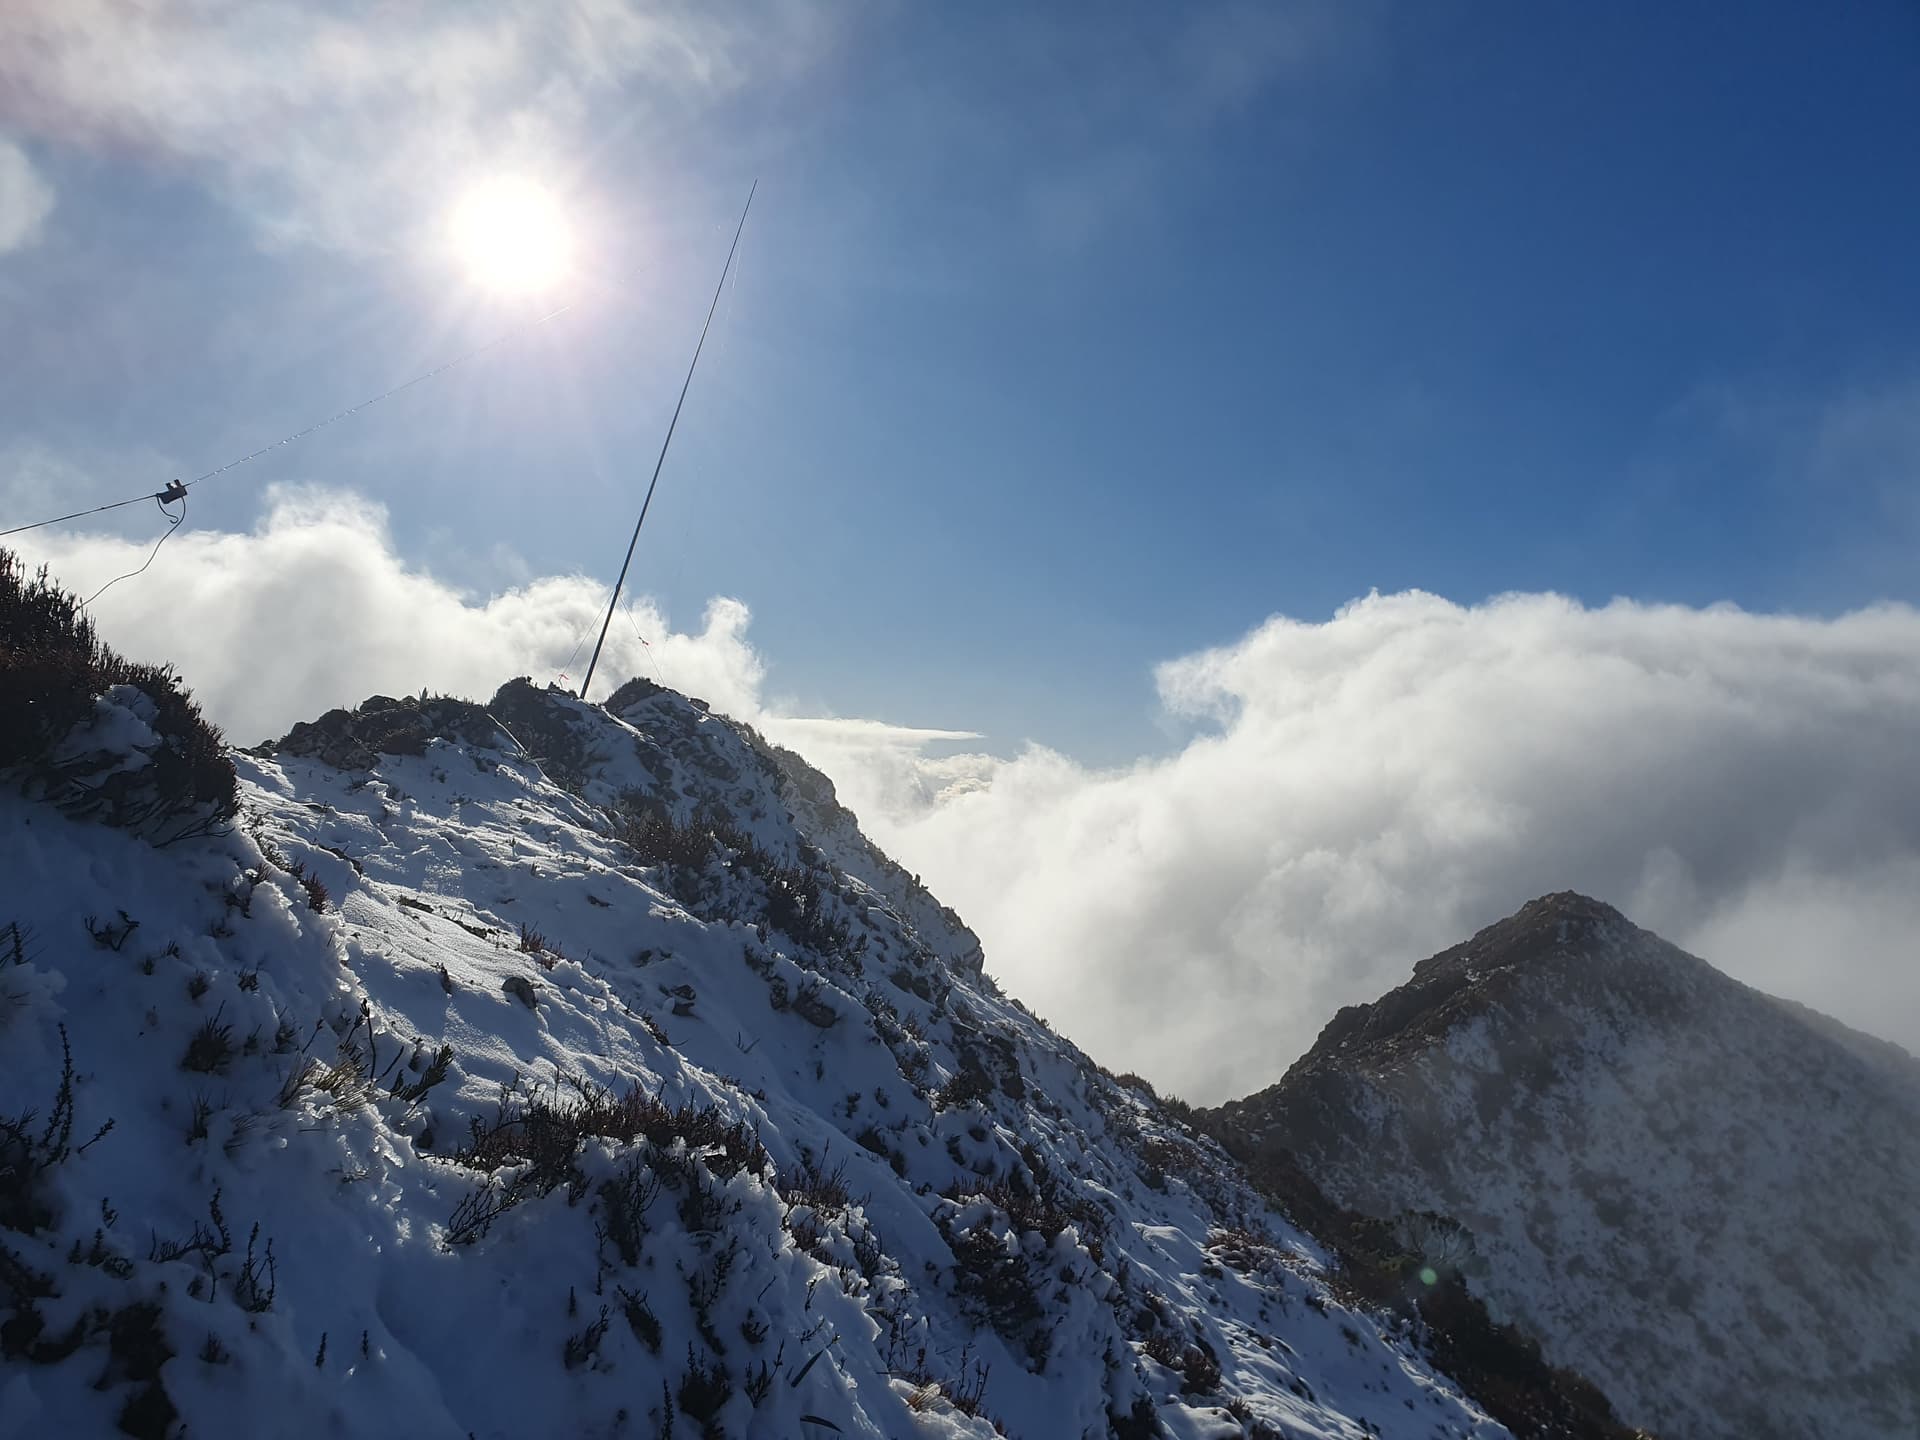
The forecast winds shake the canopy overnight but the hut is well sheltered. The good climb to the ridgeline is marred only by 50m of impenetrable scrub that has me cursing and Pip-squeek wimpering. Once above the snowline we scurry from rock to rock between gusts until we gain the 1080m summit of North Braxton - ZL3/SL-160. The antenna is strung downwind and we huddle into the lee of the summit ridge

Activating the day’s second peak - ZL3/SL-175. Mt Hamilton, beyond, lies cloud-draped and shedding spin-drift to our north - an unwelcome prospect in these gale-force conditions. We leave it for another day and return to Beckett’s Hut.
Day 5
Plan: Waterloo Peak [ZL3/SL-162], Woodhen Hill [ZL3/FL-757], ZL3-FL-799.
Actual: Waterloo Peak [ZL3/SL-162]
Gale force winds persist the next day. The 1.5km climb from the traxck at the Waterloo saddle to the untracked Waterloo peak -ZL3/SL-162 takes over 2 hours through thick scrub and windfall. Wind and mist greet us on the summit and again we are forced to tuck into the lee-side of the ridge to activate
Exhaustion has truly set in by the time we make it back to Princhester Base Hut at 1pm. There’s enough daylight to climb Woodhen Hill, but the limited public access necessitates another 300m ascent & descent just to reach its base. Instead we head on towards the Red Tussock CA and it’s summit ZL3/FL-799. This time however, we’re thwarted by a locked gate 6km from the roadend and 9km from the summit. One to return to with the pushbike.
Fatigued, I turn for home. But I have barely made it 30km down the road before I realise that even this is a non-starter. I’m simply too tired for the long drive home via the winding Devils Staircase and Kawarau Gorge.
Exhausted I check into a cabin at the lovely (and cheap) Lumsden Domain for 12 hours of sleep. $30 a night, put your money in the honesty box.
Day 6:
Plan: Rest
Actual: Landslip Hill [ZL3/SL-299], ZL3/OT-522, Kaitangata [ZL3/OT-527], Mt Stuart [ZL3/OT-502], ZL3/OT-510, ZL3/OT-529
The advantage of the extra night is the opportunity for a clean sweep of ZL4’s six drive-to / drive-nearly-to summits on the way home. All one-pointers, but it makes up for one of the missed summits! The trip ends on 1977 points - not too bad, considering.
Equipment
Radio: Discovery TX-500
Power: 3x18650
Antenna: EF40mHW
Support: SOTA-Beams tactical mini (minus top section)
Results
| Reference | Summit | Elevation | Ascent | Points | Bands | Contacts |
|---|---|---|---|---|---|---|
| Snowdon | ||||||
| ZL3/FL-739 | 1005m | 400m | 2+3 | 40m | 5 | |
| ZL3/FL-789 | 805m | 200m | 2+3 | 40m | 4 | |
| ZL3/FL-620 | Brads Hill | 1194m | 800m | 4+3 | 40m, 20m | 8 |
| ZL3/FL-773 | 906m | 400m | 2+3 | 40m, 20m | 9 | |
| ZL3/FL-605 | Bare Peak | 1209m | 800m | 4+3 | 40m | 7 |
| ZL3/FL-667 | 1130m | 600m | 4+3 | 40m, 20m | 7 | |
| ZL3/FL-725 | 1036m | 200m | 2+3 | 40m, 20m | 15 | |
| Takitimu | ||||||
| ZL3/SL-160 | North Braxton | 1080m | 700m | 2+3 | 40m | 6 |
| ZL3/SL-173 | 1020m | 200m | 2+3 | 40m | 19 | |
| ZL3/SL-162 | Waterloo Peak | 1077m | 400m | 2+3 | 40m | 19 |
| Roadside | ||||||
| ZL3/SL-299 | Landslip Hill | 342m | 40m | 1 | 40m | 10 |
| ZL3/OT-522 | 290m | 0m | 1 | 40m | 12 | |
| ZL3/OT-527 | Kaitangata Hill* | 220m | 220m | 1 | 40m | 13 |
| ZL3/OT-502 | Mt Stuart | 433m | 0m | 1 | 40m | 10 |
| ZL3/OT-510 | 393m | 0m | 1 | 40m | 7 | |
| ZL3/OT-529 | 391m | 0m | 1 | 40m | 11 |
* Kaitangata Hill [ZL3/OT-527] is due for retirement in next ZL3 SOTA updates as not p150. Expected to be demoted to HEMA sometime in 2025.
** To complete the list of drive-ups - The Bluff [ZL3/SL-307] and Mockingbird Hill [ZL3/OT-484] are also public 2WD drive-up summits in ZL4 - not included in this trip as they would not be uniques. There are also six 4WD drive-ups (or almost-ups) of varying difficulty levels.