Hi all,
Not sure how long it will be before I next get blown off a summit, but with some time on my hands I decided to write a short illustrated pamphlet describing how I undertake the “simple” task of getting an HF link dipole feed point to 6m agl on windy Sota summits. This method works up to a wind speed of 30mph. Above 35mph is is dangerous to be on many summits with the risk of getting blown over etc.
If people want to see this I will add it to this thread, if no interest, or if I am “telling granny how to suck eggs”, I will have avoided bunging up Andy’s hard drives with unwanted data.
Having recently returned to the world of SOTA I’d find this very interesting, as I’ve so far failed to get a HF dipole up in anything but the mildest gusts of wind.
It would certainly be useful for when we all get back to normal.
With a bit of time on my hands I thought I would write down my procedure for erecting a glass fibre, telescopic or “slipover” pole on a Sota hilltop. This can be done reliably by a single operator and will support a link dipole for 20 – 60m at a wind speed up to 30mph. I hope I am not telling “grandmother how to suck eggs”.
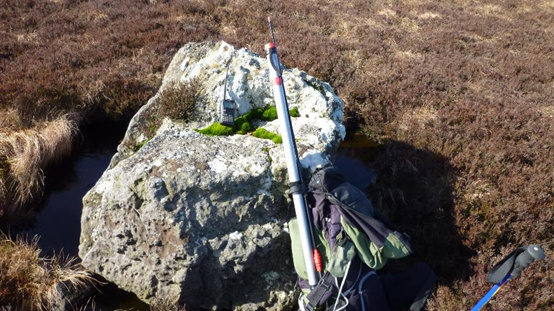
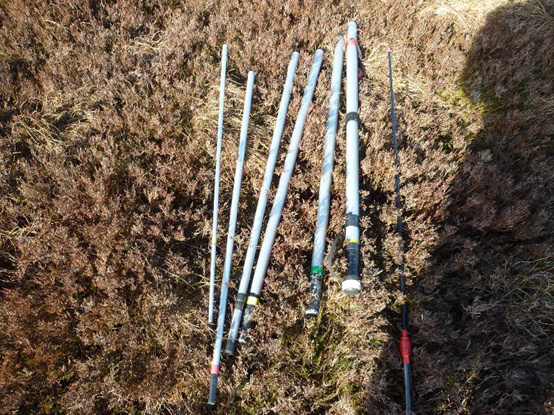
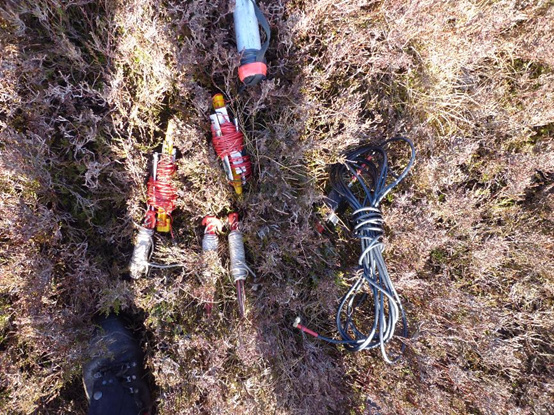
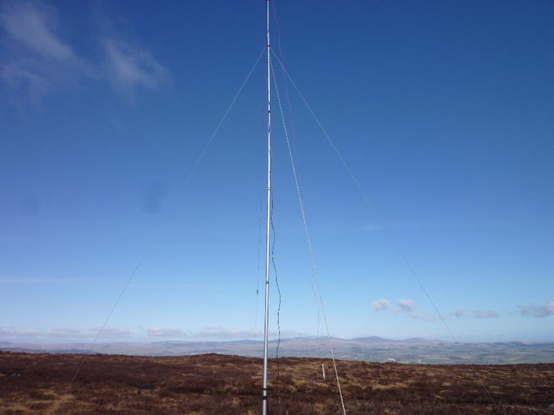
On my first HF Sota activations I used a 4, 1m section telescopic pole. Because of the additional down force caused by the mast’s wind loading, it often collapsed leaving things in total disarray. I found the solution on the local market, a 7, 1 m “slipover” “roach pole” where the top 3 sections are carbon fibre. I discarded the thinnest section to give me a 6m pole with a minimum diameter at the top of 9mm. To support the pole I made up 3, 2.8mm diameter braided polypropylene window blind cords each 6.5m long that I loop over the pole at the 5m height. Attached to the lower end is a plastic tent peg. This also being used to wind-up the cord for storage.
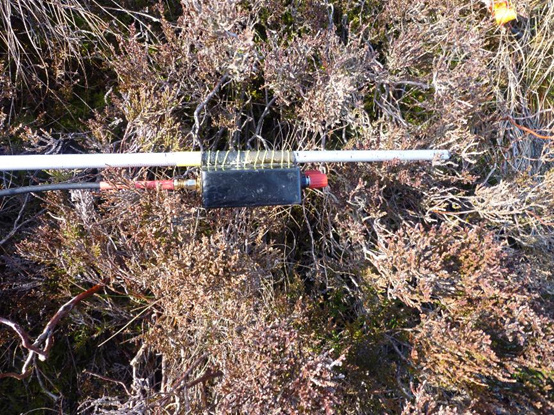
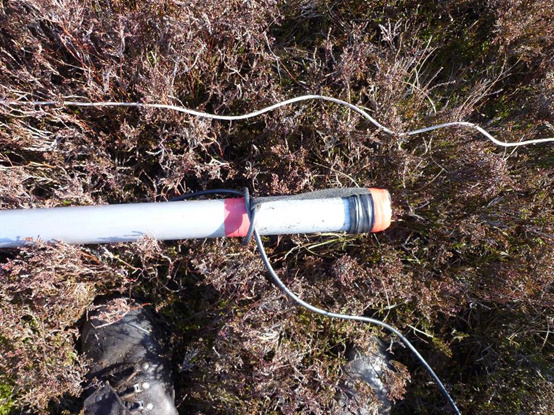
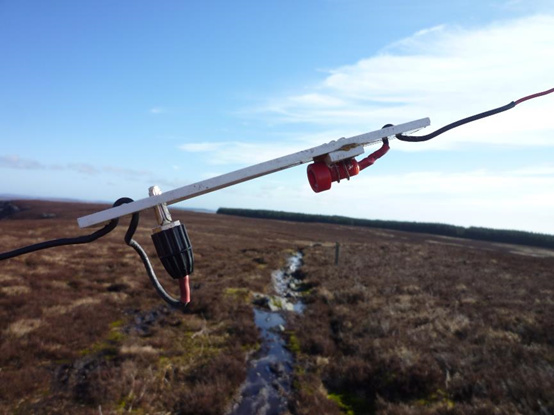
The dipole feed point consists of a choke balun contained in a small plastic box. Fitted to the top are a pair of instrument terminals to which I attach the dipole legs. The RG58 feeder is attached to the lower surface of the box and a piece of spare glass fibre tube is glued to the back of the box. This slips over the 9mm section of the pole.
In developing this procedure, I was concerned what effect aerial orientation had on propagation. I had generally oriented my aerial NE – SW in the hope I was illuminating the States and Europe. At the RSGB Convention one year I had the opportunity to discuss this with one of the propagation experts. The answer I received was that below 14MHz, in daylight, the orientation effects were minimal, either the ordinary or extraordinary wave would carry traffic. So, for NVIS the aerial alignment is less important than keeping the aerial in the sky!
To erect the pole, I have developed the following, engaging the wind to help rather than hinder.
Connect the pole sections together, making sure that all the joints are fully engaged. If it is very windy consider leaving out the bottom section to reduce the bending moment and the pole’s wind profile.
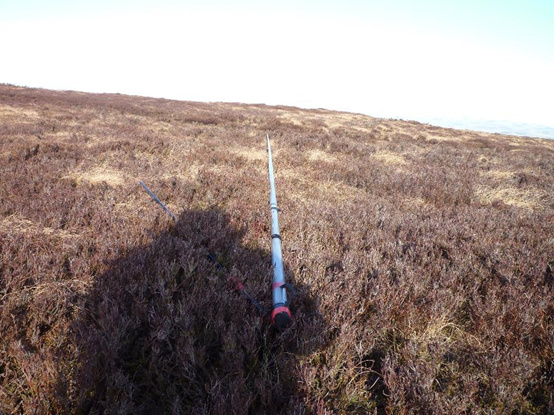
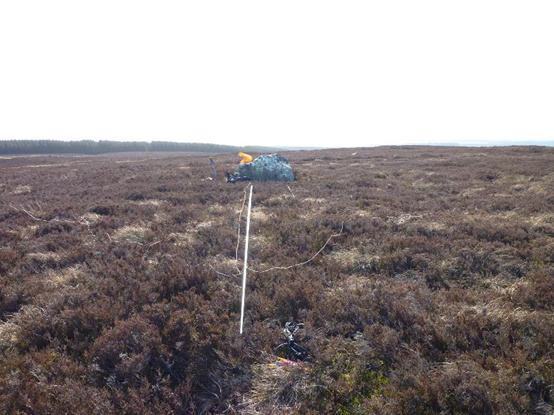
Align the pole with the tip pointing in the direction of the oncoming wind and with the base where you wish to operate.
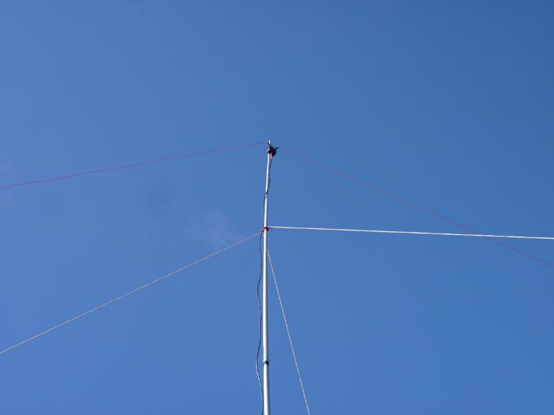
3. Attach the 3 cords to the pole 5m from the base, then carefully pay 2 cords and put two pegs into the ground one to the right of the line of the pole (peg 1) and one to the left of the line of the pole (peg 2). These will be about 2.5m forward and 3.5m from the centre line of the pole.
Carefully position the cords such that they are not tangled.
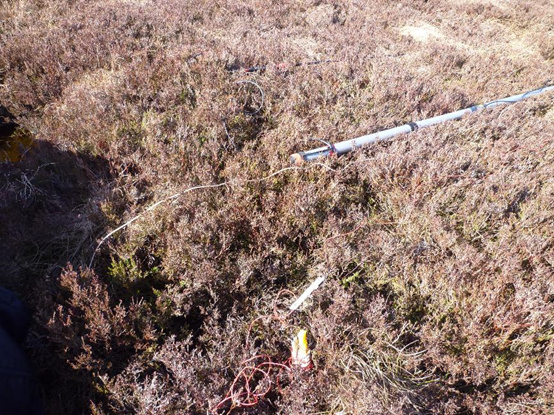
Fit the feed point to the tip of the pole, paying out the feeder down the pole. Attach it by means of a couple of turns at the base of the pole. This prevents the feeder from lashing about in the wind.
Pay out the third cord down the length of the pole, but don’t pay it all out, just enough to be able to loosely peg out the cord close to the base (peg 3).
Connect the 2 dipole legs to the feed point. Pay out about 8m of one leg onto the ground, just above the pole tip. Loosely peg it out making sure the leg is not tangled.
Pay out the other leg down the length of the pole plus1m, but no more. Then loosely peg it out near the base of the pole.
Make any changes to the links to select the required band.
Check that all the preparations are complete, then gently position your foot on the base to “foot” the pole, face into the wind! Take the peg 3 out of the ground and pull gently on the cord. This will lift the pole tip off the ground.
Whilst watching for snagging, continue to gently pull on the cord, the wind will do the rest lifting the pole to the vertical.
Keep tension on cord 3 but allow the wind to tension the front two cords. Move the base a little to make the pole vertical. Then slowly walk downwind with peg 3. Whilst keeping tension on the cord, pay out the remainder of the cord on peg 3.
Peg out peg 3 on the centre line. Do not overtighten the cord, sloppy is good.
Check the positioning and security of all 3 pegs and adjust as necessary.
Look up at the pole. Decide whether to proceed or not. I you consider it to be too badly bent, abandon the activation as adding the dipole will only make matters worse.
Walk upwind and pay out the up-wind leg of the dipole.
Carefully tension the wire and fit the peg into the ground as near to up-wind as possible. Return to the base.
Look upwards from the base, confirm the tip is only just pulled forward by a small amount. The pole will be bent by the force of the wind.
Walk down-wind and pay out the down-wind dipole leg.
Carefully tension the wire and fit the peg into the ground as near to downwind as possible. Keep as little tension of the wire a possible.
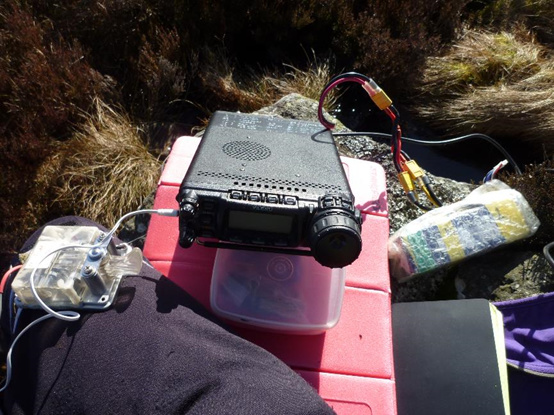
Detach the feeder from the base of the pole. Work the pilup!
When it is time to leave, pull the down-wind dipole peg out of the ground and coil up as much of the wire as possible.
Pull out peg 3, keeping tension on the cord, walk to the pole base.
Face the wind, while keeping the cord tensioned, push the pole towards the wind, foot the base of the pole. Land the pole, dipole and feedpoint.