As VK and ZL operators may know, I posted an alert for a trip into the Barrier Range to take a look at the three ‘Grade I alpine’ 10-pointers, and see what I could achieve over a 3-day break.
The Ahuriri Valley road lies at 700m on the valley floor, making for a 1600m climb to the 2337m summit of the range at Mt St Mary - ZL3/CB-088. The NZ Alpine Club guide suggests summiting each of these peaks from Hodgekinsons Creek to the NW. However, a sustained glass of that face from the Ahuiriri Valley 4WD road showed significant bands of crumbling bluffs, rather than the expected scree faces - so I wimped out and took plan B which was a gentler ascent of the rear side of St Mary Peak from the head of the Snowy River. This plan had the advantage of giving me a pleasant afternoon stroll up the Snowy River with a full 4-day winter pack, rather than a 1600m scree scramble to tarns below the St Mary summit.
The resulting trip did not play out quite as planned, and following is a photo-essay of the resulting trip over 6 unactivated Canterbury and Otago peaks.
Sorry for those hoping for the usual descriptive prose - but post-trip fatigue has won out this time.

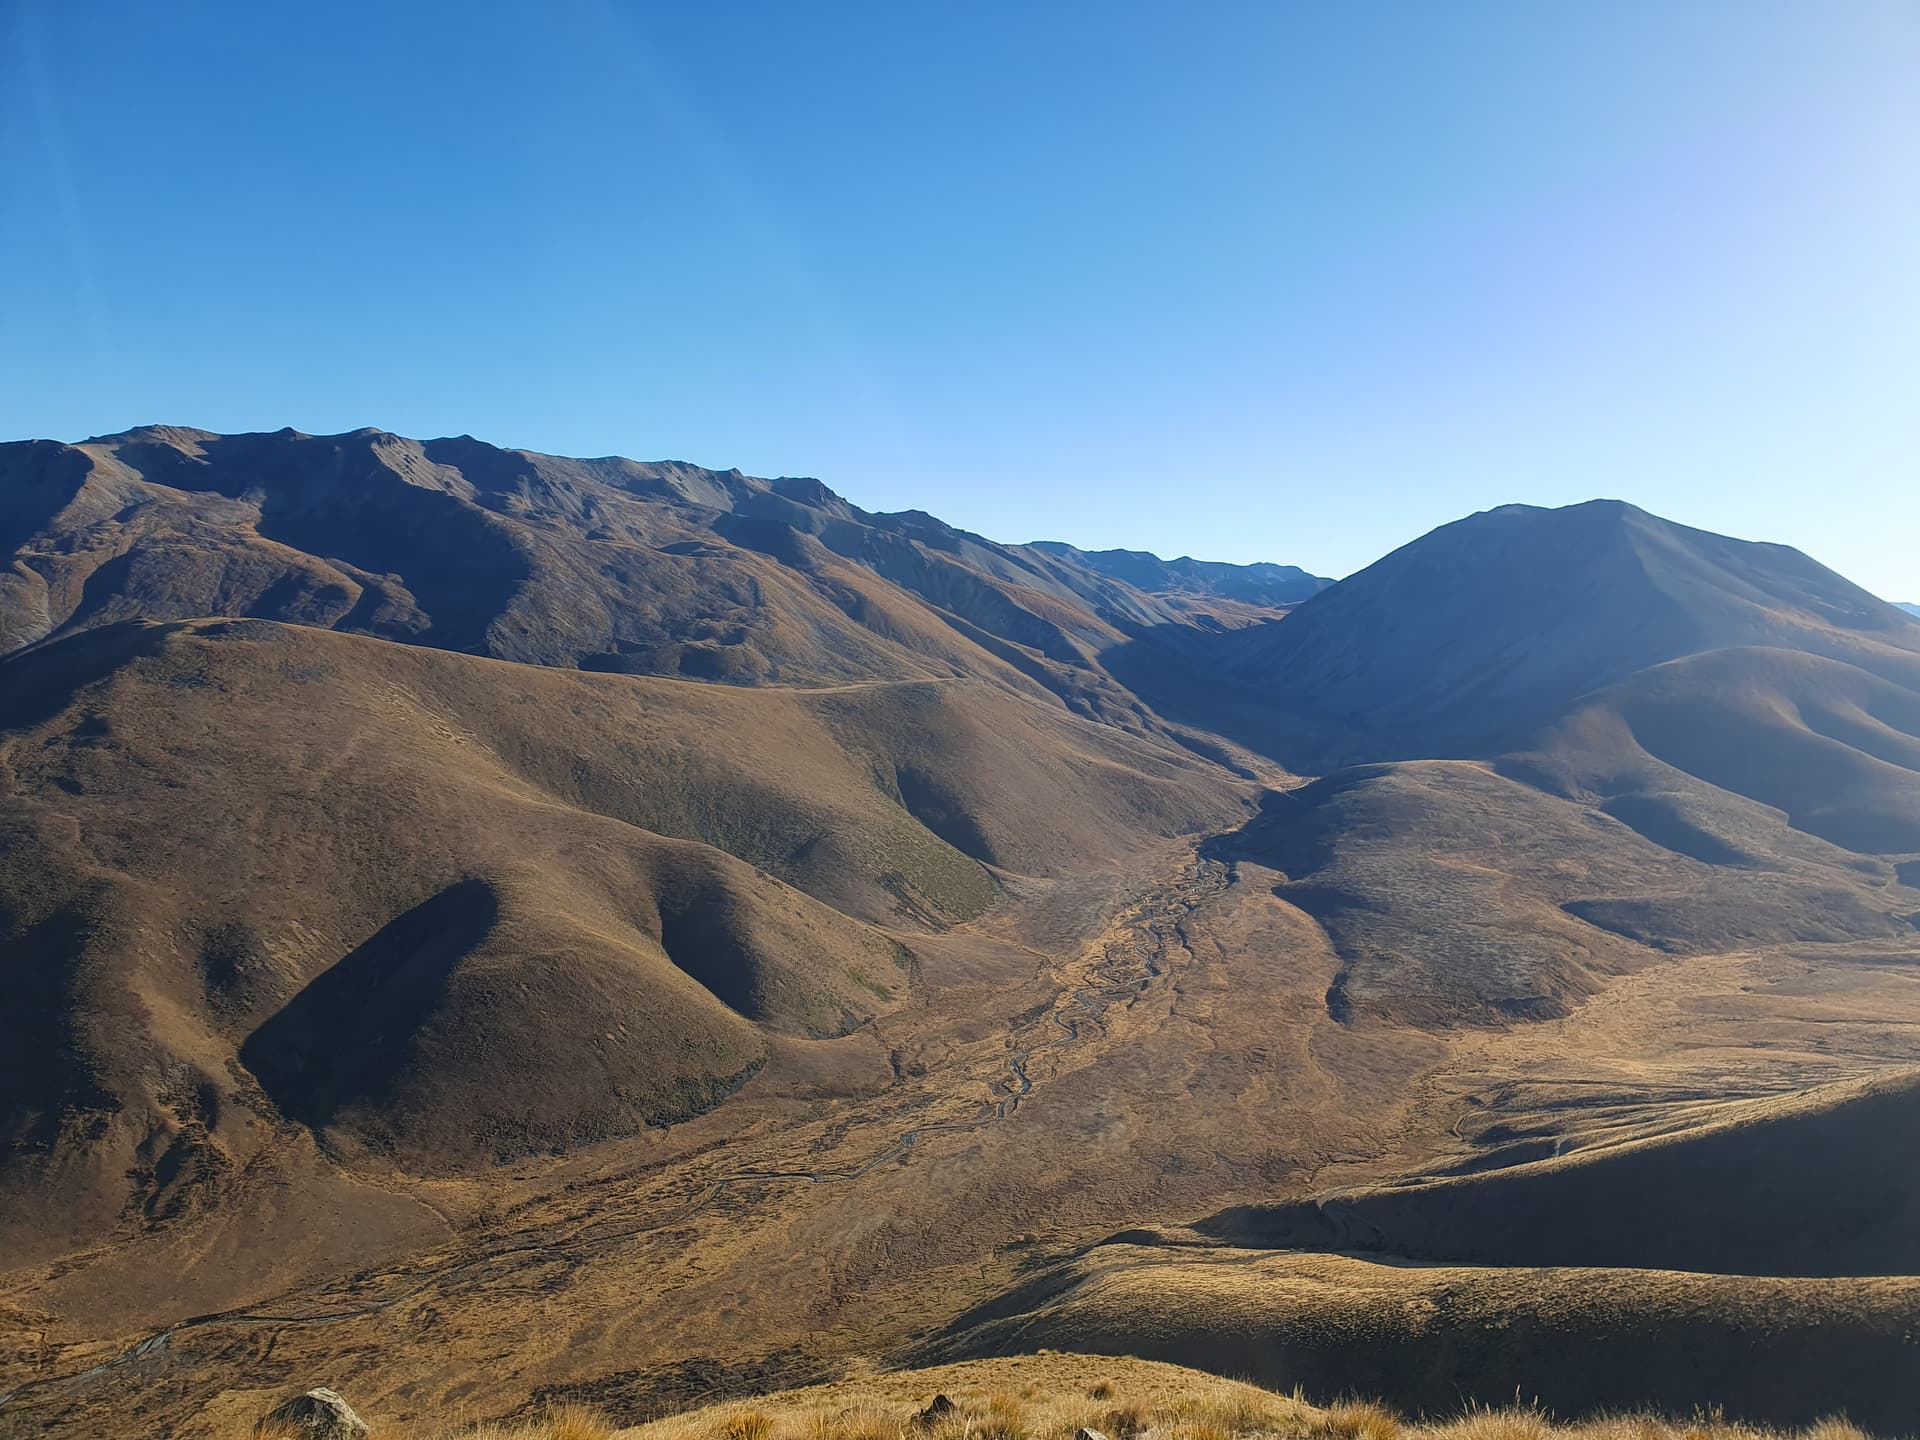
Barrier Range with the its three 10-point peaks the target of the trip
Detouring south into ‘tamer country’
Day 1
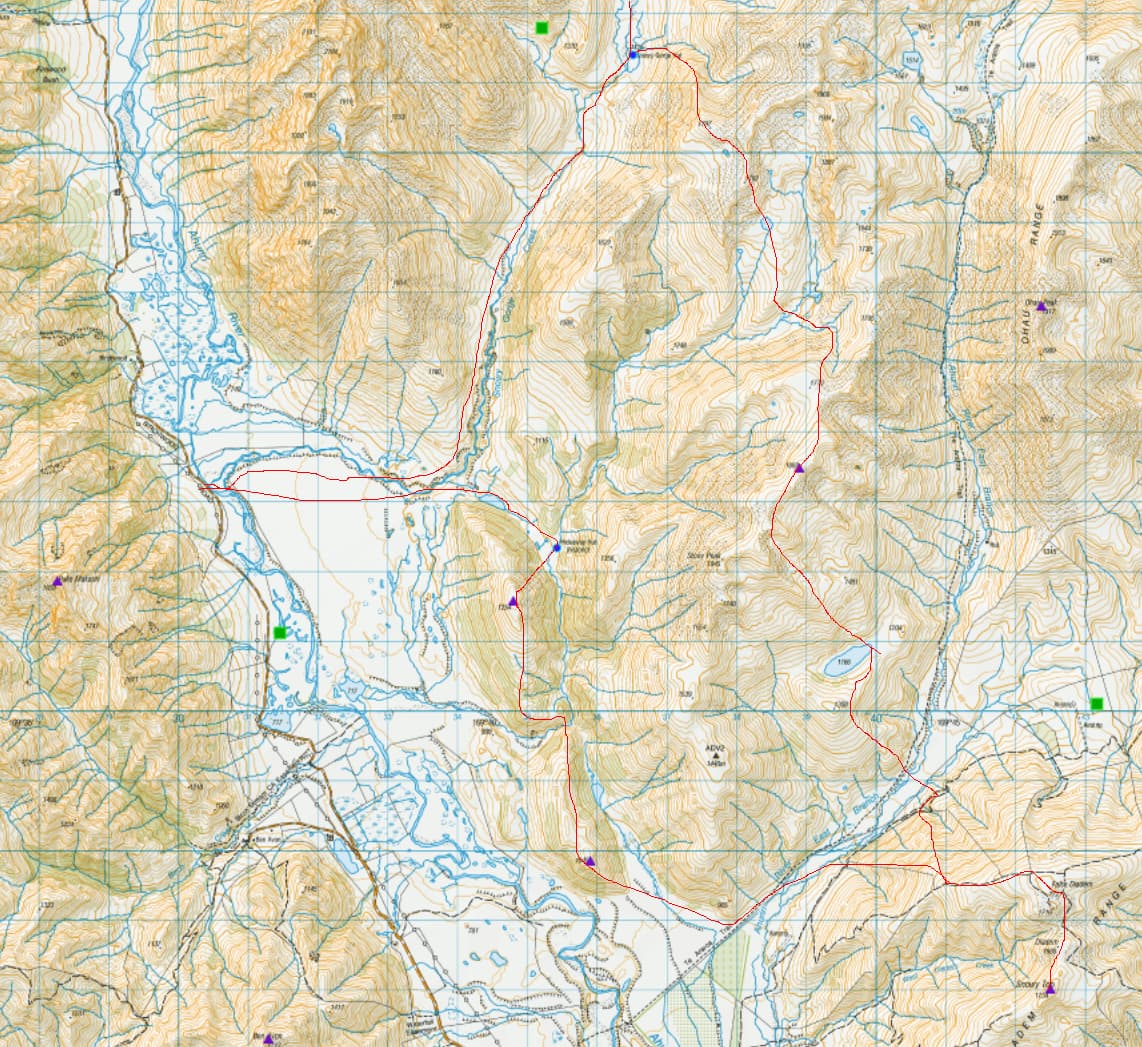
Snowy Gorge Hut - ZLH/CB-176
The Snowy is untracked, but open terraces of low tussock on the north side give easy access above the gorge to the large flat basin at 1100masl at its head, where Snowy Gorge Hut - ZLH/CB-176 - shelters behind a moraine wall. Despite a recent paint job, Snowy Gorge Hut is a historic musterer’s hut - unlined iron walls and roof making for a chilly night. Frozen boots and ‘slushy’ water bottle in the morning emphasising the imminent arrival of winter,
Day 1: Total climb - an easy 400m
====
Day 2:
Mt St Mary - ZL3/CB-088; Stoney Peak - ZL3/CB-283

Upper Snowy, Mt St Mary - ZL3/CB-088 (10pts) - above, left - photo taken later in the trip
Leaving overnight gear and food at the hut made for a lighter pack for the ascent. The upper valley was presumably once a glacial lake, dammed by the moraine that now shelters the hut. Whatever it’s source, it’s flat basin provides fast, easy travel to the base of the climb where the valley swings west to climb the rear face of Mt St Mary.
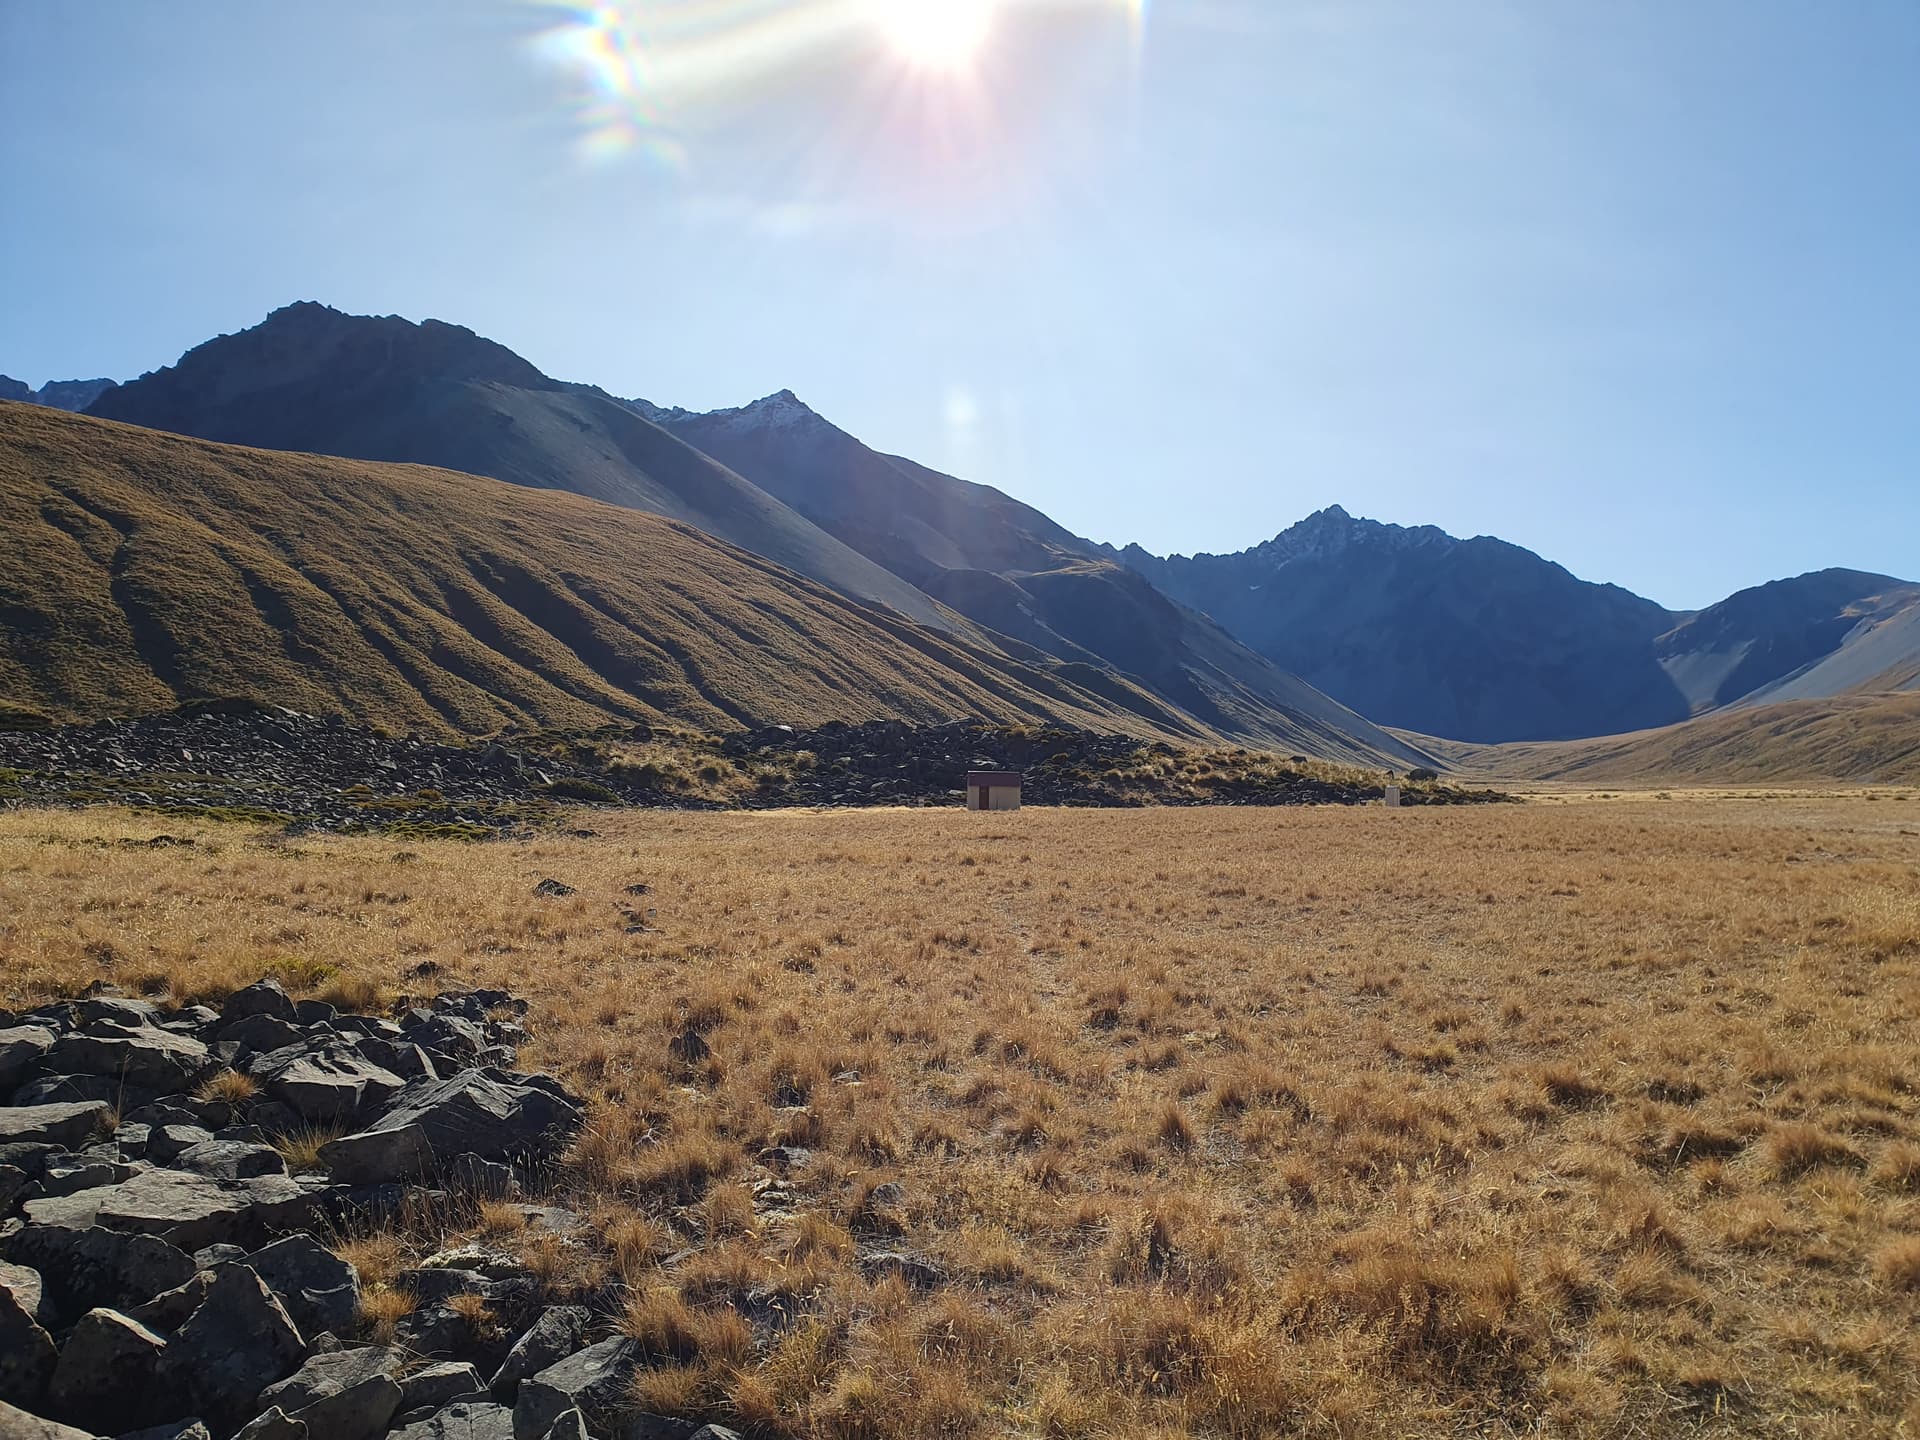
2337m summit of Mt St Mary from 1400m in the upper Snowy
The ascent is not straight forward, with no single line providing access through the many bluff systems, but weaving through the various chutes and scree faces we get to about 2200m with few problems. The final layer of bluffs 100m below the summit proves interesting, and in the end chamois prints in the snow lead to a tight rocky gut followed by an exposed sidle out onto the final scree slopes to the top.
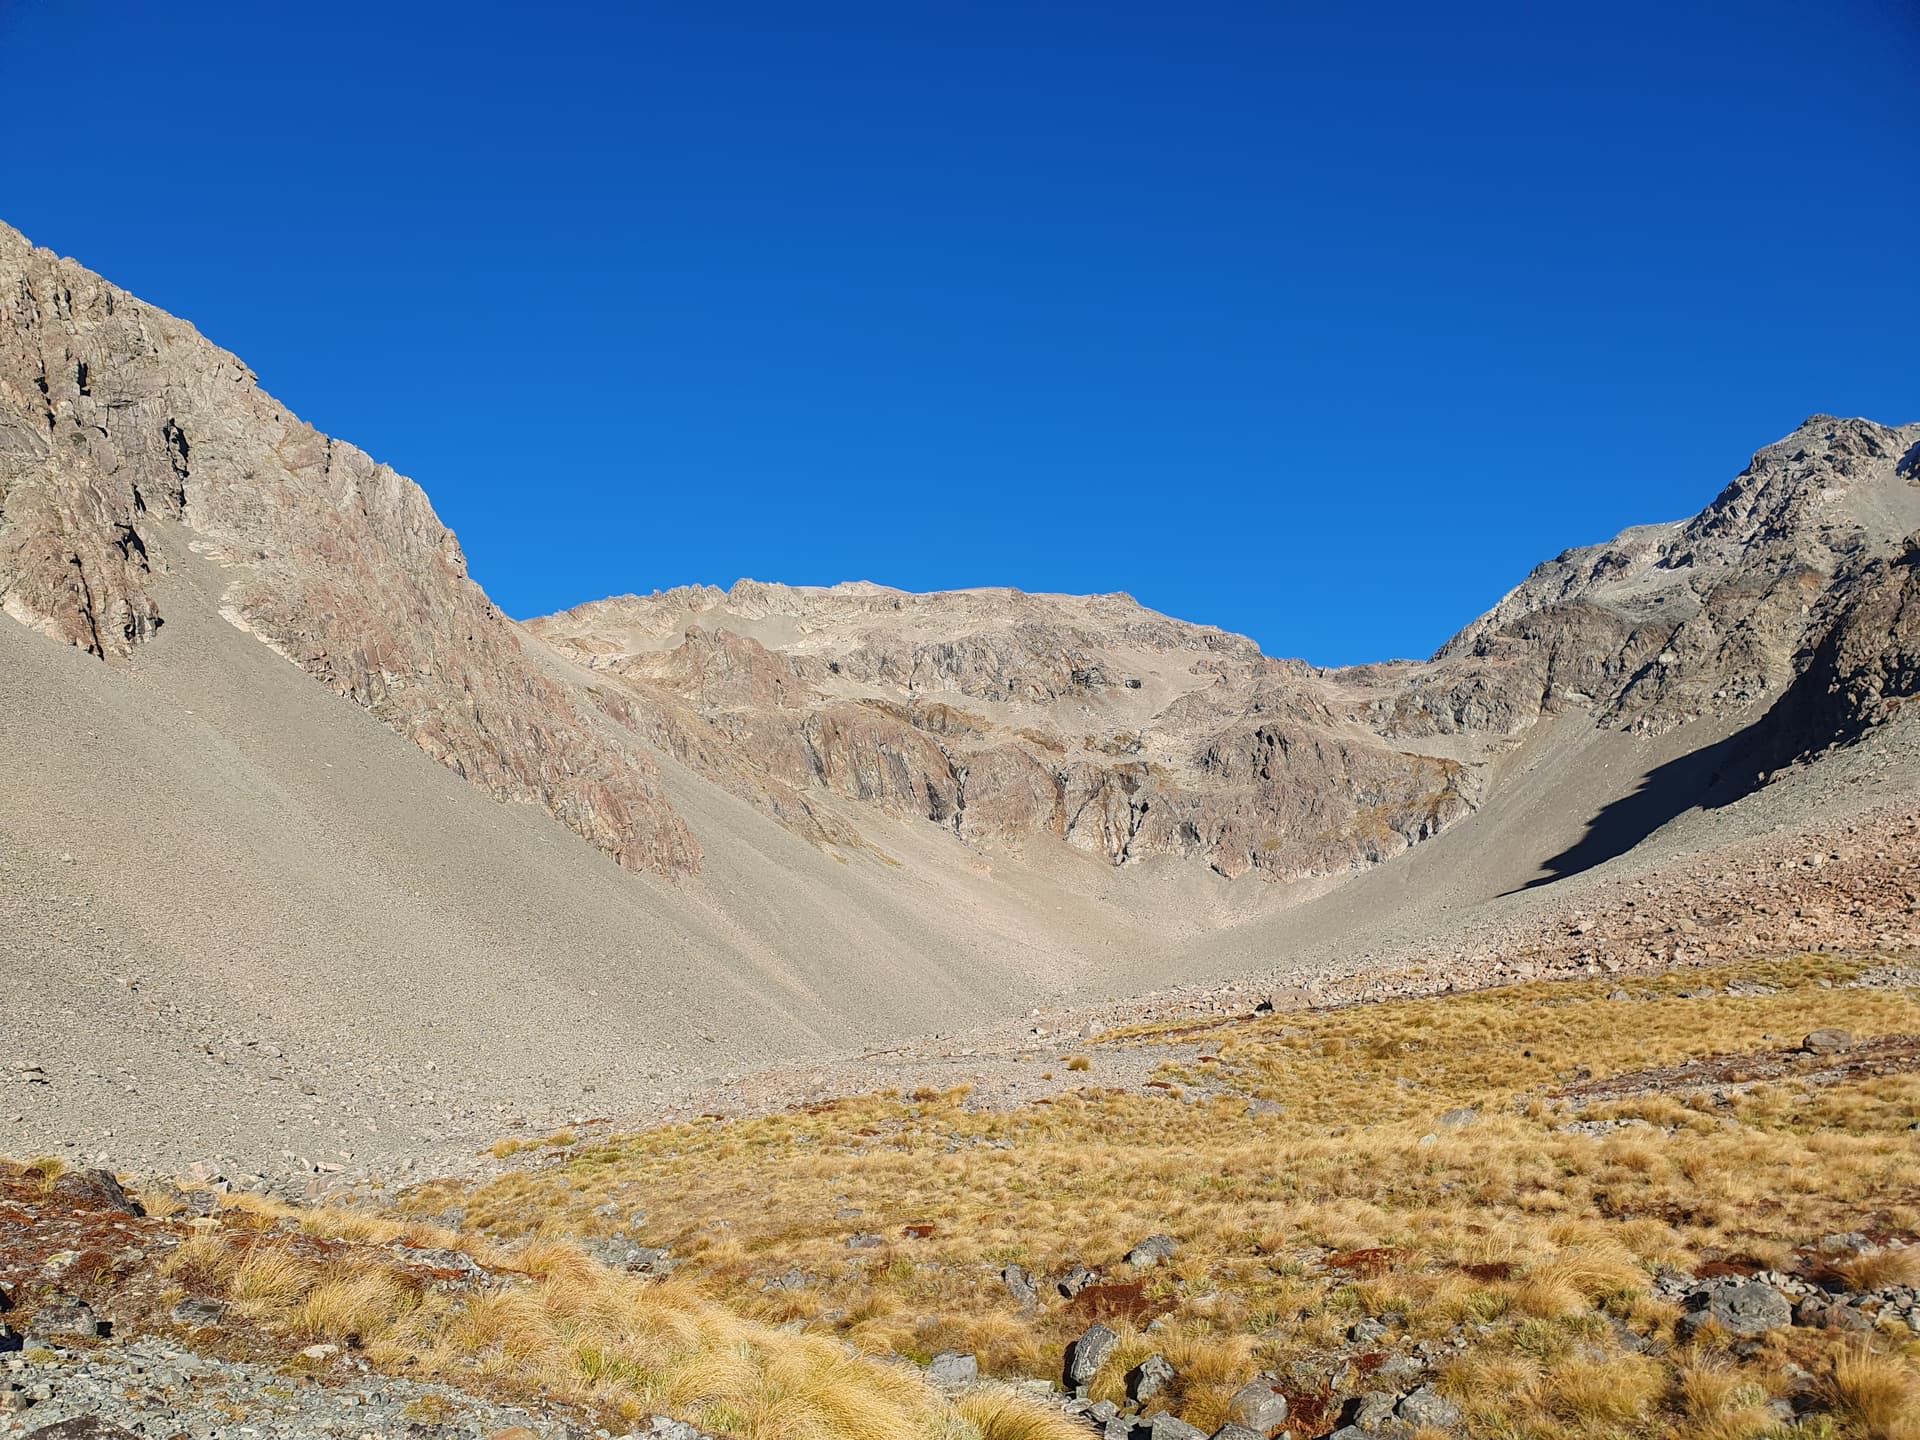
Views back down to the Ahiriri Valley 1600m below - there’s a road down there somewhere!

Ridgeline north - Ahuriri and Hodgekinsons Creeks below
The narrow, crumbling ridgeline appears tricky to activate - but convenient rocks anchored the two ends of the EFHW, and a handy slot supported the 6m SOTApole. 13 contacts were made with VK and ZL before the urge to ‘get ourselves off-of this mountain’ won out and I dropped back down the same route to the hut.
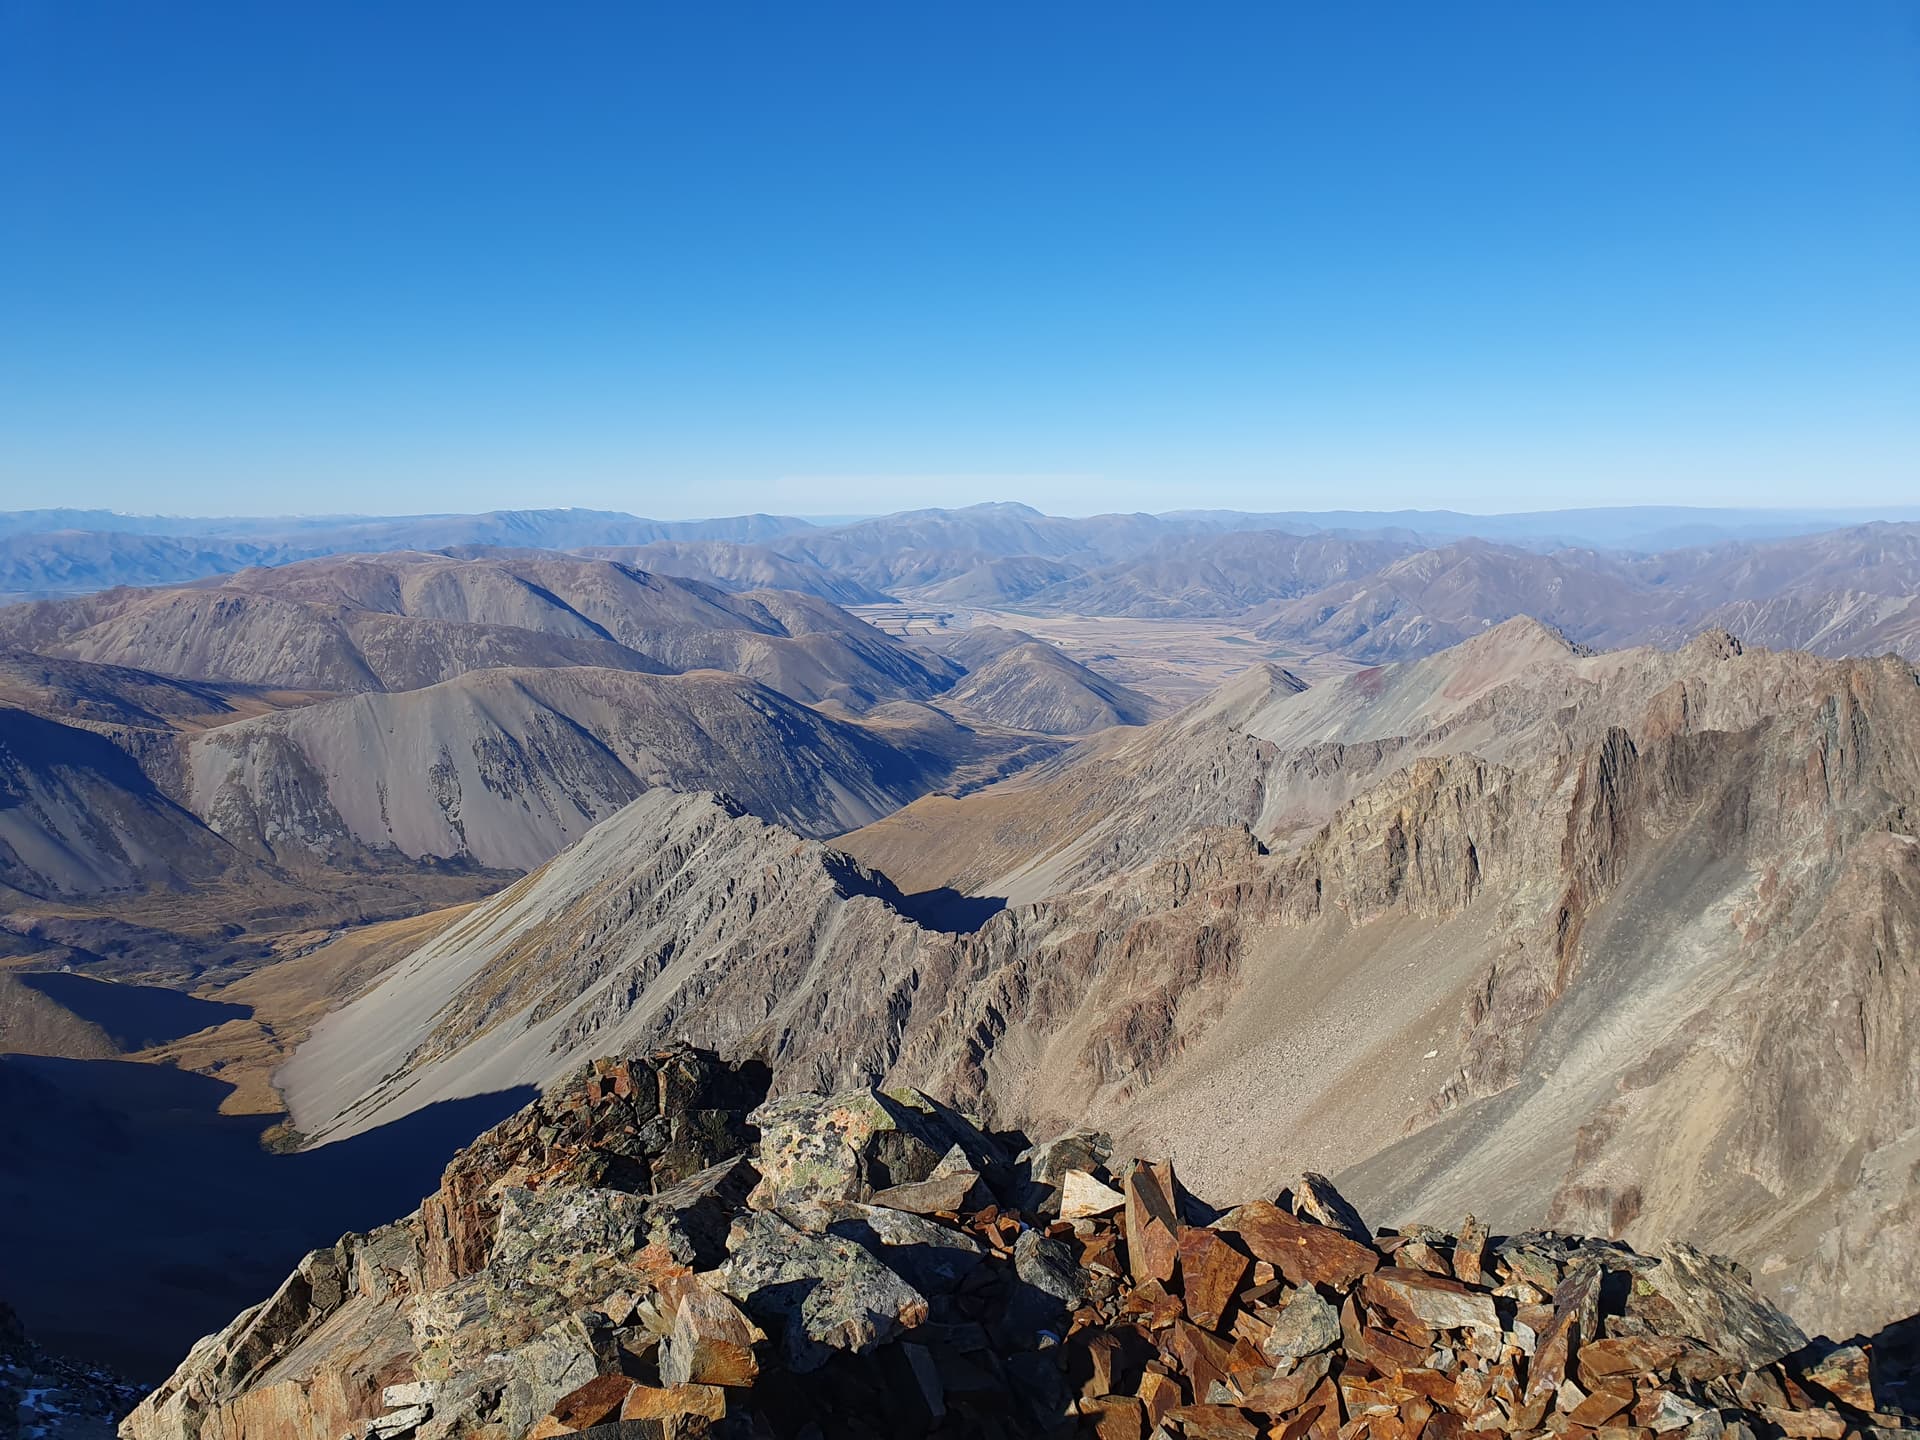
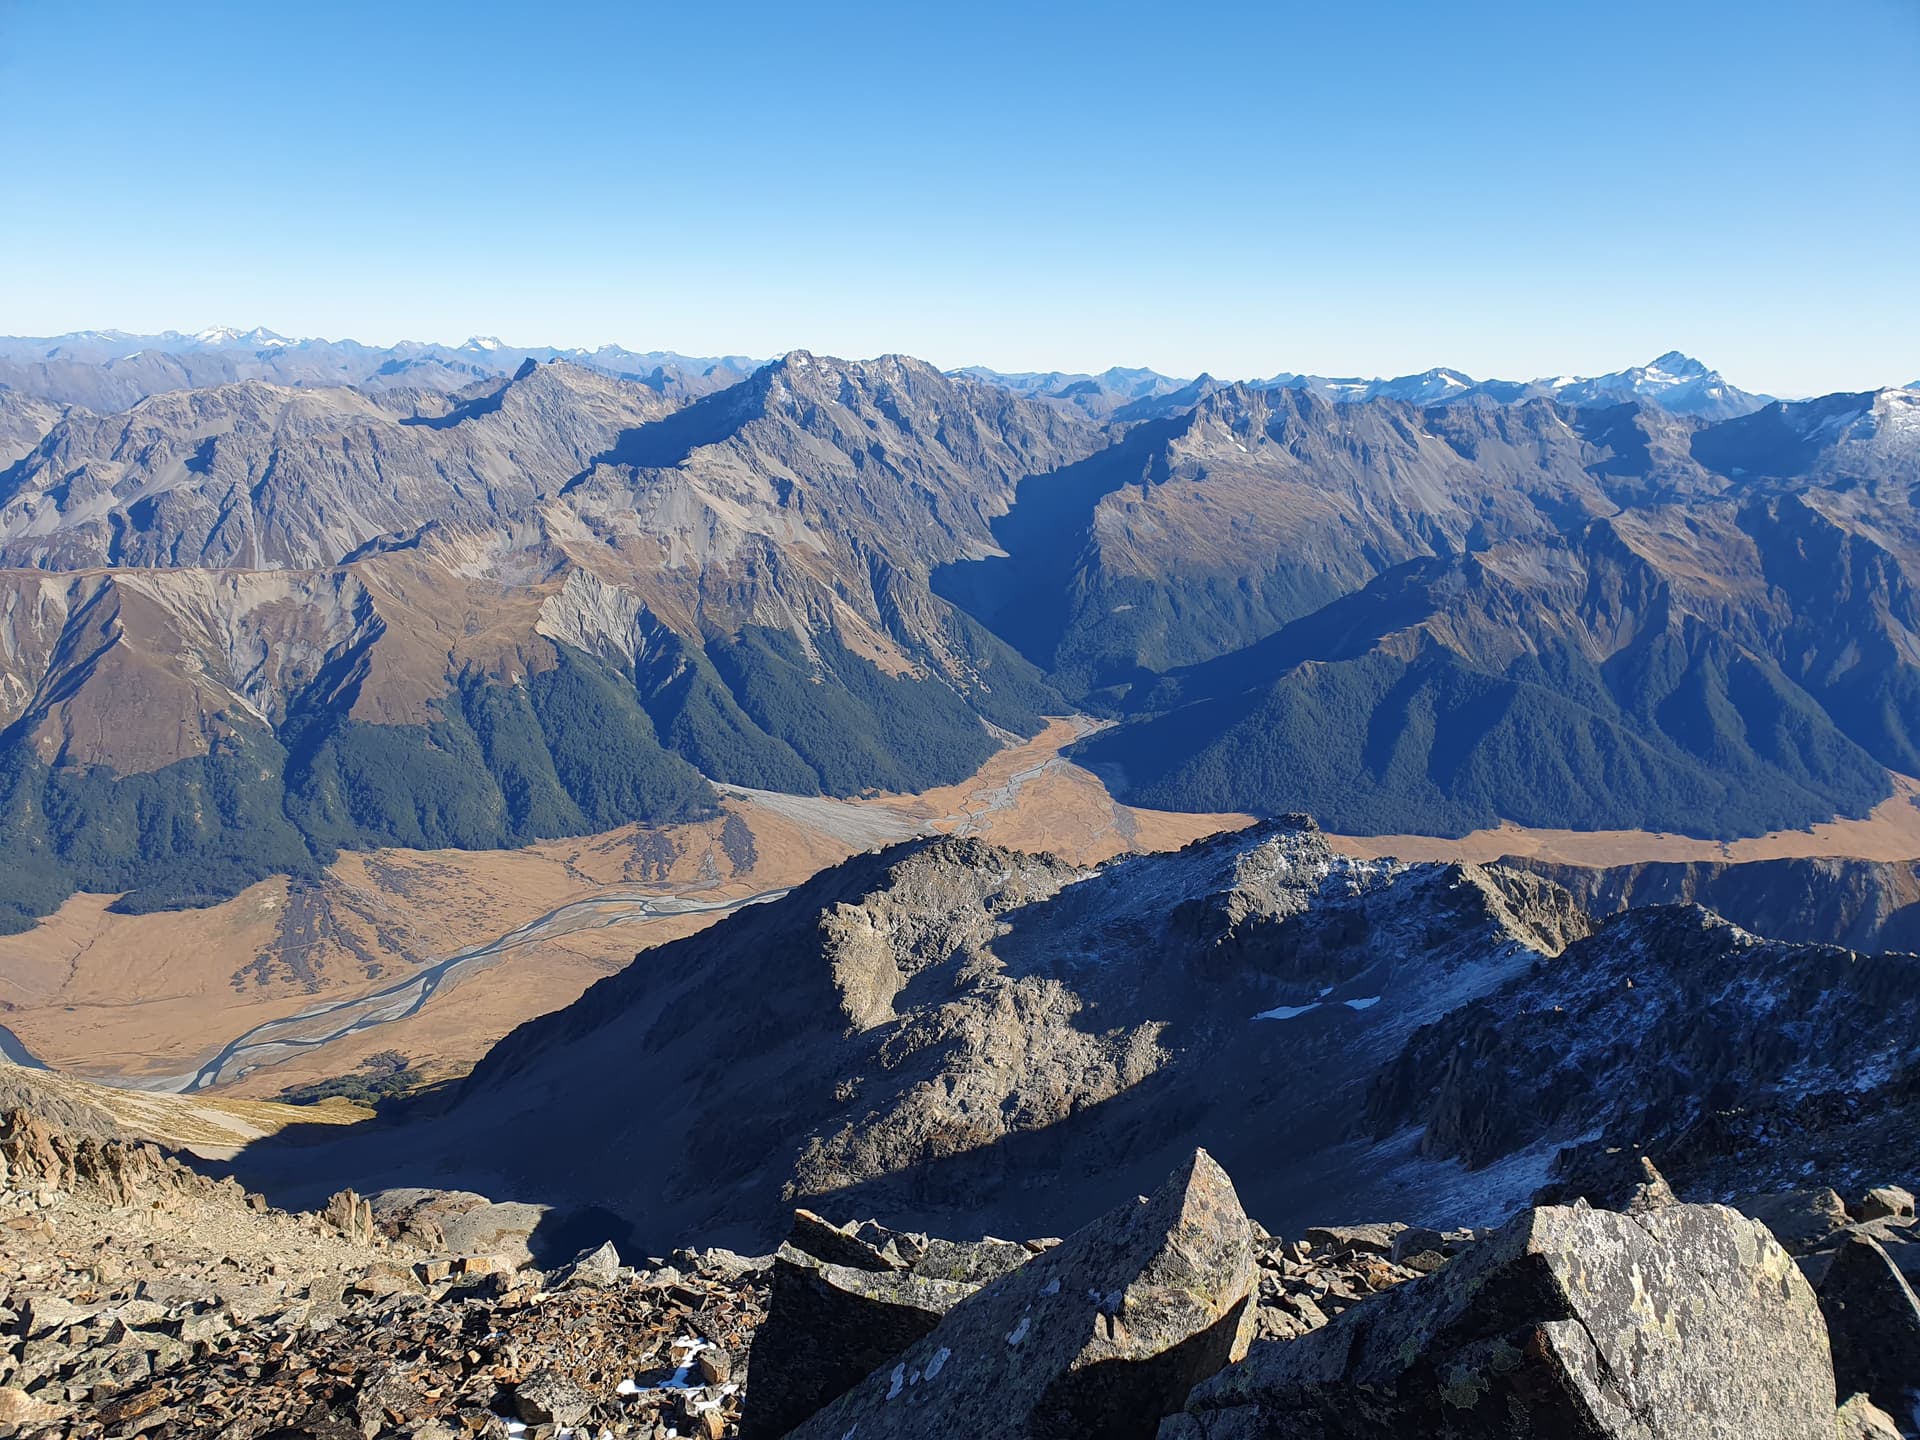
Views south from Mt St Mary into tamer country!
The ascent of Mt St Mary gave me the opportunity to spy out the climb to the ridgeline between Mts Stafford and Peterson - my other two targets. However, recent snow lingered on the dark southern face of the ascent, and the rocky scramble on a thin skimming of snow did not appeal. With one 10-pointer in the bag I decided to lower my sights and explore the easier country to the south.
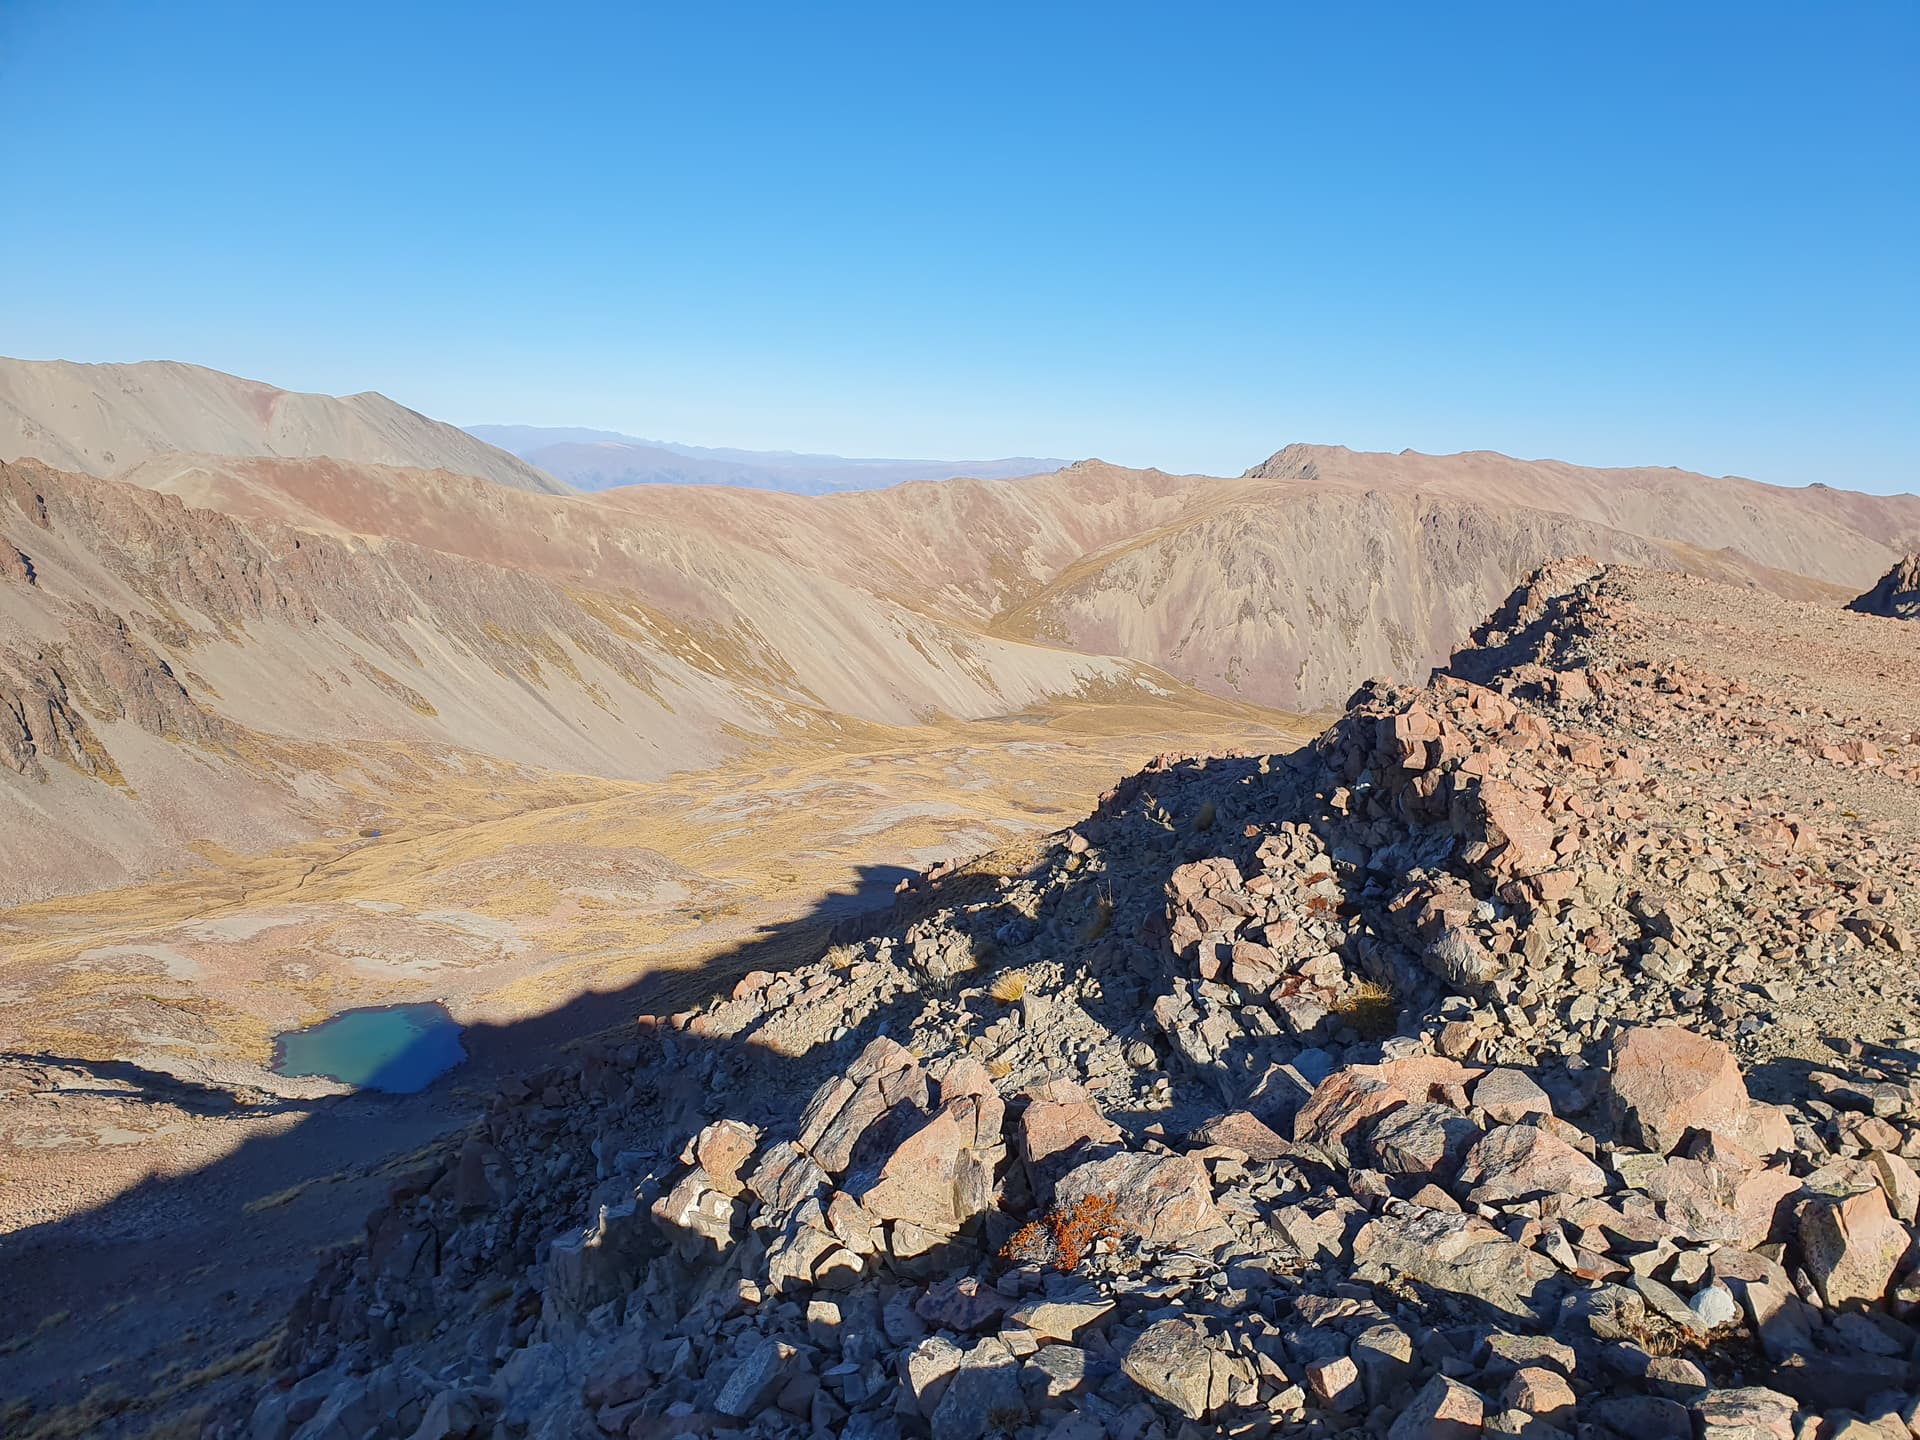
Tops South of Snowy Gorge Hut, looking across to ZL3/CB-283 (Stoney Peak NE summit), far-right
An 800m climb from the hut leads onto the plateau south of the Snowy, cut by barren valleys - rock and tussock landscape only broken by occasional tarns. A final 400m scramble on weary legs led me to the NE summit of Stoney Peak [ZL3/CB-283] (8pts) just on sunset for a second peak for the day.
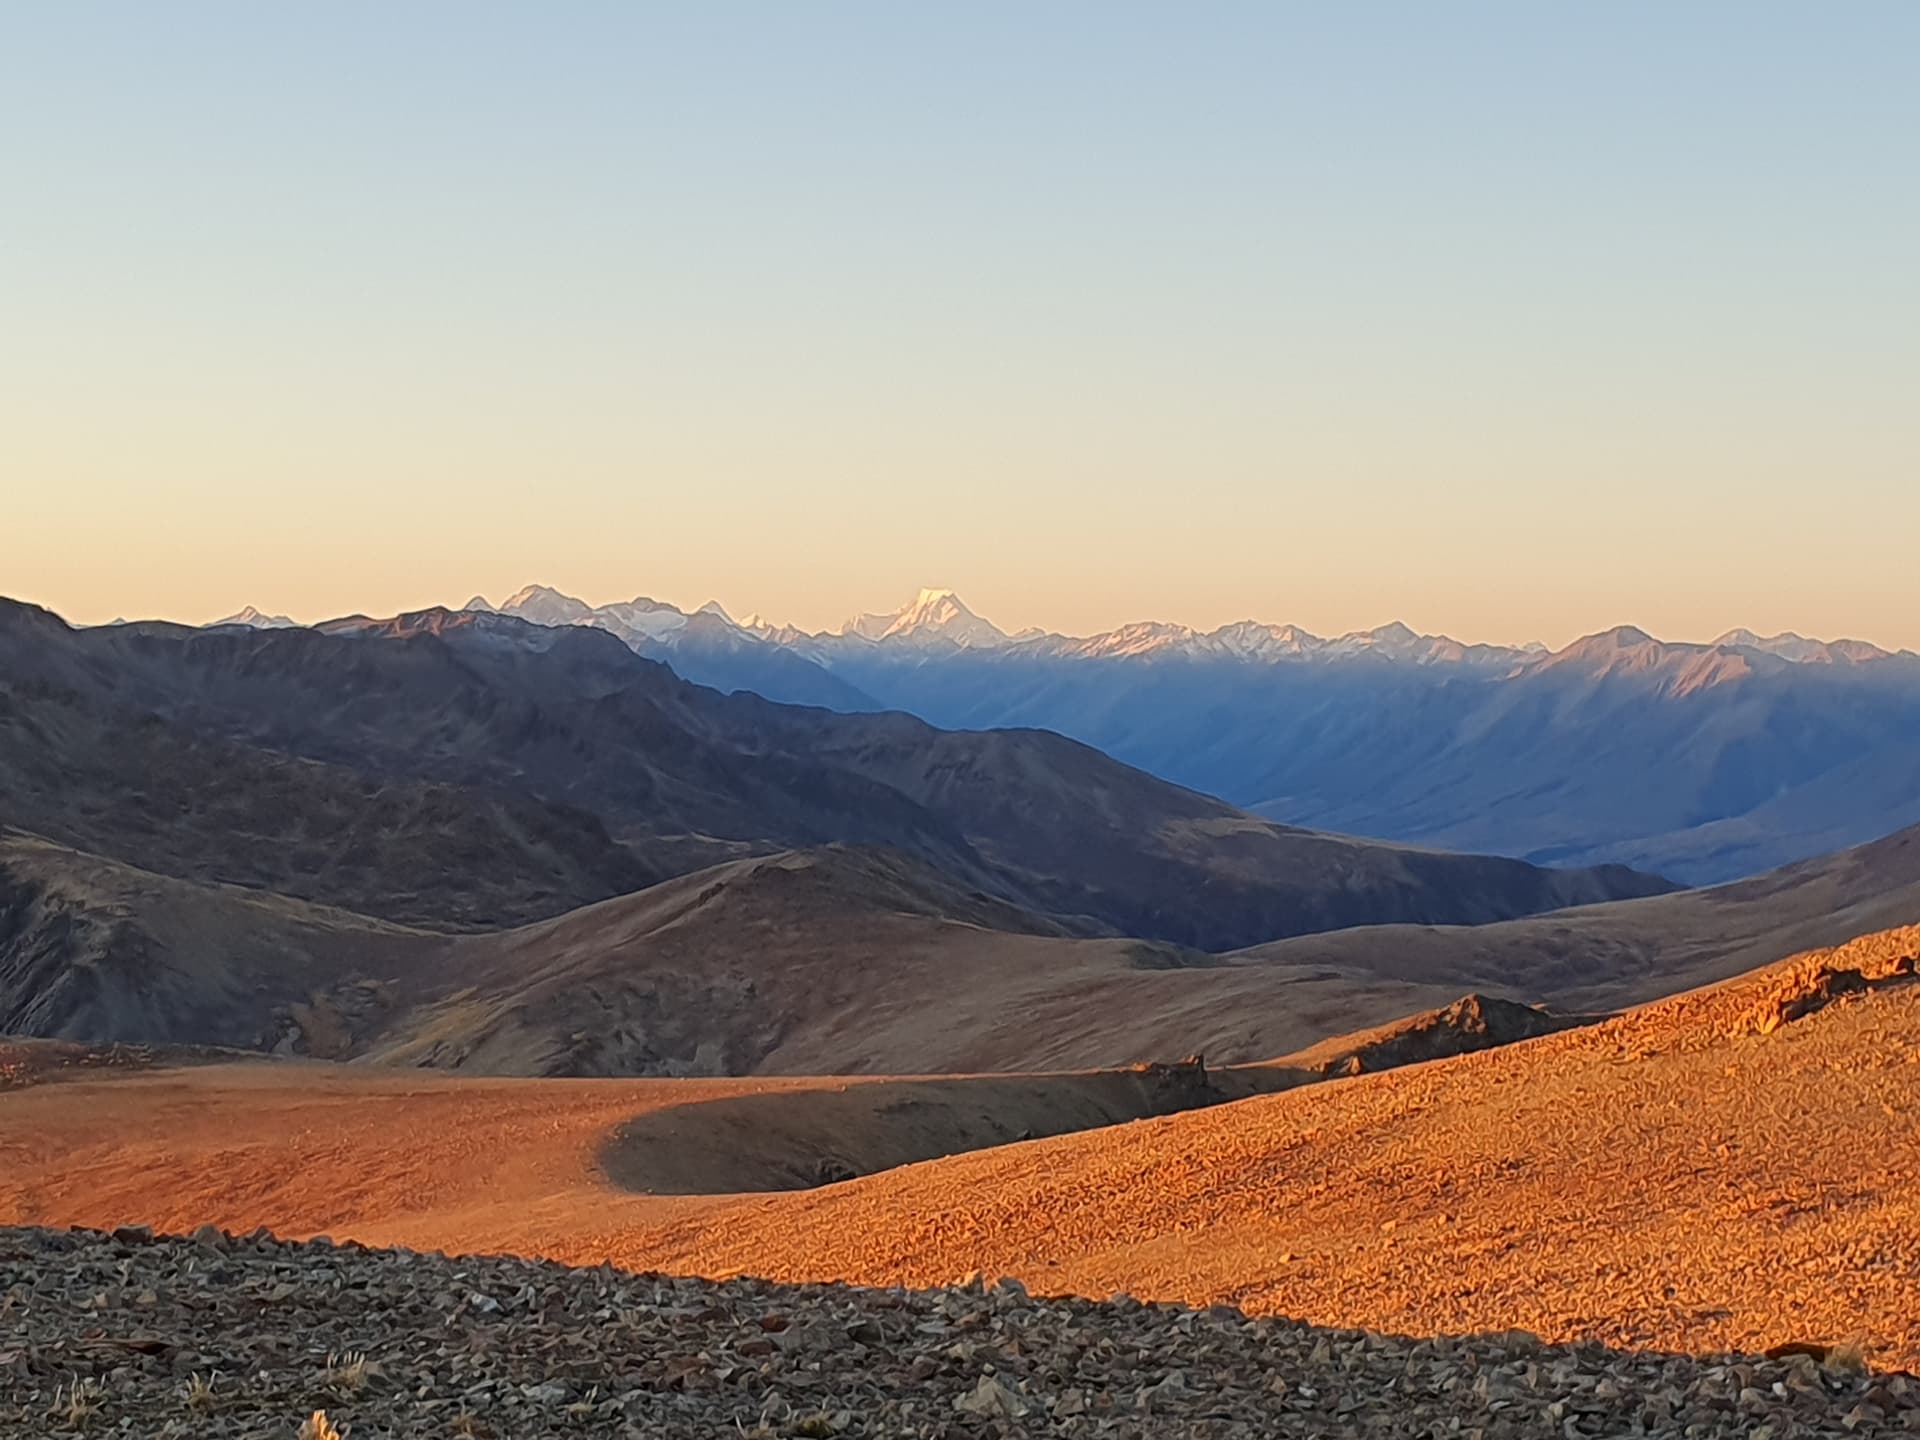
In the distance, Mt Cook - ZL3/CB-001 provides a stunning backdrop from ZL3/CB-283 - Stoney Peak (NE) - 8pts
20m opens up to Europe just as the sun sets, and I’m forced to pack away the radio and leave the pileup hanging. 15 in the log including VK, ZL, SM, KB and LU, and a S2S with VK1DA.
A challenging 600m descent through rock, scree and tussock by torchlight leads to great campspots at the tarns SE of Stoney Peak.
Day 2: Total climb: 2500m
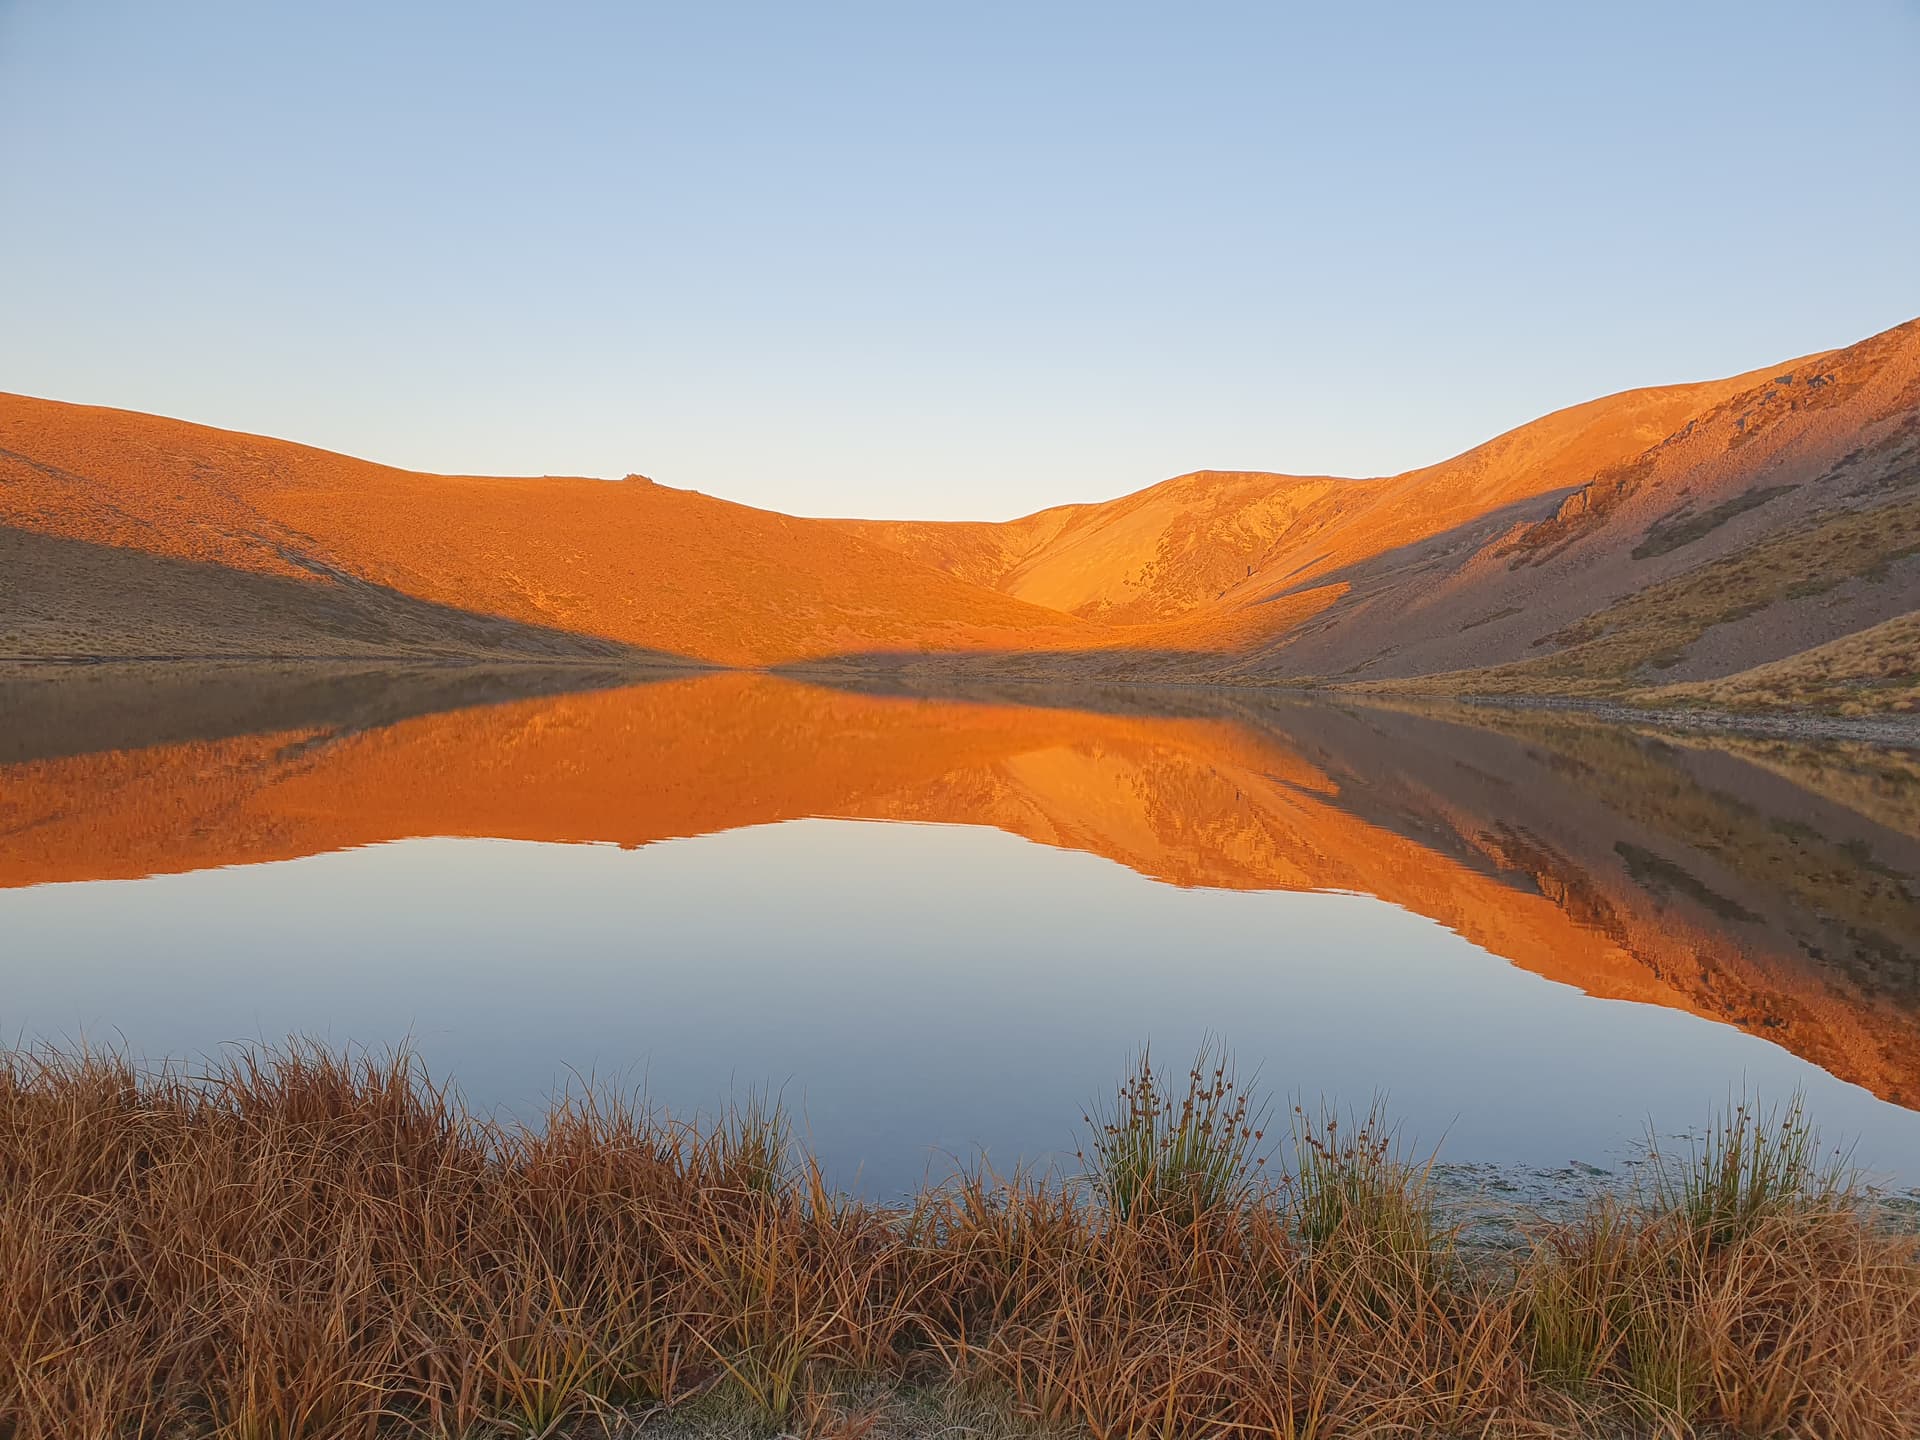
Dawn over unnamed tarns SE of Stoney Peak
===
Day 3:
Snowy Top - ZL3/CB-853; ZL3/CB-615; ZL3/CB-535; Hideaway Biv - ZLH/CB-092
After descending to the valley and crossing the deep-trodden Te Araroa Trail, day 3 starts with another 1000m climb to the Diadem Range beyond.
Back to Stoney Peak (left) from Diadem Range, Ahuriri East valley below
I’ve alerted for 10:30am but completely miscalculated the climb, and don’t arrive on Snowy Top - ZL3/CB-853 (6pts) till half past eleven. Apologies to chasers are required. Despite missing my schedule by an hour, 11 contacts result on a mix of 20m and 40m with a S2S with ZL2ATH on ZL1/WL-129

Not much snow on Snowy Top - ZL3/CB-853 - 6pts. Ahuriri Valley beyond
The return trip north takes me back down to the Te Araroa Trail, and over the minor range stranded out in the Ahuriri Valley floor. Two summits, separated by a 400m deep scoured gorge.

ZL3/CB-614 - 2 pts (left) and ZL3/CB-535 - 4 pts (right) above the Ahuriri Valley floor
Again the bands to EU are opening as the sun sets on me for the second day running. 5pm local time, and I’m forced to abandon the pile-up with 22 in the log including ZL, VK, F, OK and S57S.
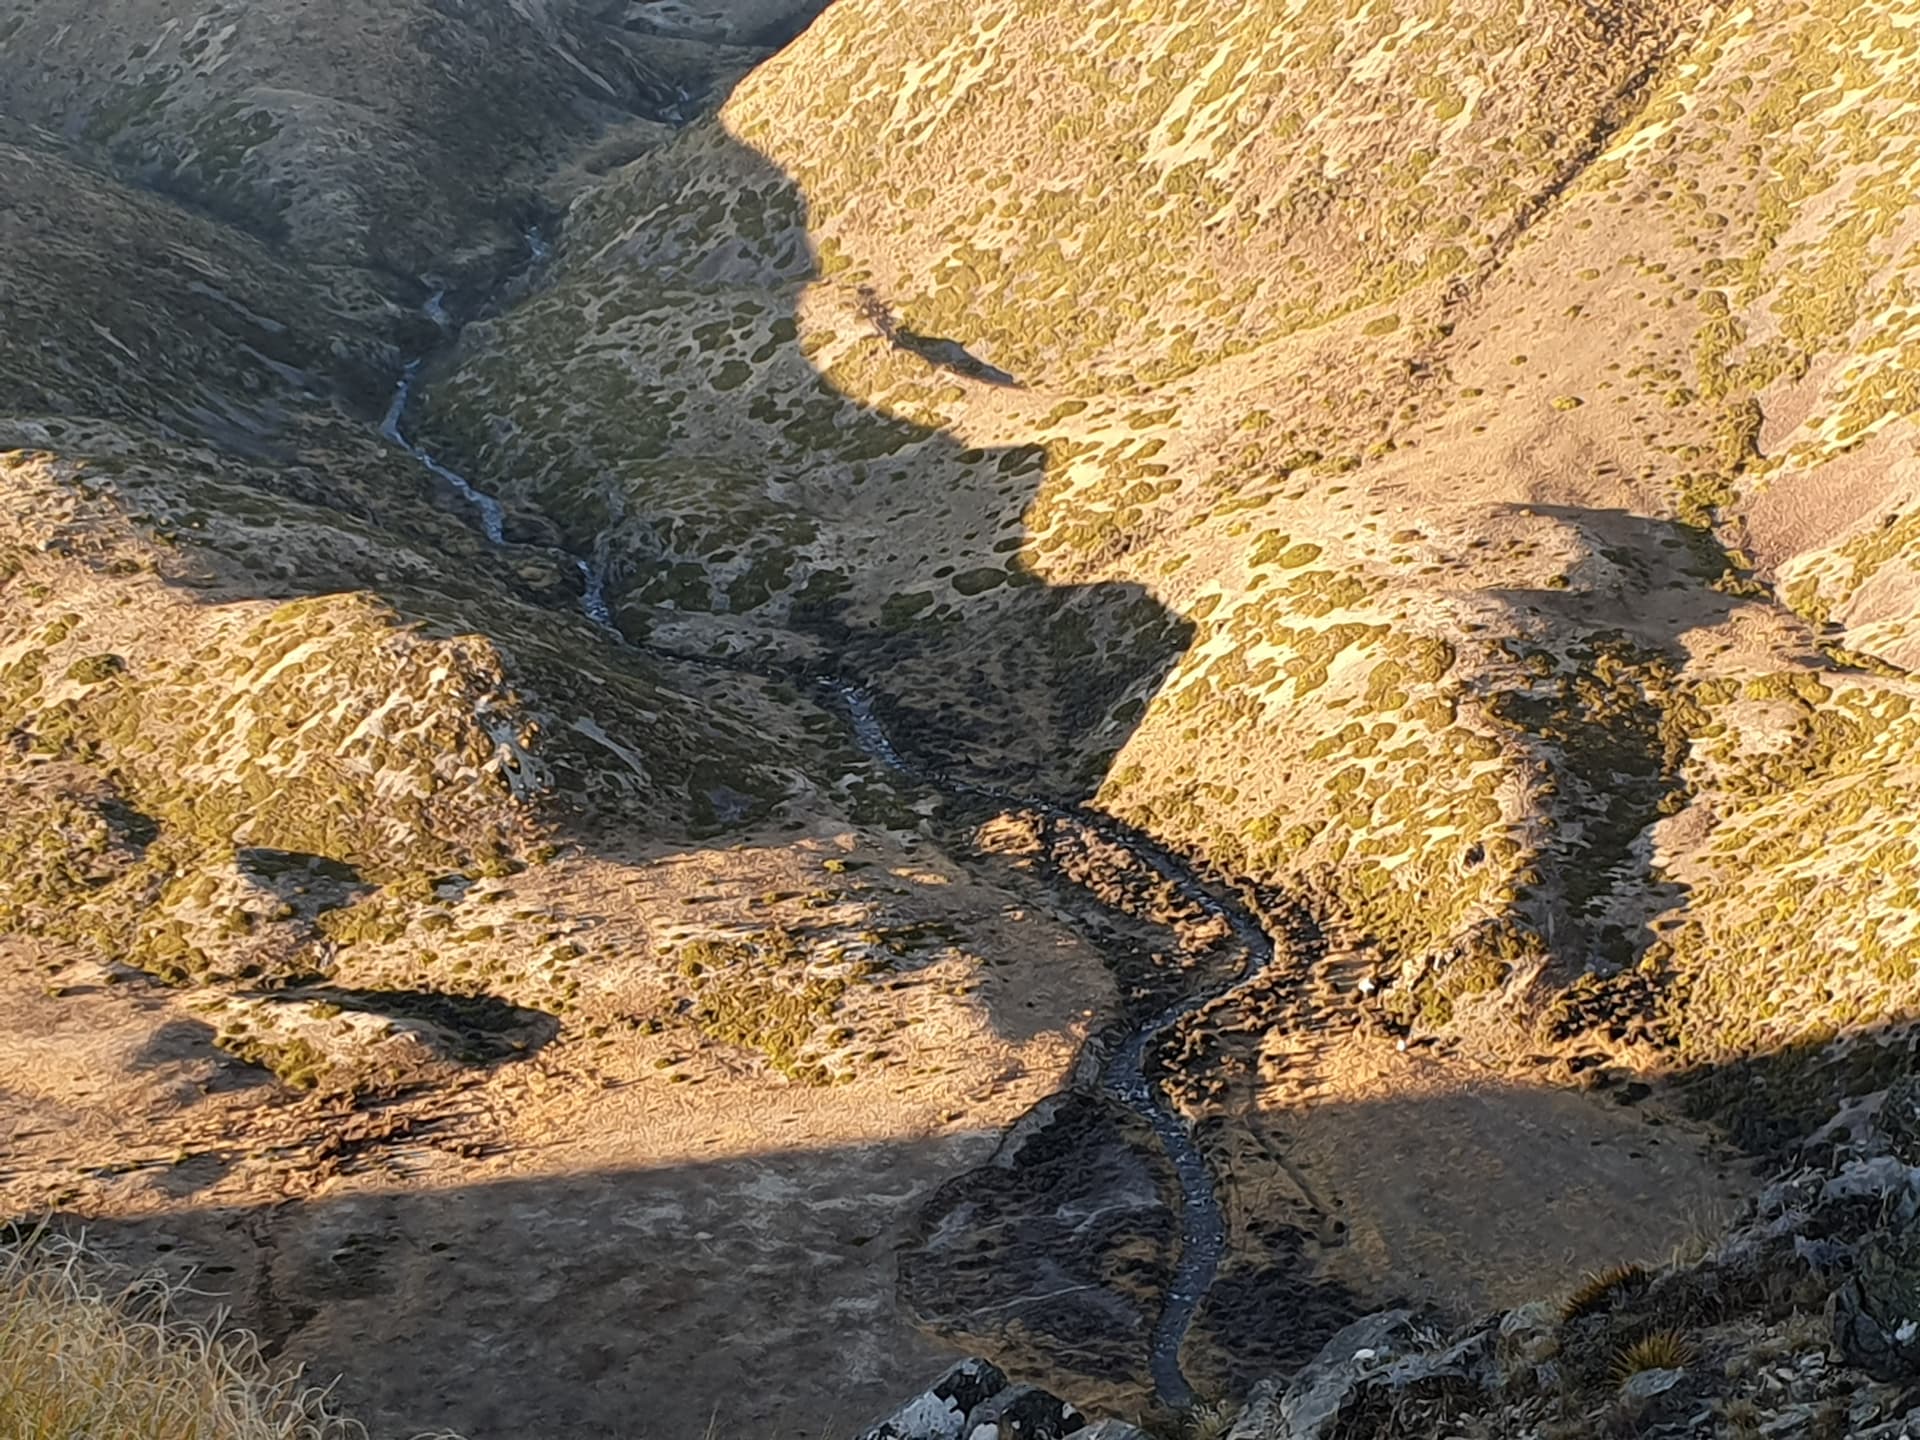
A very steep run/slither down a scree/hardpack face leads from ZL3/CB-535 to Hideaway Biv in the valley below (white dot right of river at base of far slope).
Day 3: Total climb: 1900m
====
Day 4:
ZL3/OT-387 - West Wanaka Bluffs
Day 4 was supposed to be the drive home, but with a 10, 8, 6, 4 and 2 pointers in the bag, it seemed a shame to not activate a 1-pointer too! So the trip home took a wee detour to Glendhu Bay west of Wanaka to activate the unactivated 1-point peak ZL3/OT-383. This summit lies on private land (Minaret Station) but the southern end of the activation zone extends into the West Wanaka Bluffs Conservation Area.
A DOC trapline leads to the summit of the bluffs from the north end of the bridge, marked with blue triangles - a steep brief scramble weaving through lush, tangled bush. The fenceline at the top is the boundary of public land, and lies within the 460m contour around this 483m summit.
26 contacts follow including 2 summits, 3 parks and a lake. The leisurely activation only ends when the battery pack powering my amplifier finally drops below-voltage.
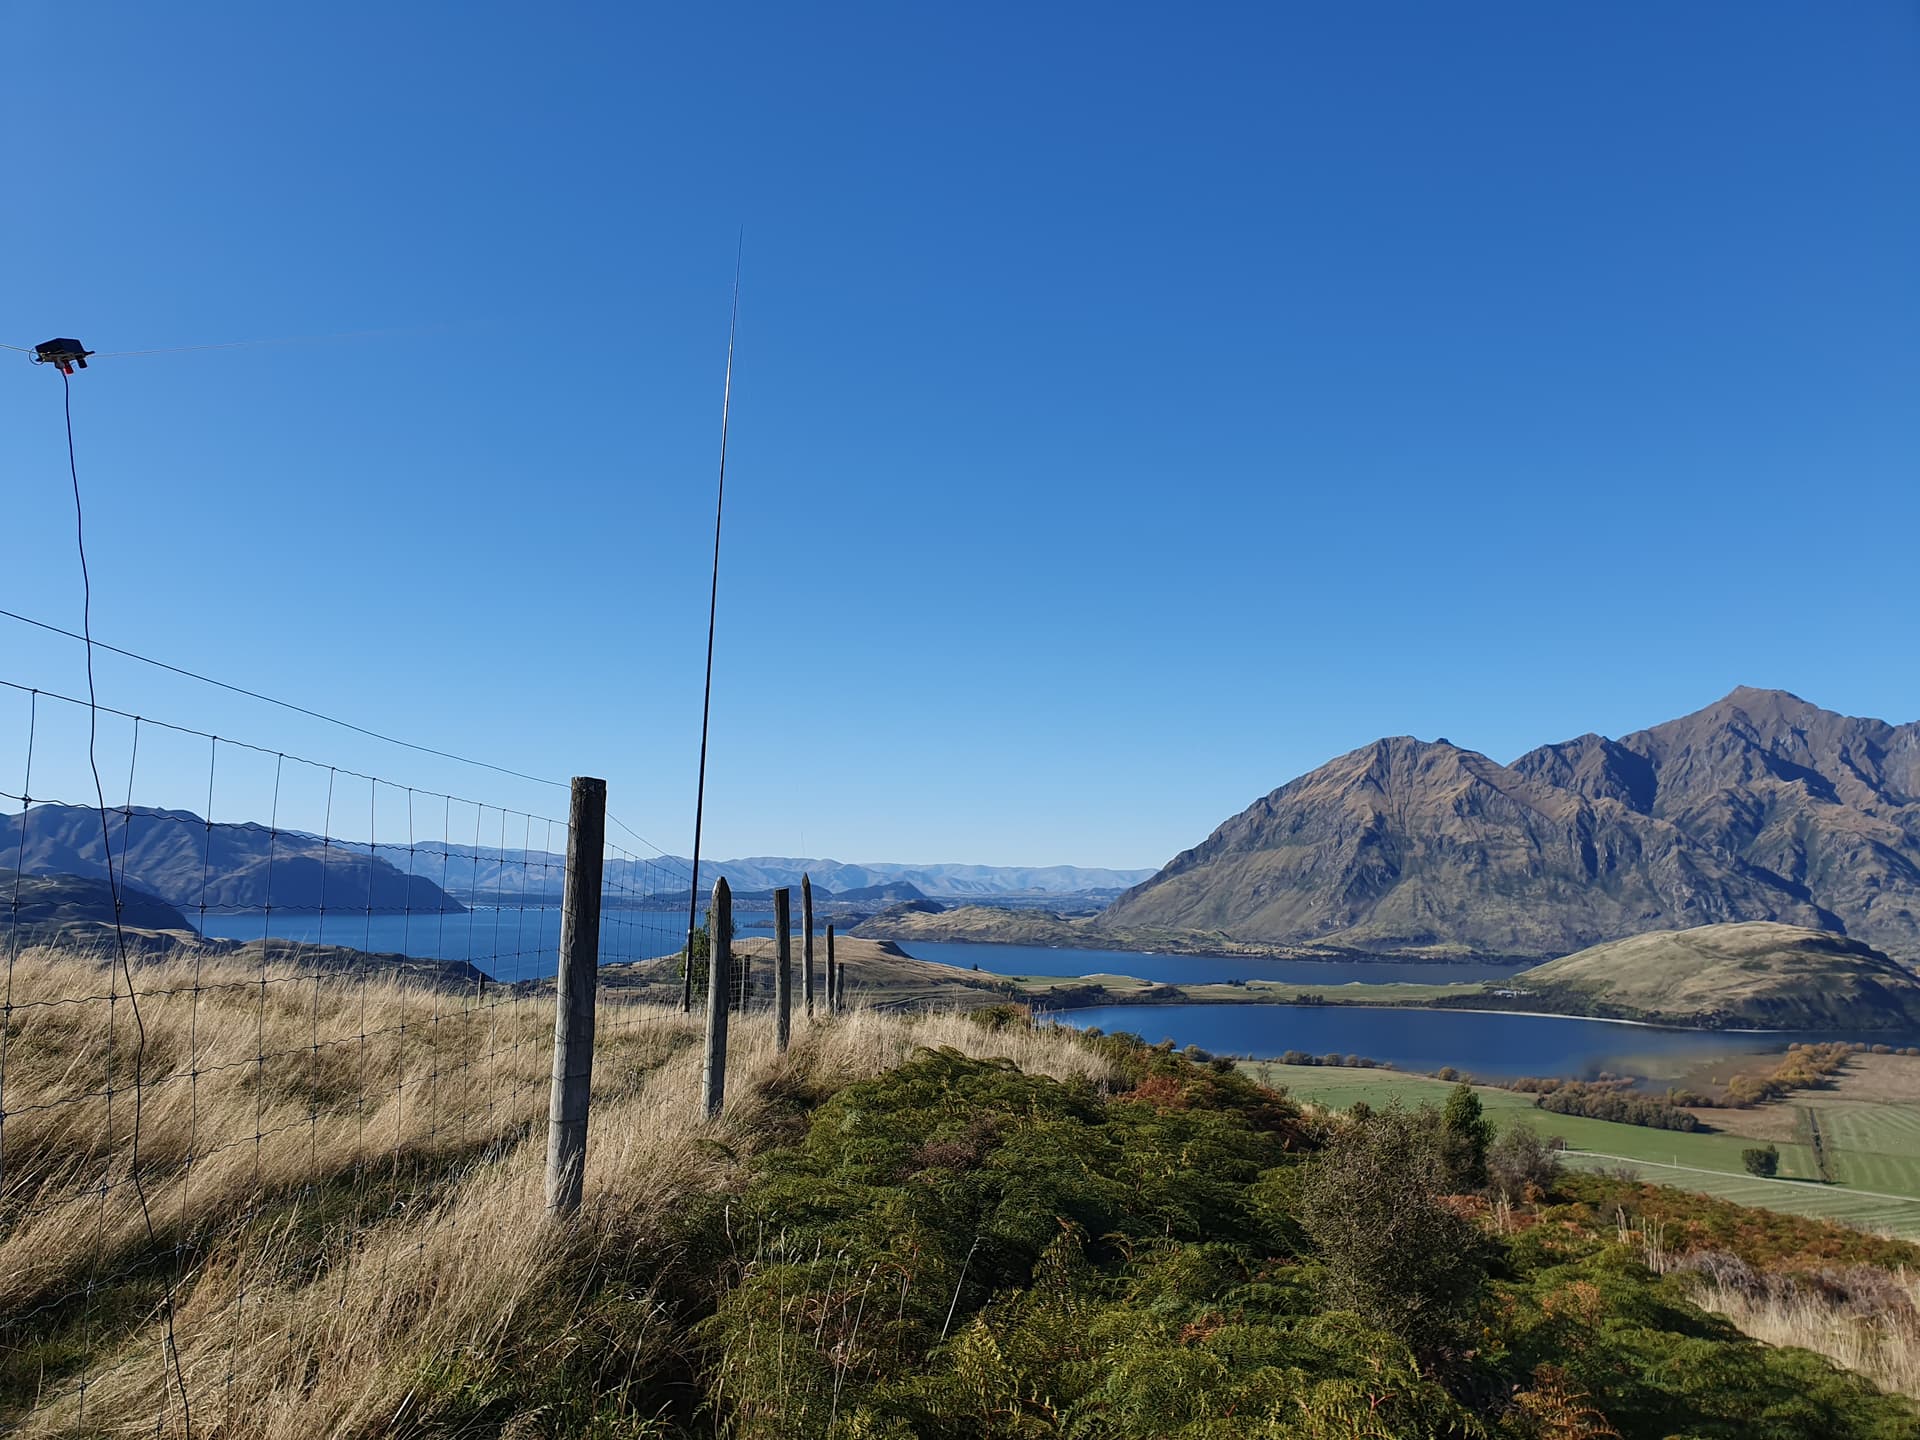
Lake Wanaka and Roys Peak from West Wanaka Bluffs
Day 4: Total climb: 160m!
====
So does a flush of 10, 8, 6, 4, 2 and 1 beat three 10s?