Day 1
Working as we do in the backcountry, the red stag roar is a time of year during which our presence is generally not welcome. Huts packed with hunters there to experience their balloted hunting block generally do not appreciate a pack of noisy track-cutters and chainsaws, or trappers marching through their wilderness. So March-April is a good time to take some leave.
Of course, the same applies to potential tramping country - and it’s a good time to avoid huts entirely. But thankfully week one of my leave showed a good clear forcast, so tent & radio get packed and we head off through the hour-long tourist-traffic jam that is Queenstown for the township of Glenorchy and the Whakaari Conservation Area.
Basemap CC(attribution) Land Information New Zealand
The front country above Glenorchy was once dominated by mining, with gold first mined in the 1860s and later larger-scale scheelite mines starting a couple of decades later. The mines now long-exhausted, the faces east of the town are criss-crossed with old mine access roads, blasted through impassable bluffs, slipped out where they cross unstable ground. A scattering of old miners’ huts provide a popular destination for locals and tourists alike. This being Otago Anniversary Weekend, the carpark at the entry to Buckler Burn is jam-packed, and I nose carefully in beside a gravel-heap, hoping that any roadwork digger-driver visiting in the next 3 days is skilled and careful. Two cars are unloading overseas visitors - all destined for Heather Jock Hut for an ascent of Mt Larkins. They appear equipped with nothing more technical than trail runners and hiking poles, so are either far more skilled than I am, or in for a rude shock - I never do know which.
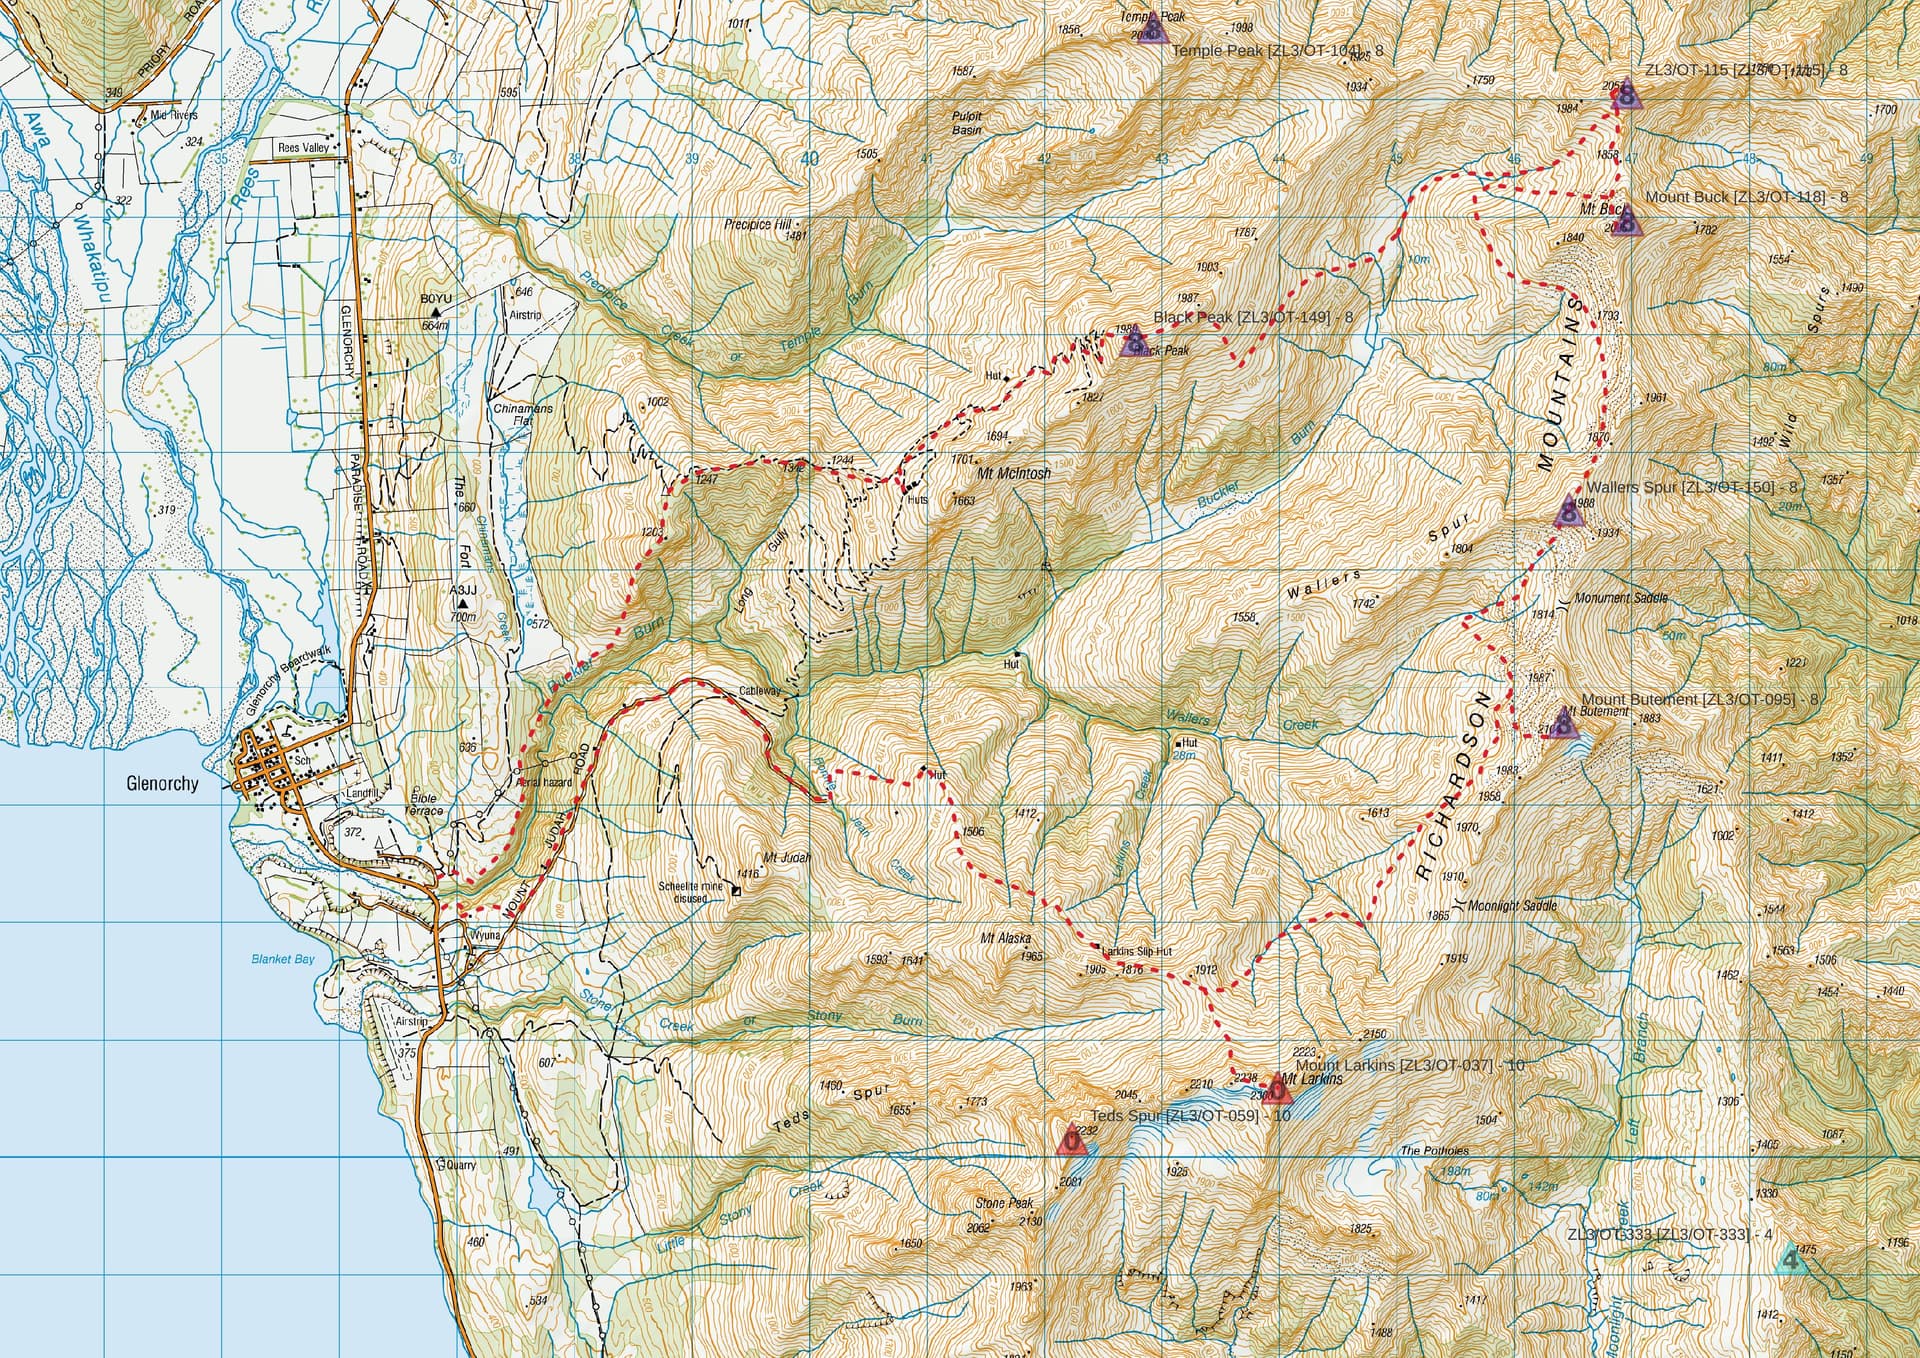
Glenorchy, from McIntosh Spur
The McIntosh loop track follows the fenceline of conservation land, climbing steadily from the 380m road bridge to the 1247m sub-summit housing the repeater station, where it joins the old mining road to the McIntosh mines and follows it to McIntosh Huts at 1450m. A steady stream of hikers pass in the other direction - 13 in all in the hut-book at McIntosh hut the previous night, and I’m glad of my decision to bring the tent.
Beyond the huts, the tracks become vaguer and more slipped out, but can be followed to within 100 vertical meters of the 1989m summit of Black Peak.
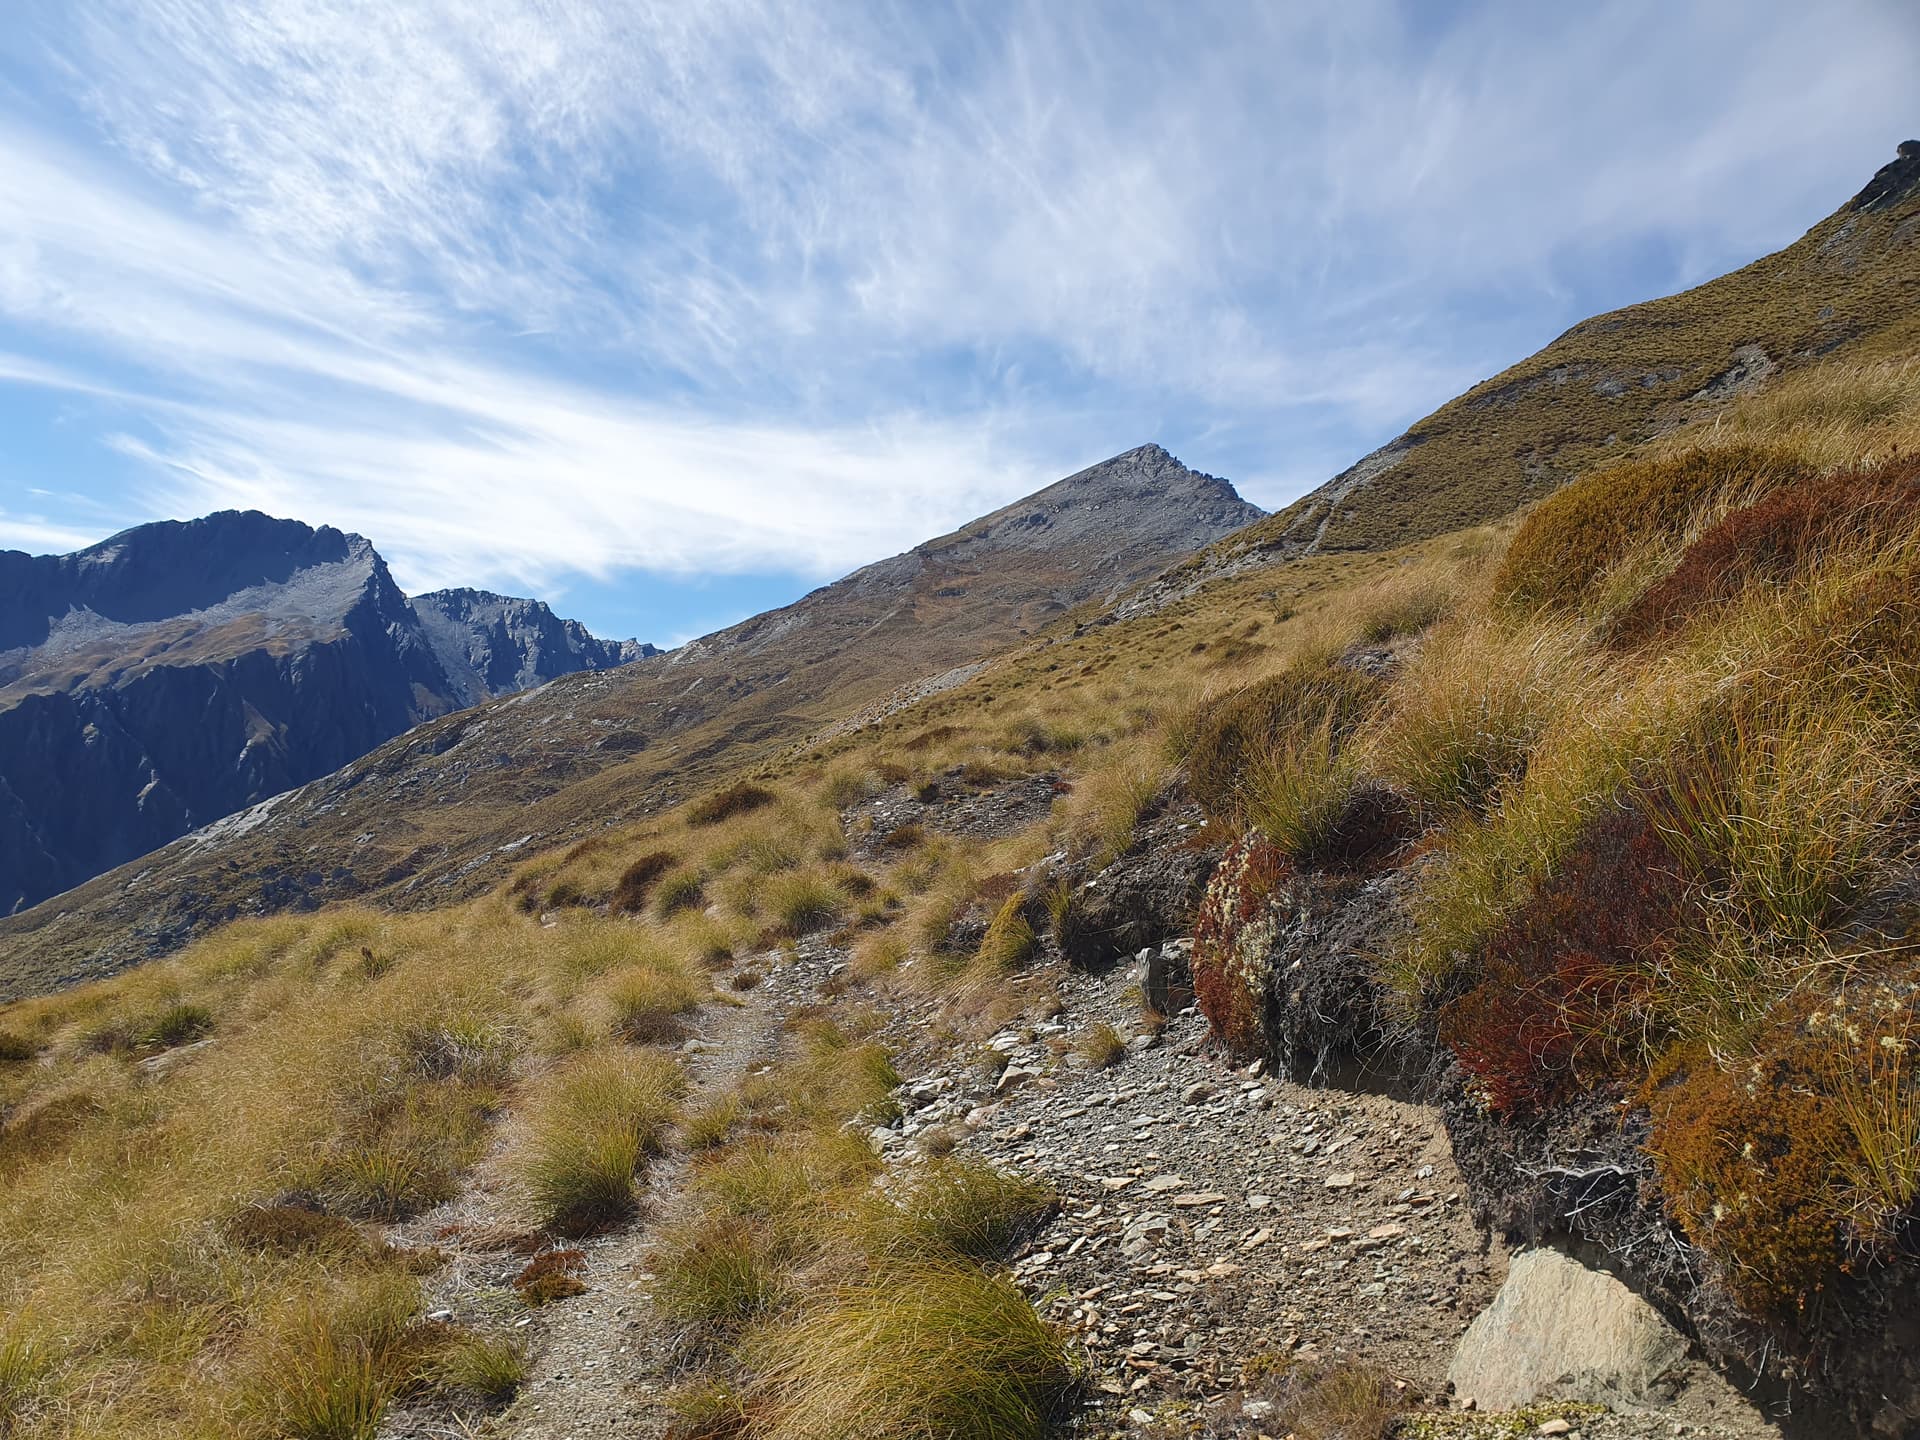
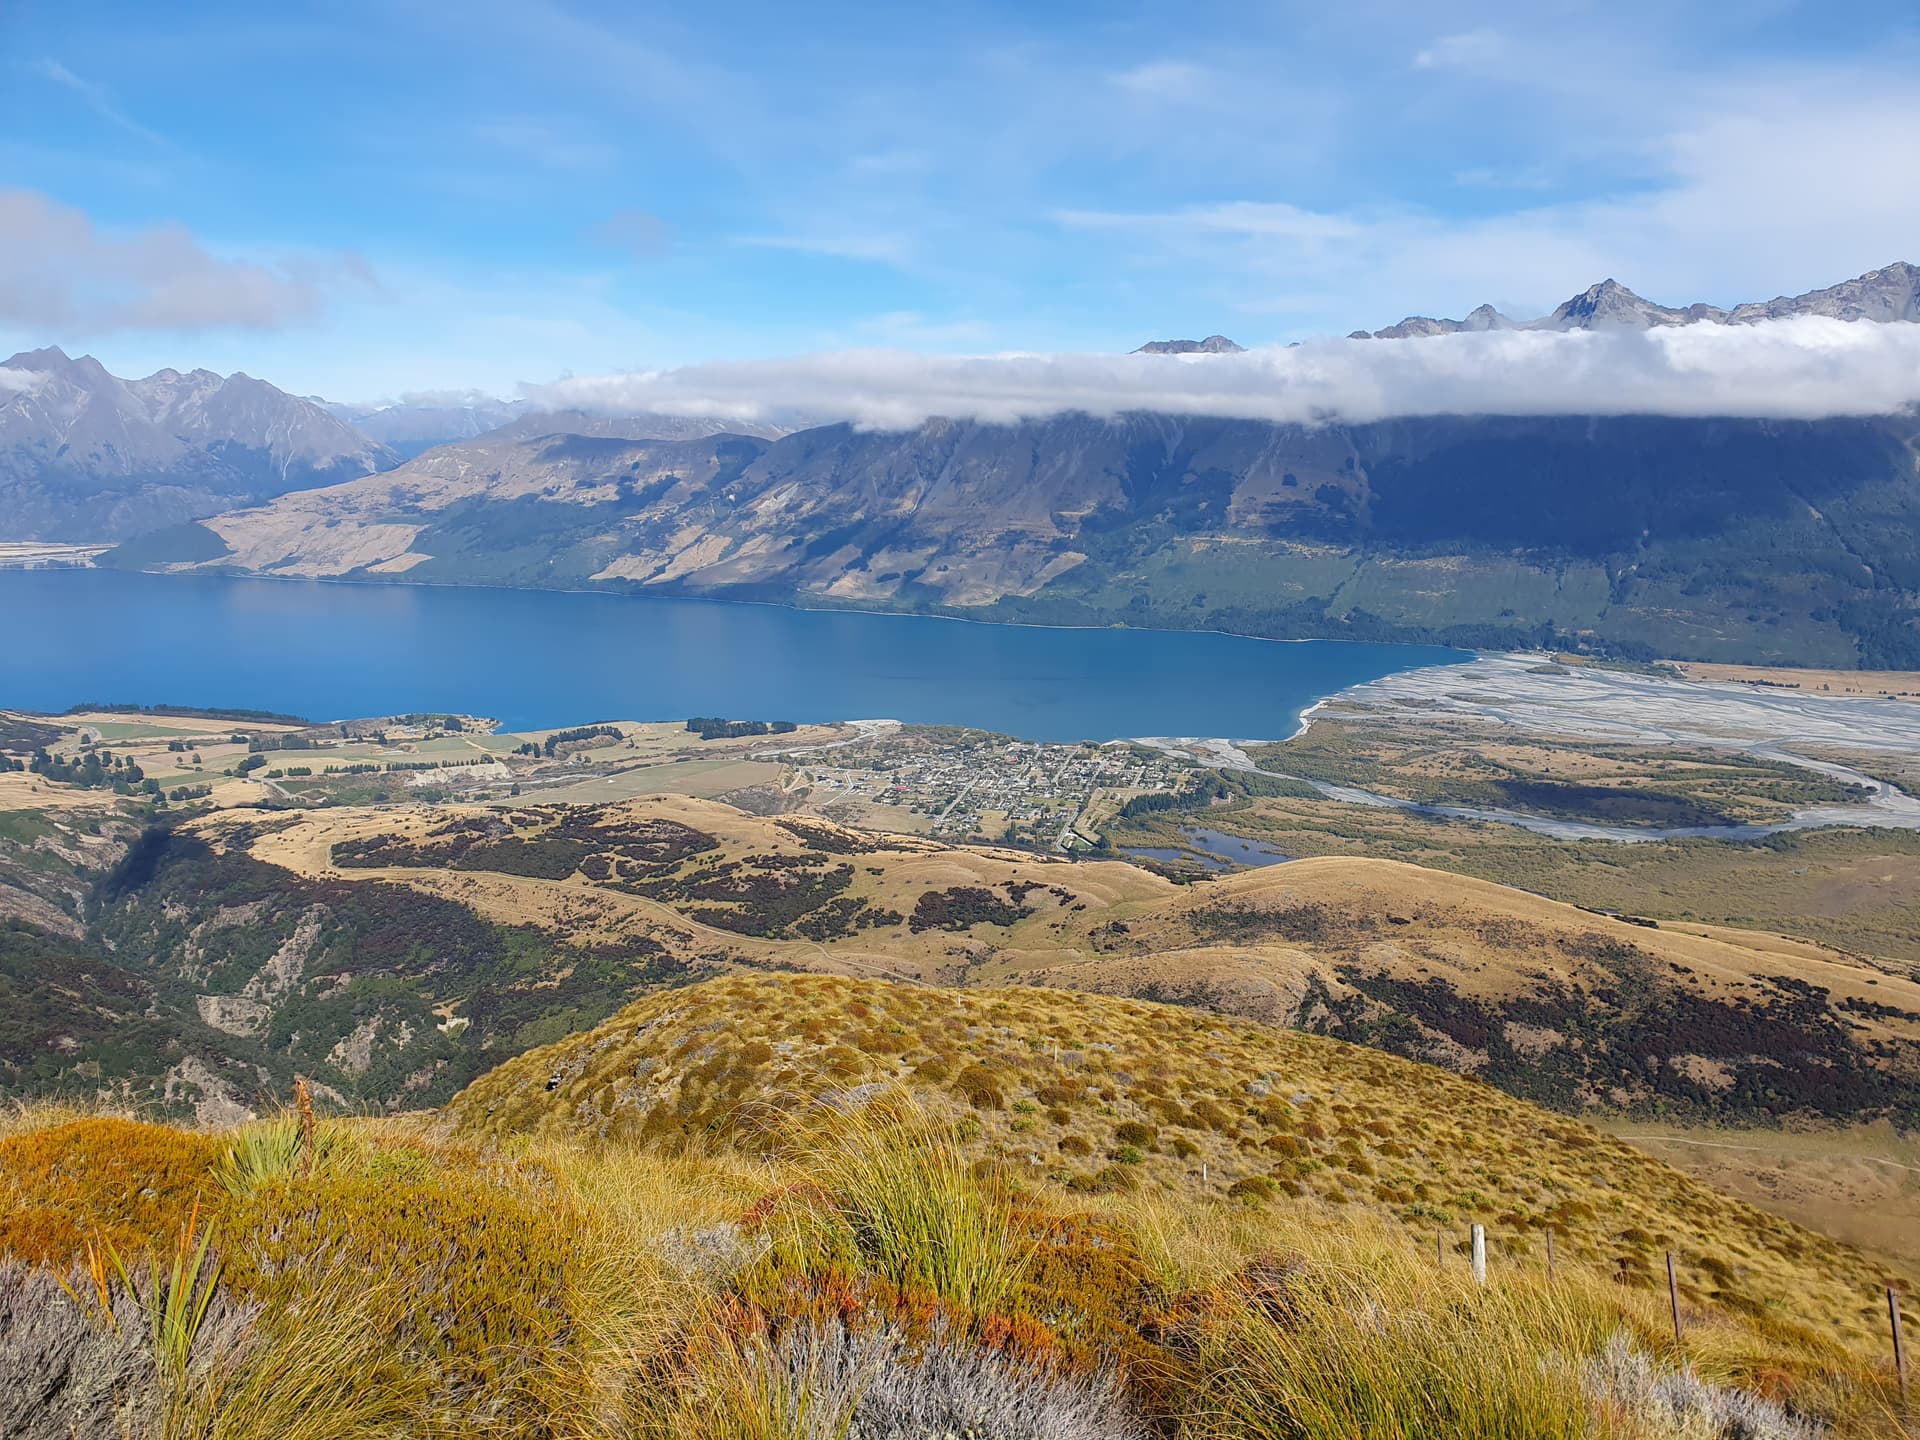
Final approach to ZL3/OT-149, Black Peak
Gentle faces on the western side make for an easy activation on the flat ridgeline, and phone coverage makes spotting easy. 14 in the log, including a summit-to-summit with @VK2IO on tour in Victoria.
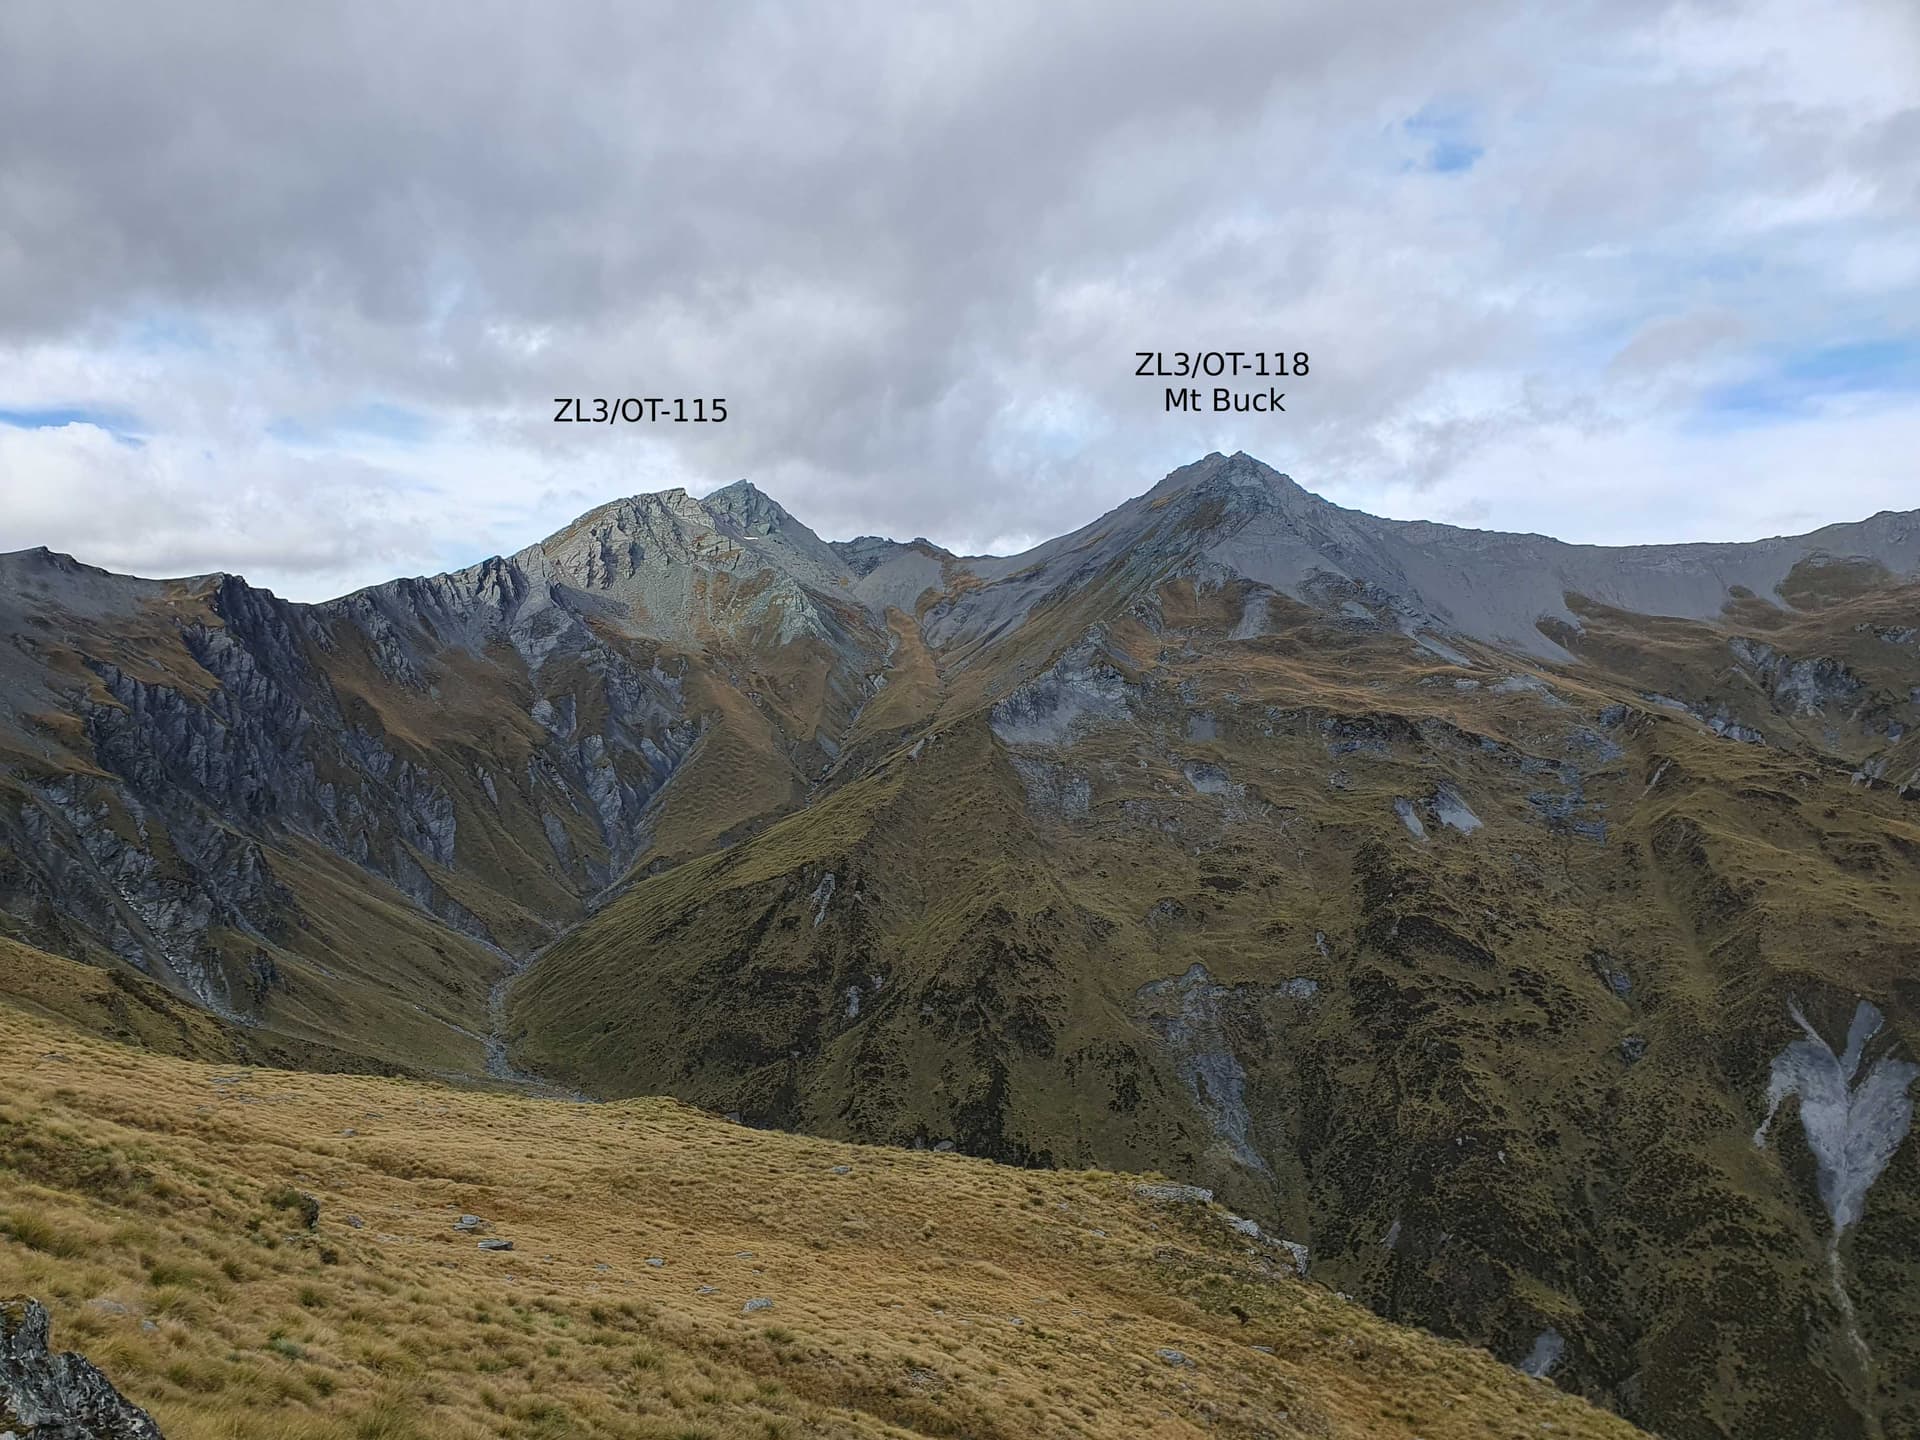
Clear skies give me a glimpse of the next day’s first two targets, the unnamed ZL3/OT-115 and Mt Buck - ZK3/OT-118. The former looks sketchy: access from the saddle to the east is blocked by bluffs, and the ridgeline approaching from the south is no better. But there appear to be scree faces leading to a high saddle just south of the peak, with the potential for a scramble to the summit.
The eastern face of Black Peak is sheer, and it takes some poking around to find a scree chute dropping through the initial line of bluffs - chamois prints indicating that it leads somewhere. This puts me on a high tussock terrace, and two more bands of bluffs need to be circumvented - probing for weak points - before we finally make the valley floor some 800m below and 2km further upstream.
Day 2
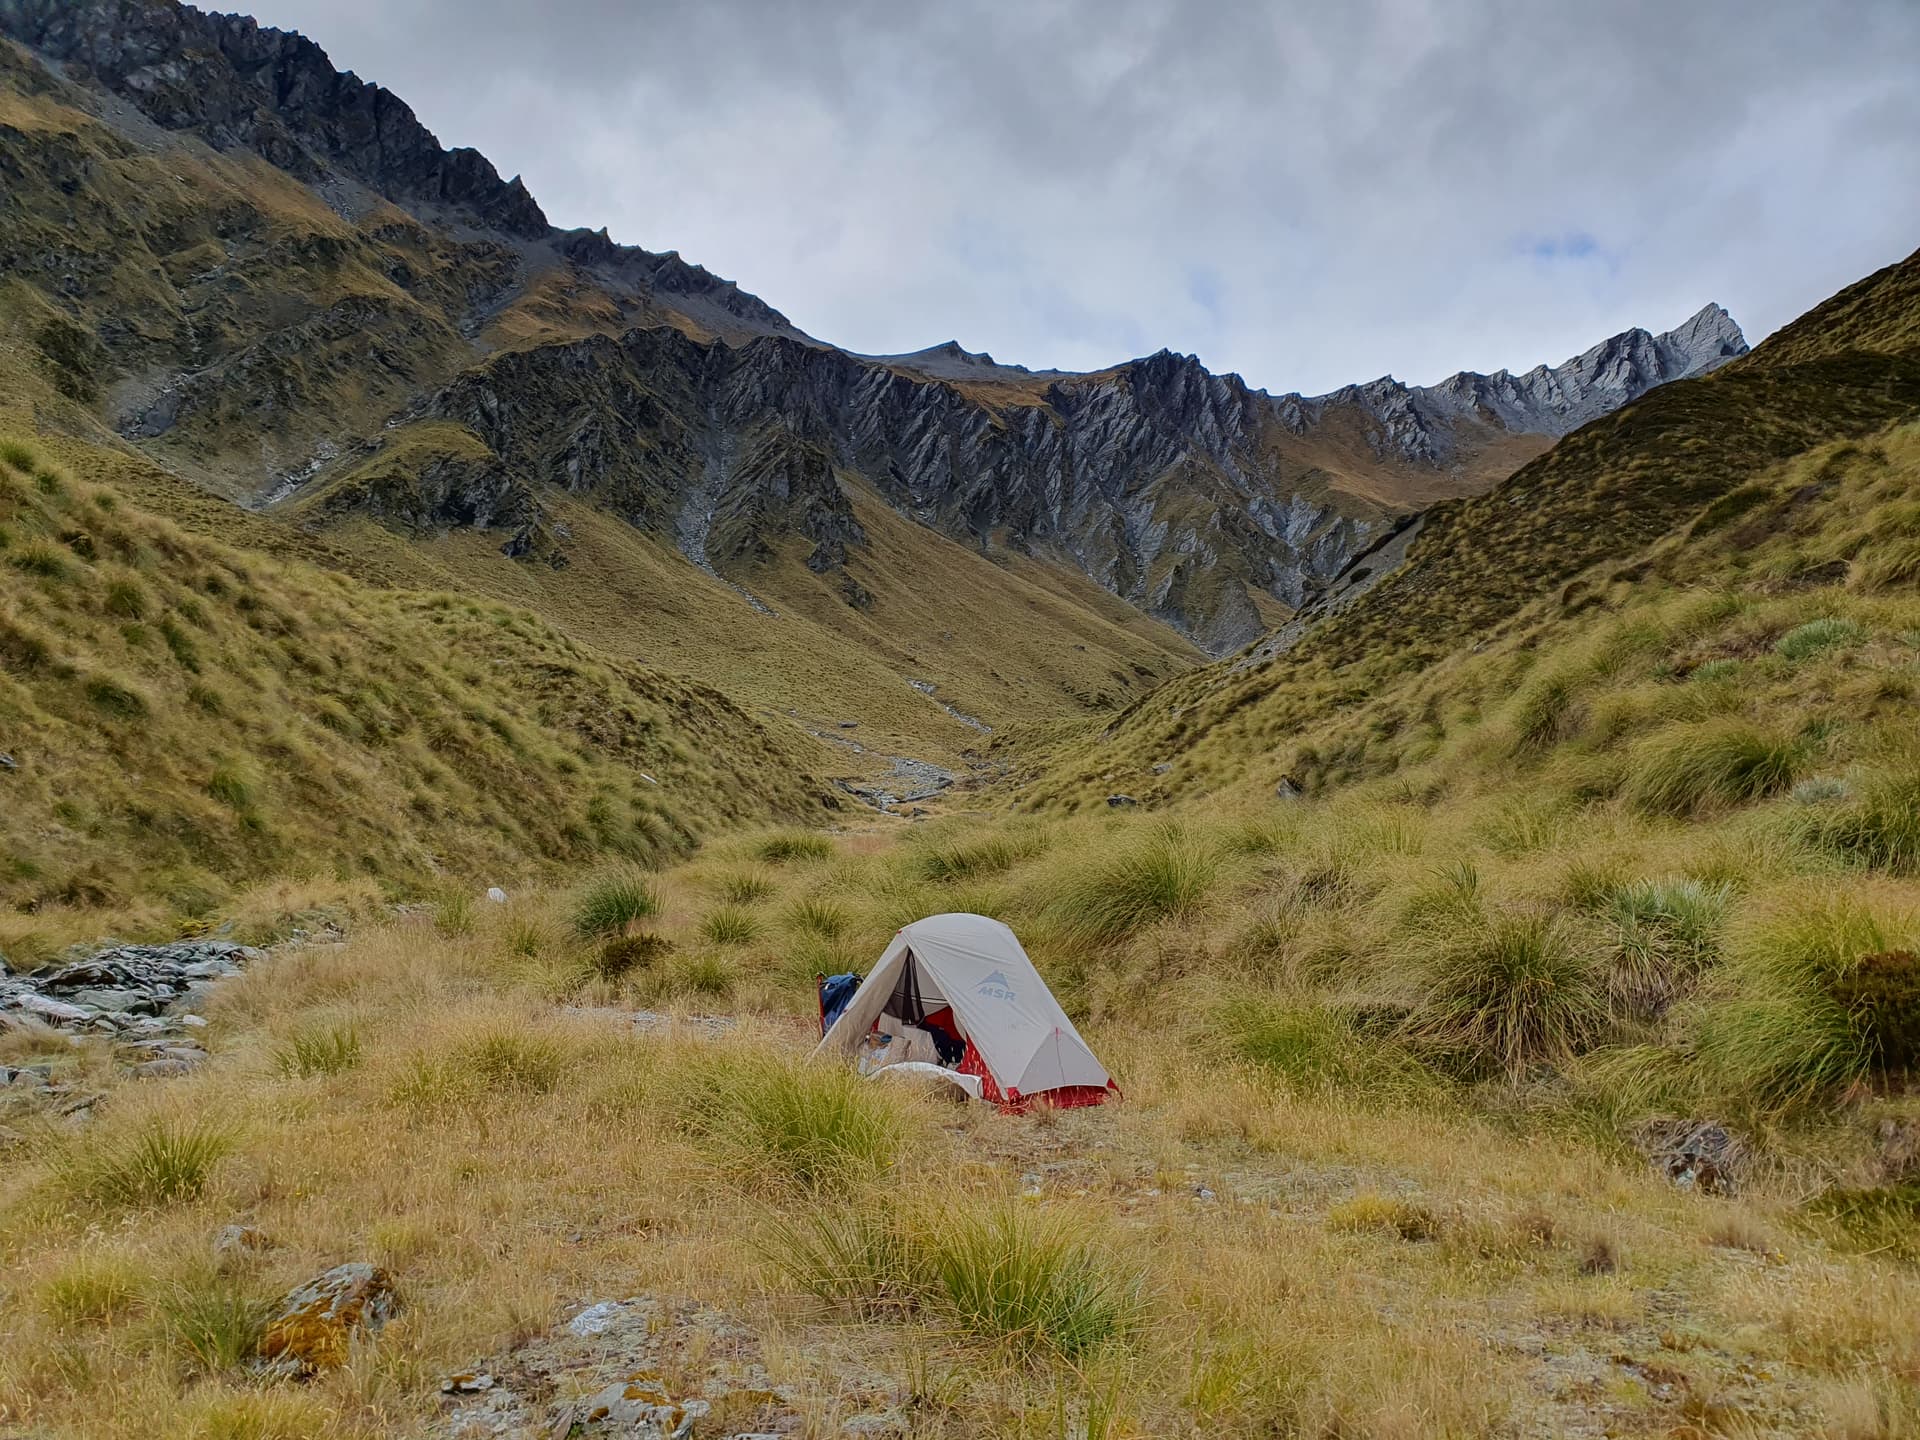
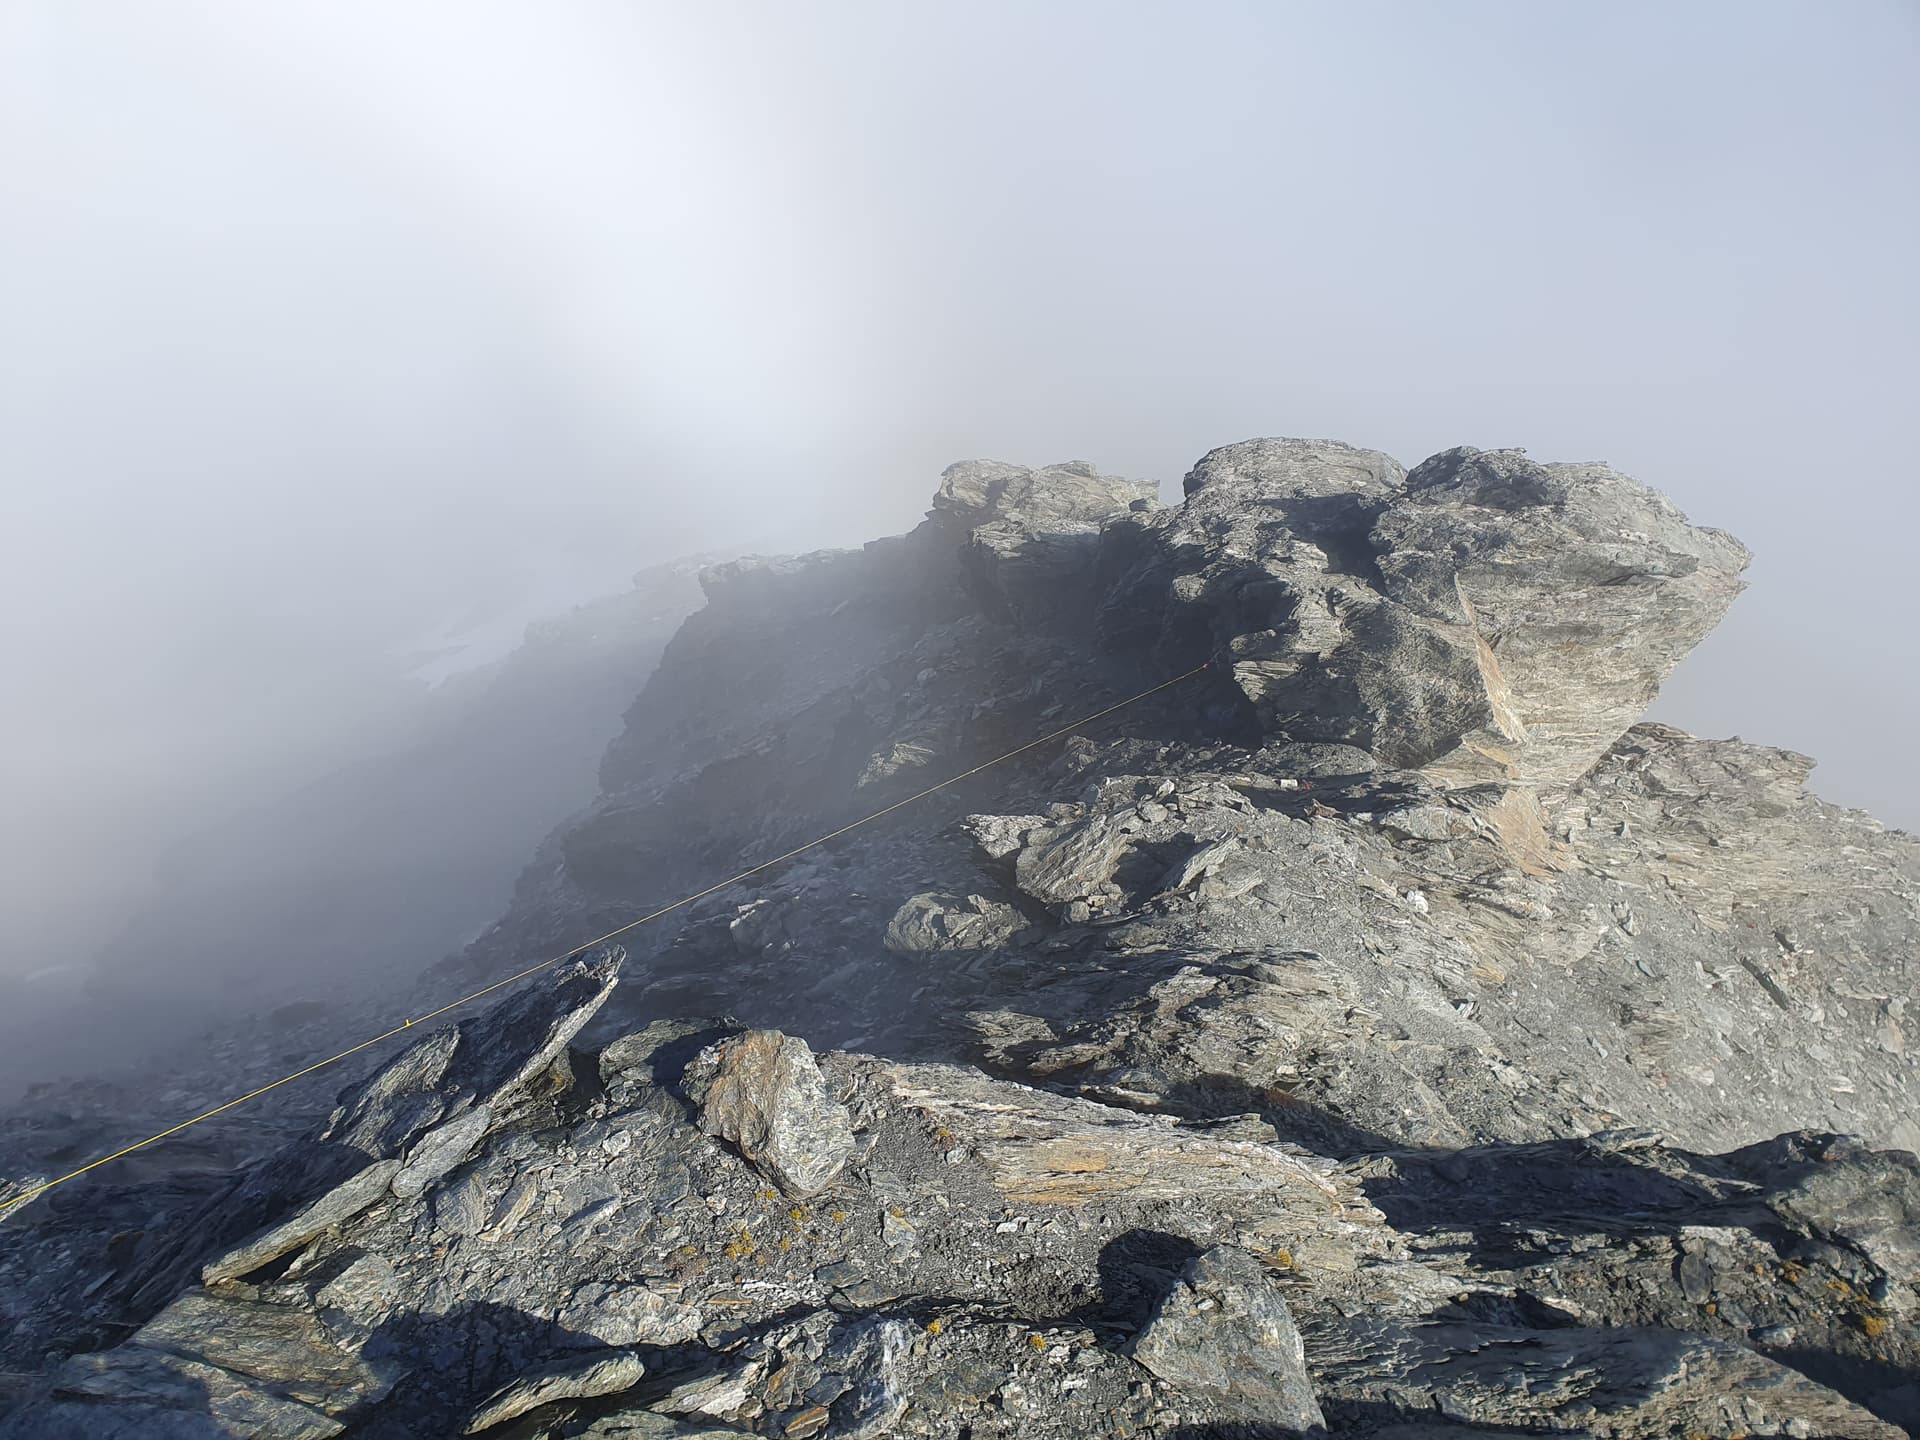
Day two dawns to blue skies, but with clag clinging to the ridgelines above. A simple valley-floor 650m climb follows the diminishing Buckler Burn to the saddle between OT-115 and Mt Buck. Still with no visibility of the summit, I nose west below bluffs and find a steep scree chute that appears to lead to the southern saddle I spotted the previous day. Topping-out, we’re 55m below the summit, and require at least another 30m of elevation. A careful scramble on scree and shattered rock above the precipitous eastern face looks possible, and we pick our way through the mist until we reach a good flat hollow where pack can be removed and gear unloaded without the risk of losing it over the edge. The GPS shows us just 8m below the still-invisible summit, and well withing the AZ polygon.

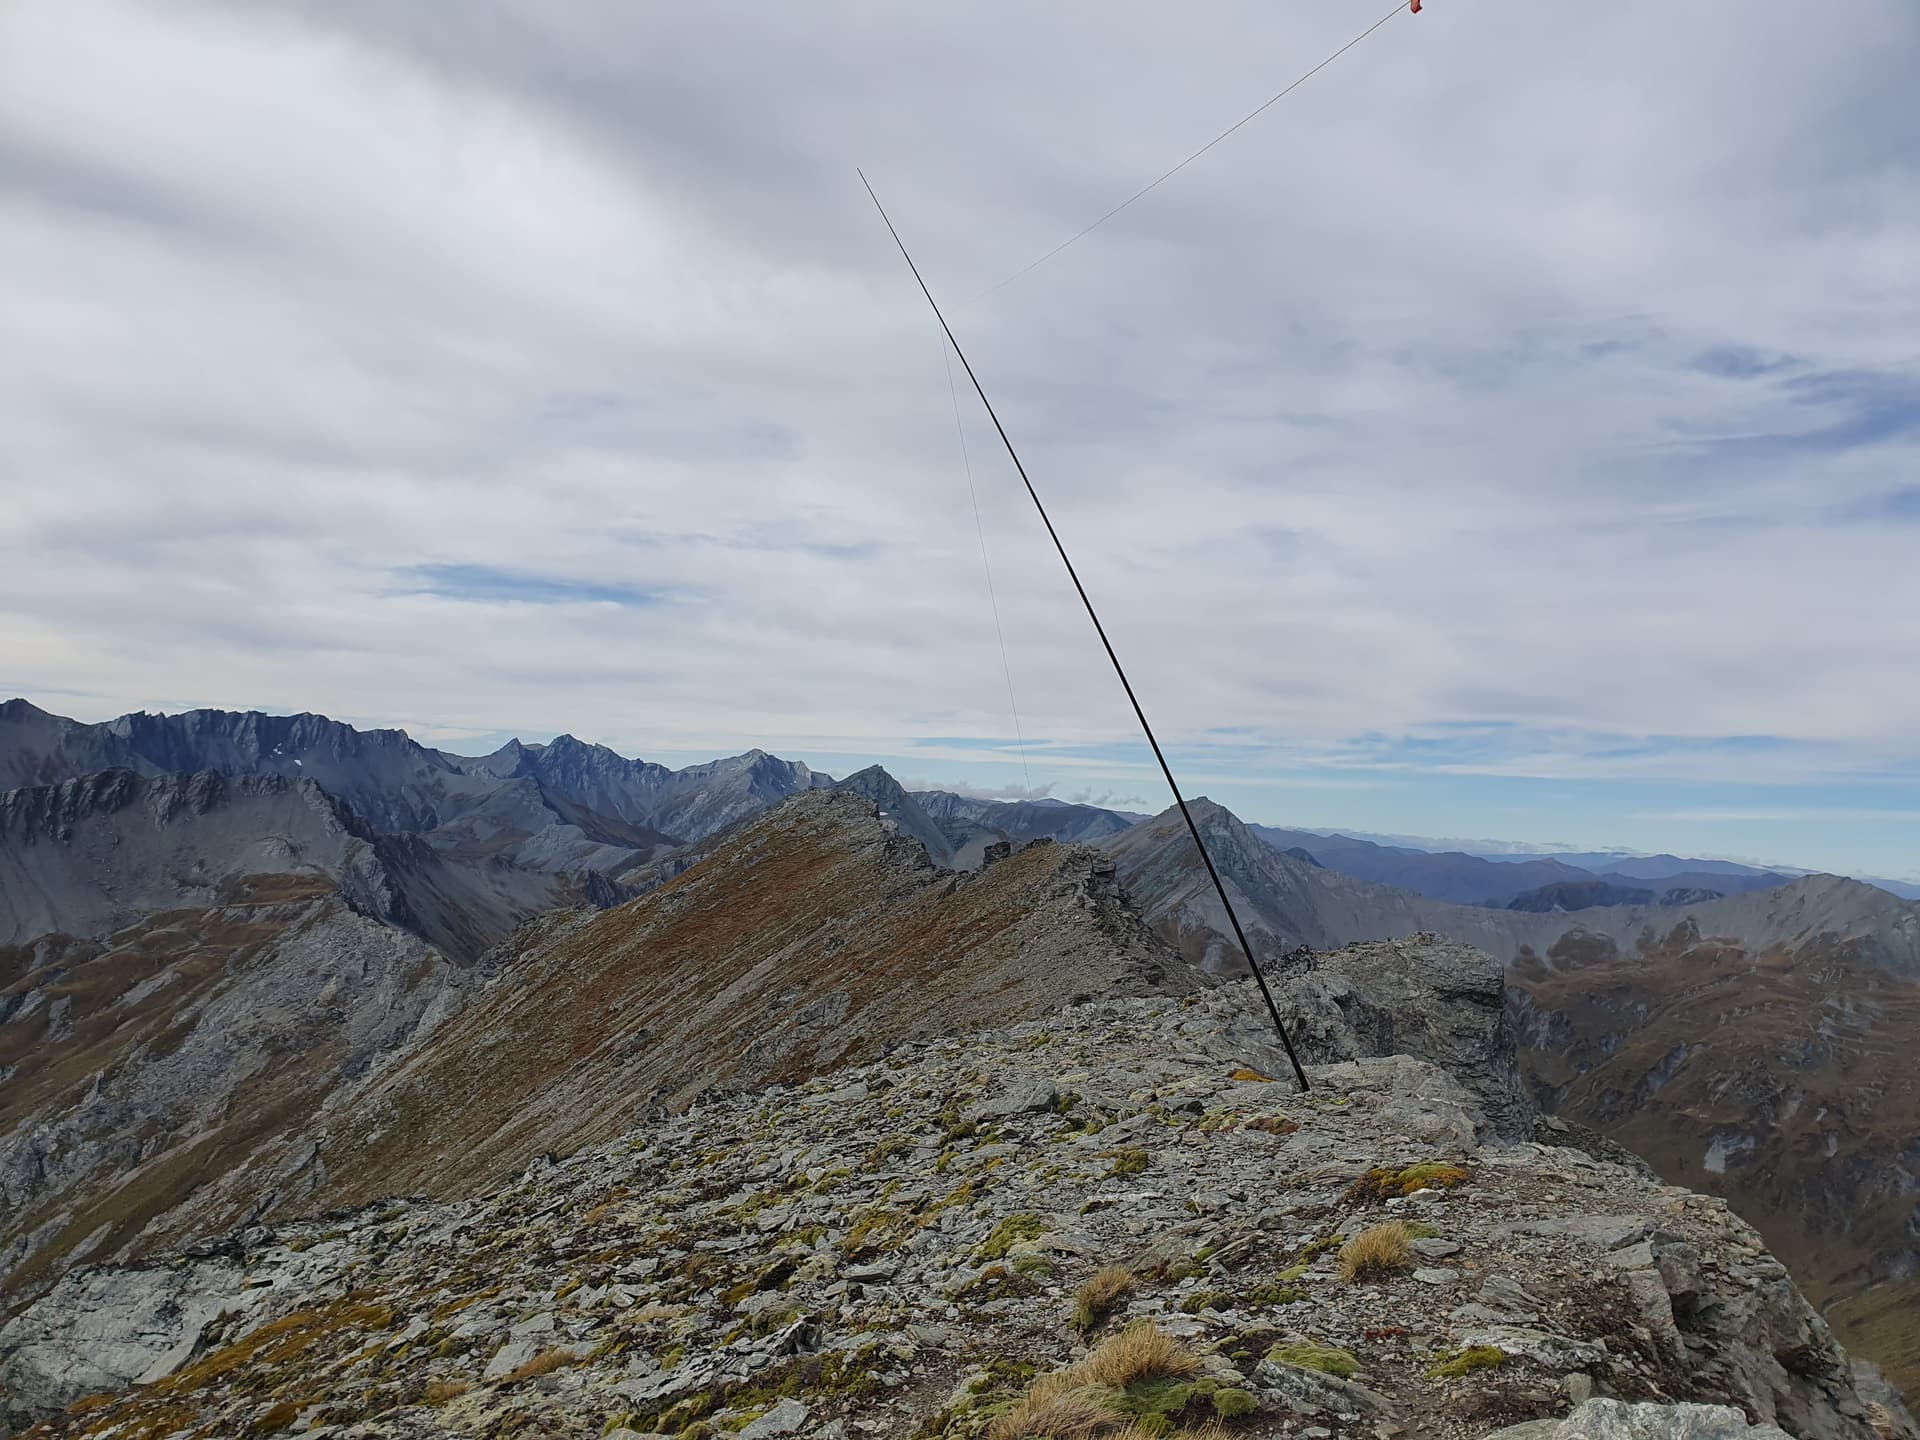
Activation site, looking back to the southern saddle
The EF40mHW antenna gets strung low between two rocks, a sloper 1-2m above the ground. No way am I stuffing around with a mast on this narrow platform! There is no phone coverage, so I spot using the inreach and start calling. After 10 minutes of nothing, I start to think something’s wrong. @ZL1GA is calling from a park 5kHz down, so I give him a call and we complete an easy 59 / 59 QSO. At least the radio is working. Sadly he’s also not in coverage so can’t check for spots or spot for me. I manage to locate the number for the UK SMS gateway and try an inreach spot there which finally brings in a slow dribble of callers. The ZL spotting gateway also sends email notifications to those kiwi chasers on the subscription list - something we appear to have come to depend on! But at least there’s now a chance of people finding me.
It’s below freezing, and I was mentally in summer when I packed, meaning no gloves. As such I call it quits after 20 minutes with just 5 in the log - but at least the summit is qualified. I don’t think I’ll be coming back!
True to form the clag lifts just after I reach the saddle with Mt Buck. In a way I’m grateful - I’m not sure I’d have attempted the summit if I’d been able to see the route I took!
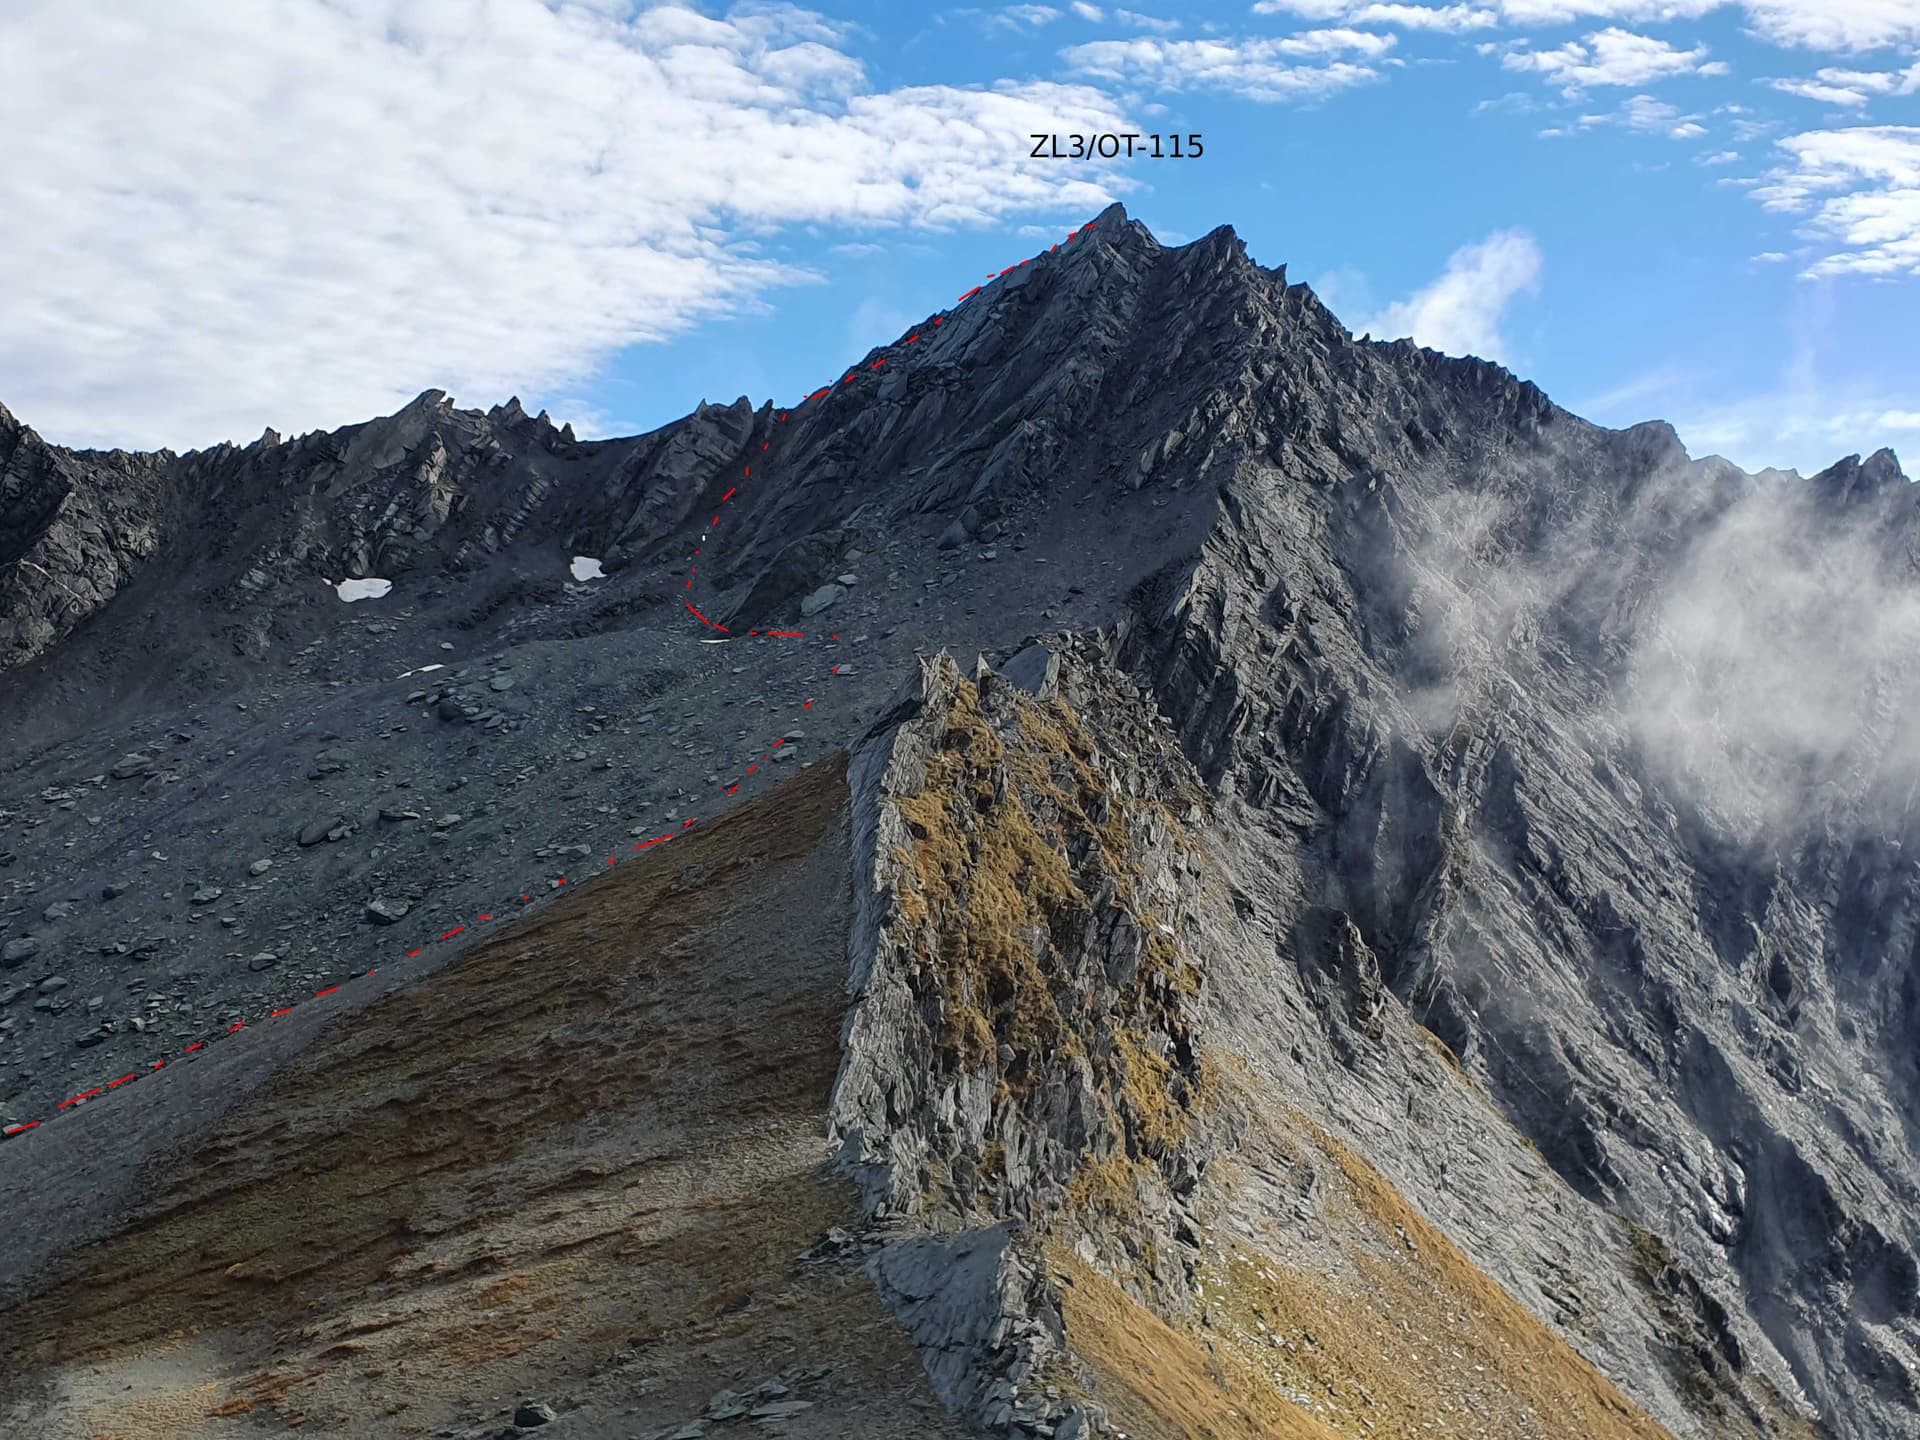
Looking back - the access route to ZL3/OT-115
After a very careful descent through the bluffs and a top-up of water at the terminal lake below the sad remnants of the once-glacier, the ascent to Mt Buck is straight forward. Cutting past the peak on steep loose scree and the doubling back towards the summit until in the AZ. It would be nice to actually summit one of these peaks - but clinging to a steep slab-scree face below the last line of bluffs will have to suffice. True to from, the clag has returned.
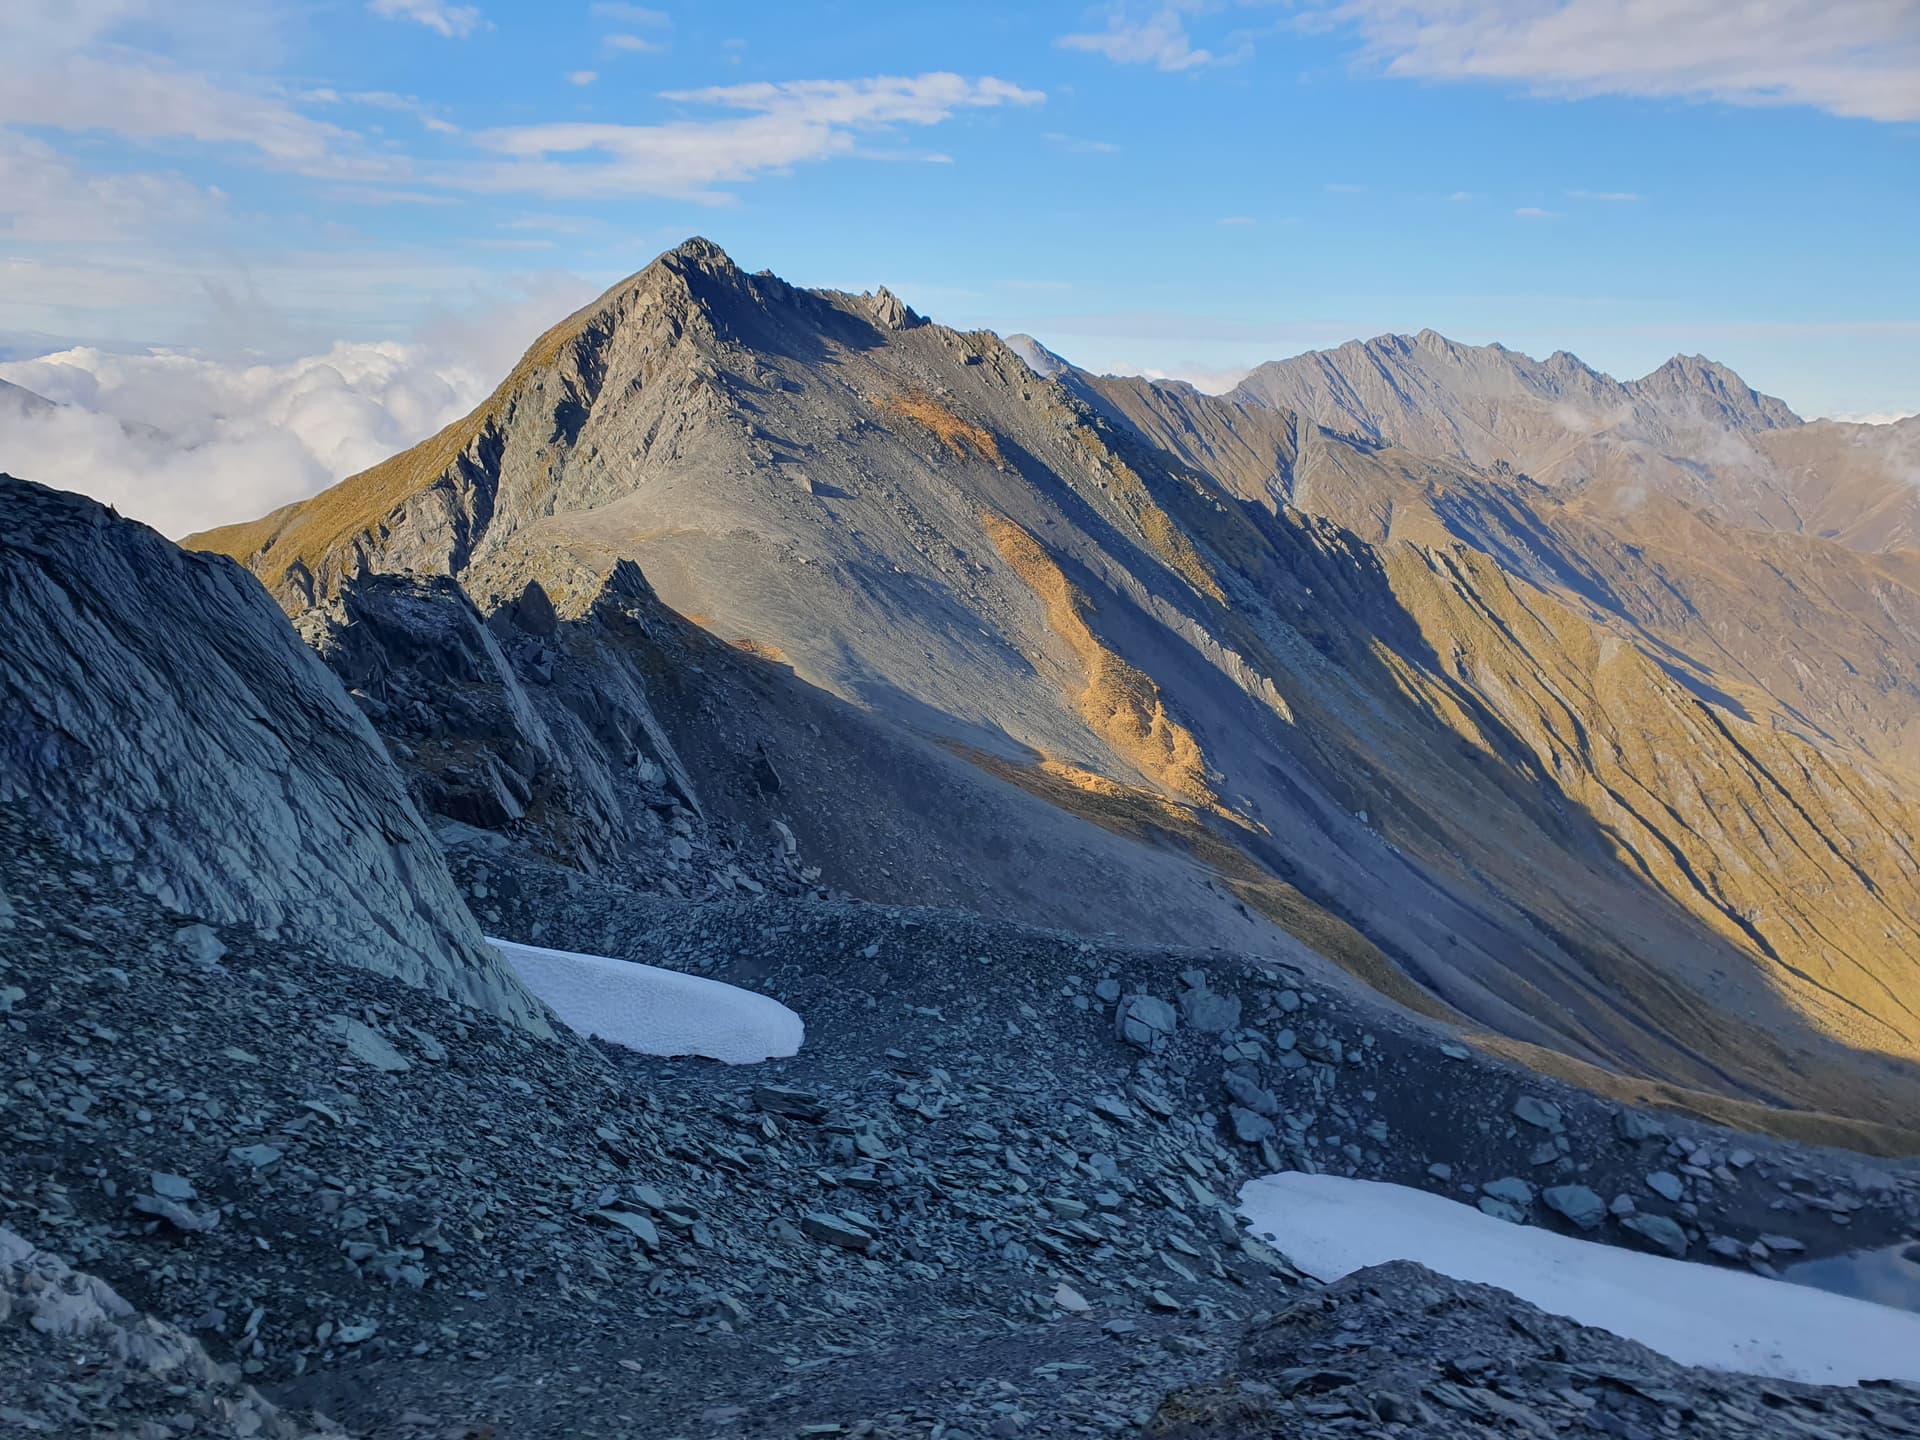
Route from ZL3/OT-115 to Mt Buck [ZL3/OT-118]
The maps indicate a passable ridgeline between Mt Buck and Wallers Spur. I nose over the east side of the summit, and hastily withdraw - a tumble of boulders and clefts dropping away into the mist. Poking west down the spur leads me onto steep hardpack and offers no better prospects of descending to the main ridgeline. So there’s nothing for it but to retrace my steps 500m back down into the head basin of Buckler Burn, sidle below the last of the bluffs, and climb back into the basins west of the range. From there the ascent to Wallers Spur is, thankfully, straight forward.
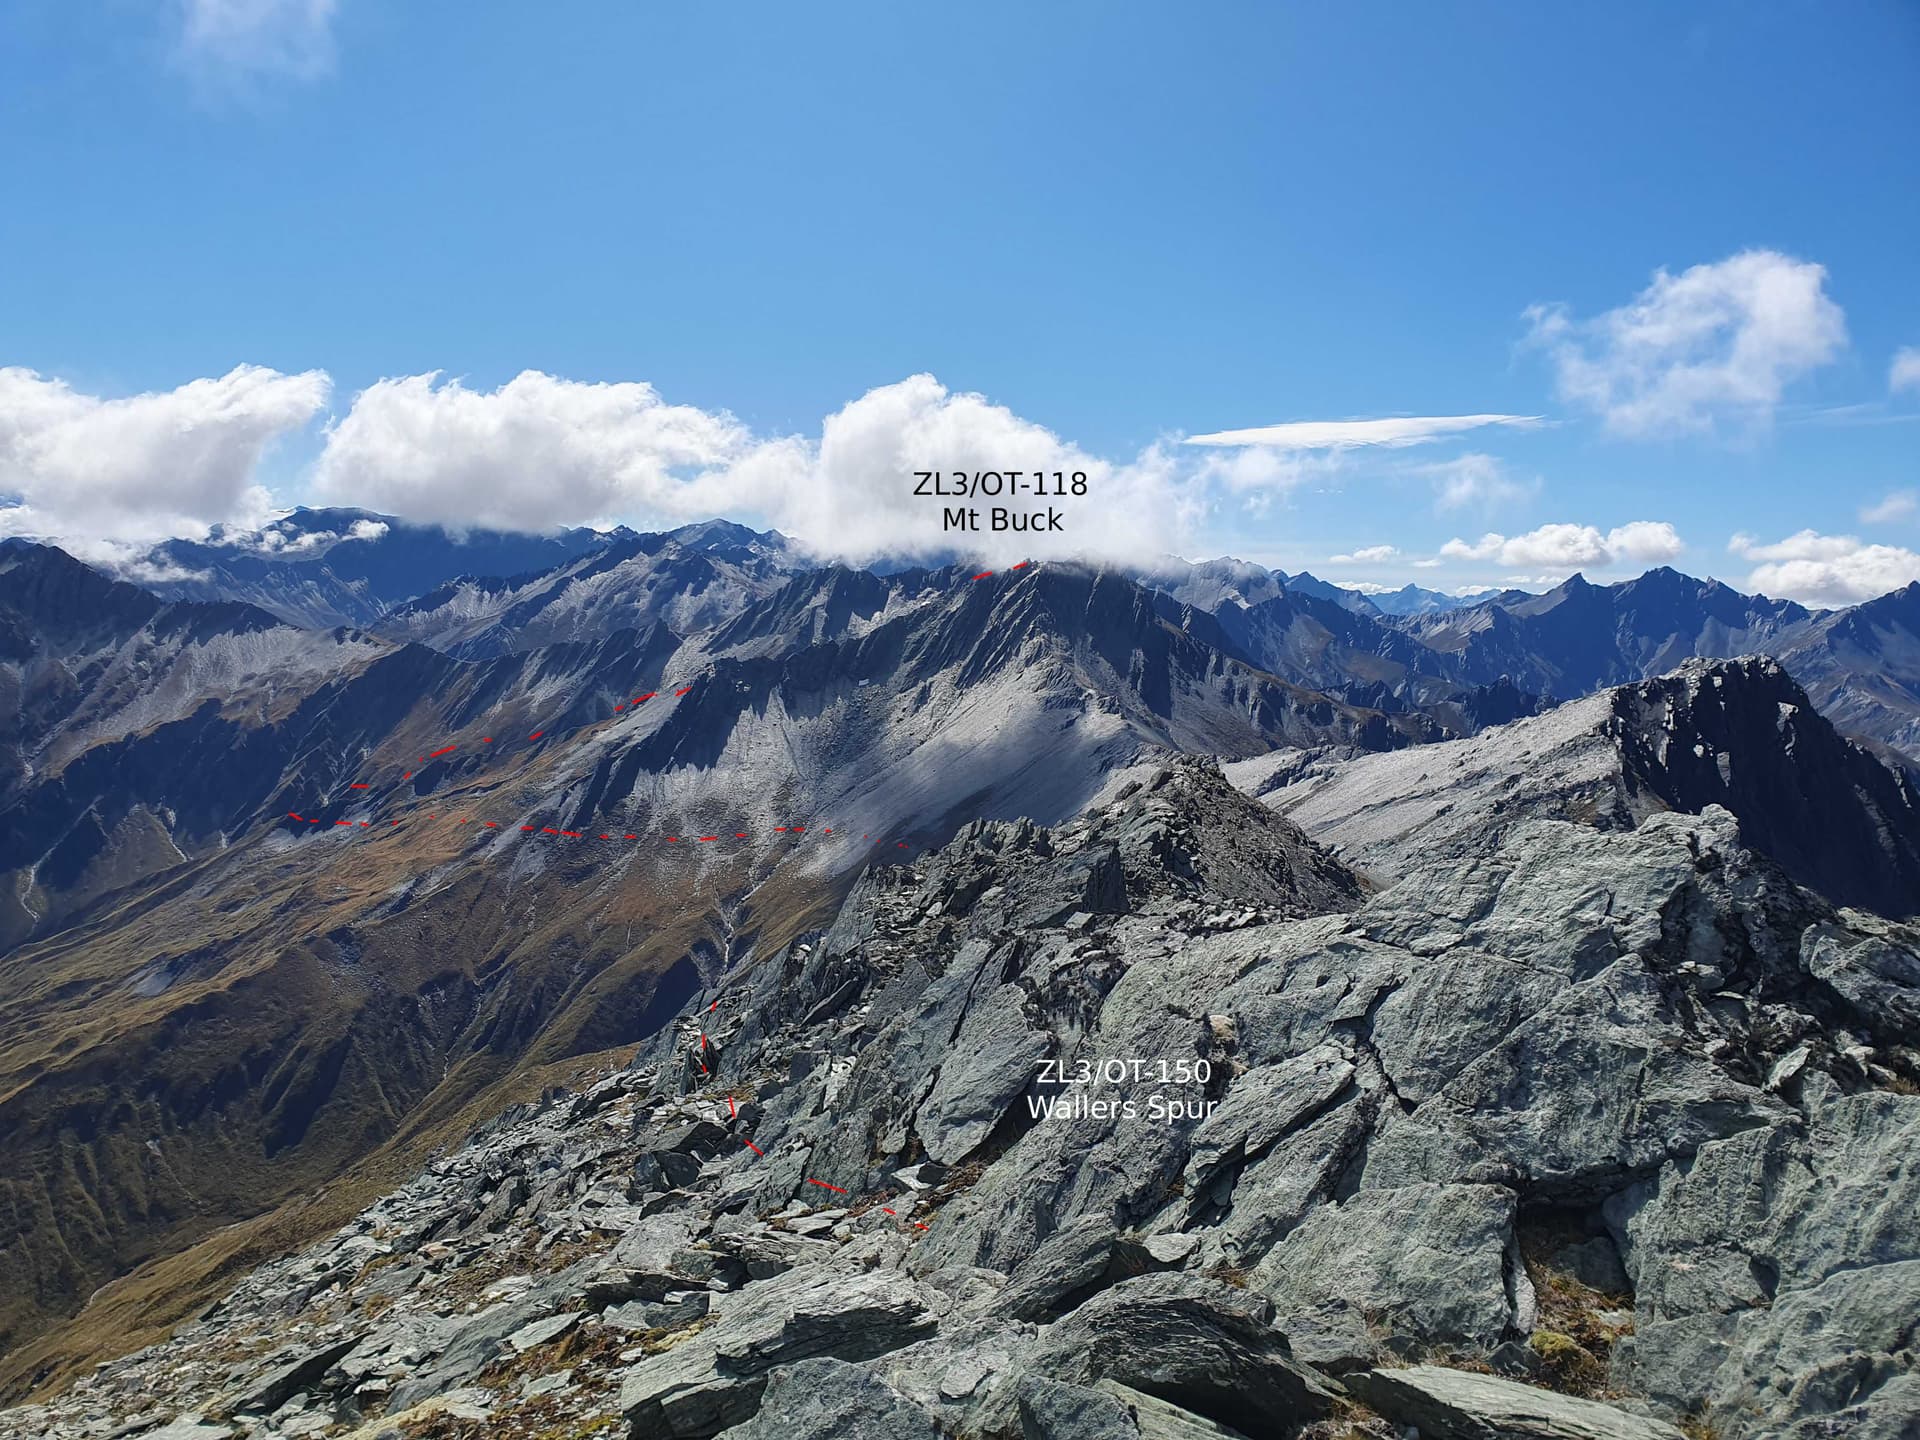
ZL3/OT-150 - Wallers Spur. Circuitous route required from Mt Buck
On the third peak of the day, I finally get to sit on the summit and play radio, rather than cling nervously to the faces just below it. And in sunshine, to boot. This is more like it! There’s also mobile coverage, so easy spotting and a quick rush of chasers on both 40m and 20m, including another S2S with VK2IO and a summit-to-park with VK3PF.
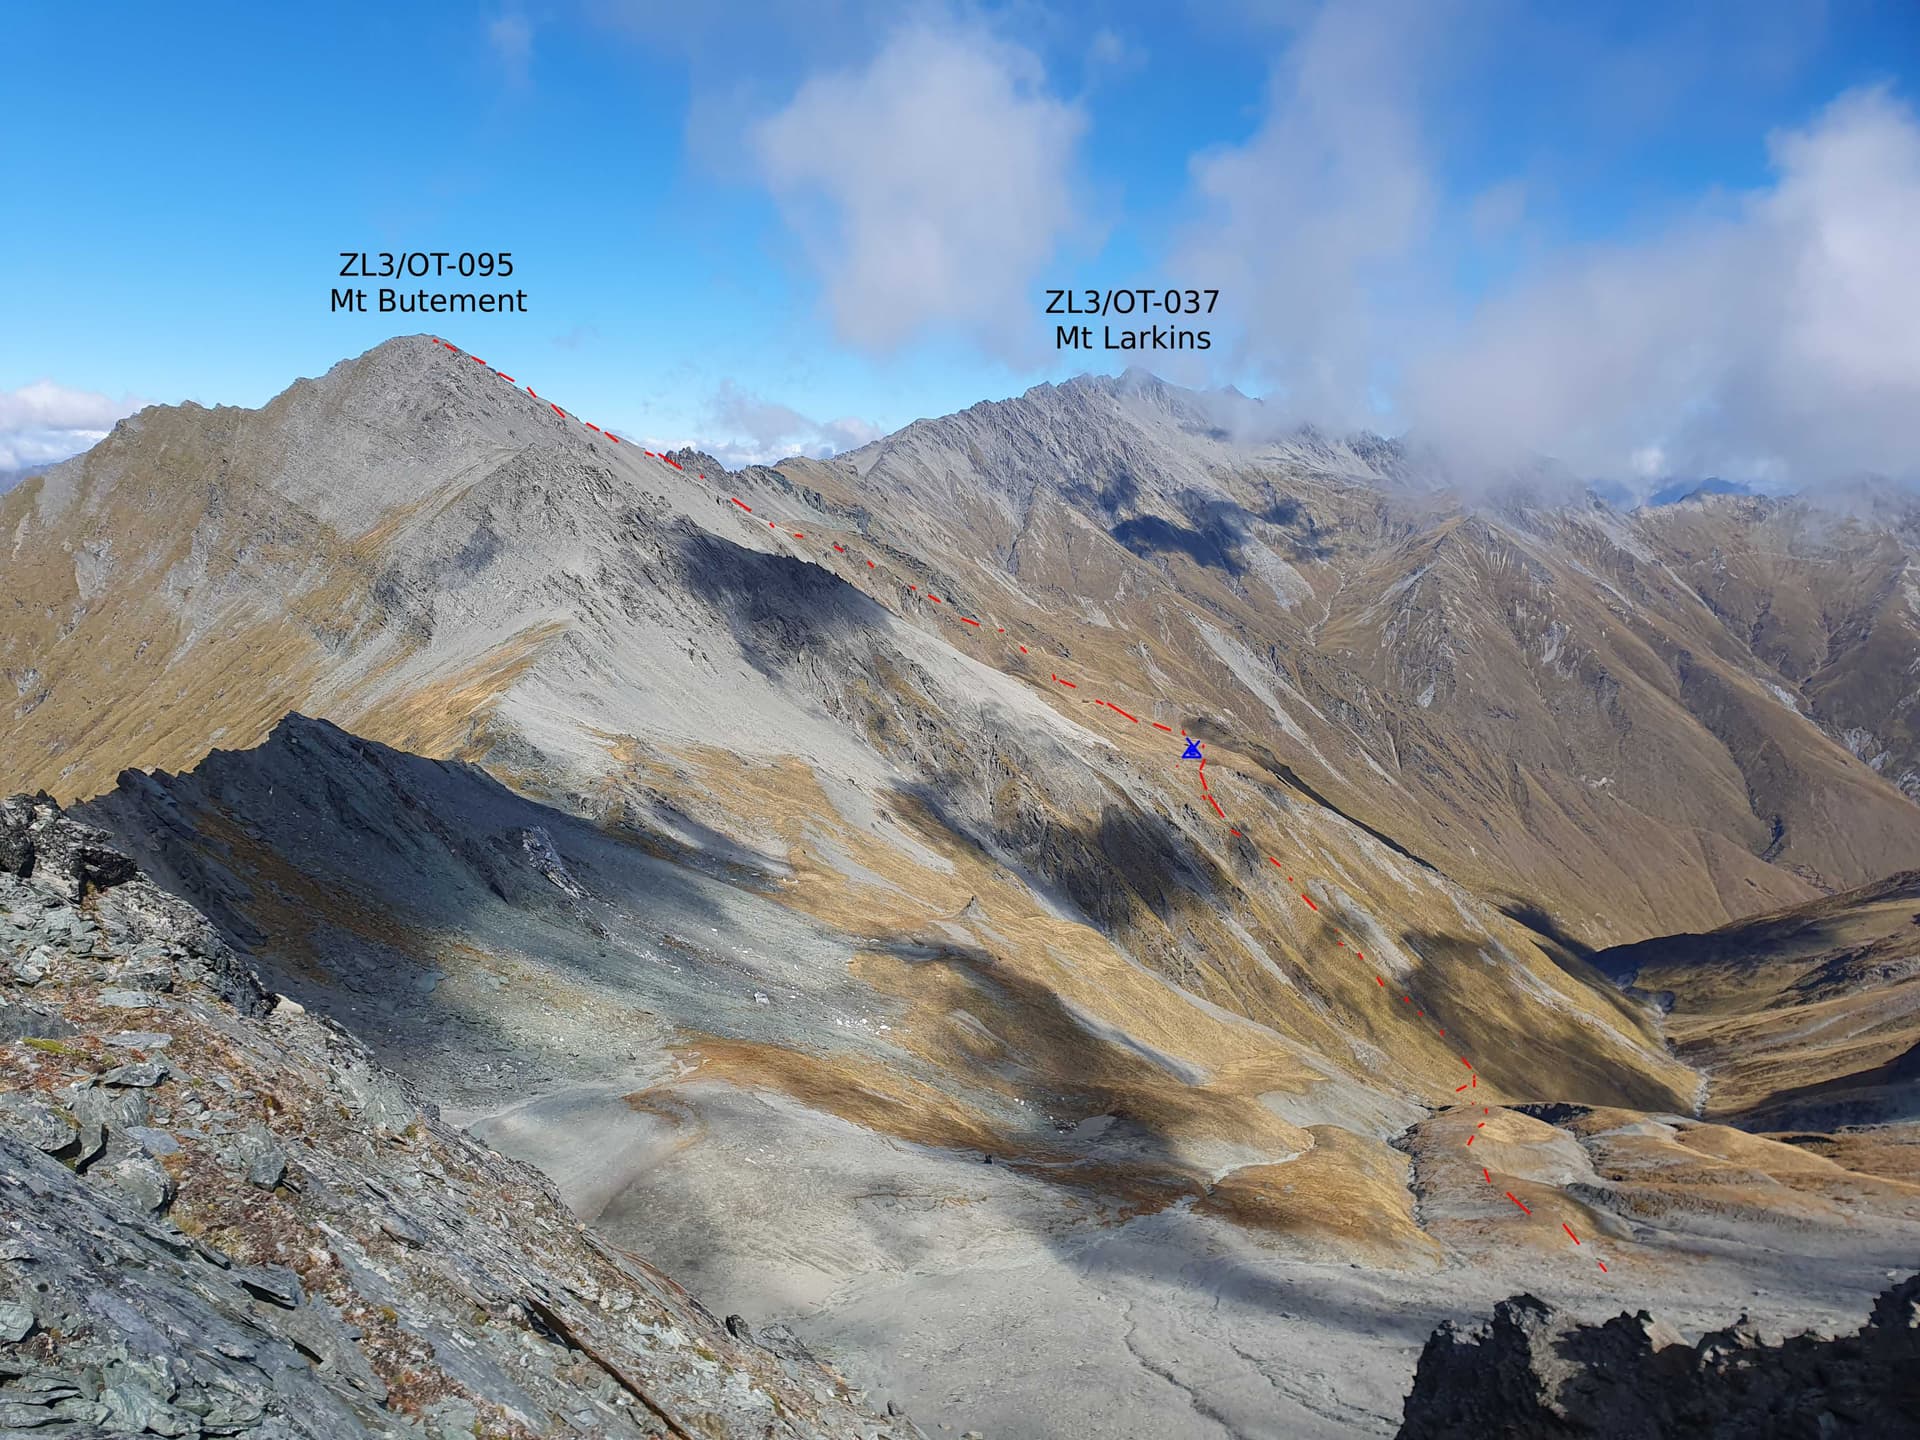
ZL3/OT-095 - Mt Butement - Circuitous route from Wallers Spur
Again, the broad ridgeline to the fourth and final peak of the day proves impassable. Two lines of bluffs north of Mt Butement block progress along the main ridge, and a series of ribs and gullies make a sidle west from the saddle unwise. So again, we abandon the ridgeline and descend 500m into the head of Wallers Creek to climb steep tussock slump-faces that approach Mt Butement from the west. This does, however, bring one bonus with the discovery of a series of tarns in the slump-hollows high on the face, I drop tent, food and overnight gear at the uppermost, and am able to ascend the final 400m to the summit with just radio gear and thermals.

Activating ZL3/OT-095 - Mt Butement
Thankful for mobile signal, I manage a relaxed half-hour activation in the late-afternoon warmth netting 15 in the log, including S2S with VK2IO and VK2HRX who appear to have coincidentally ended up on the same VK peak.
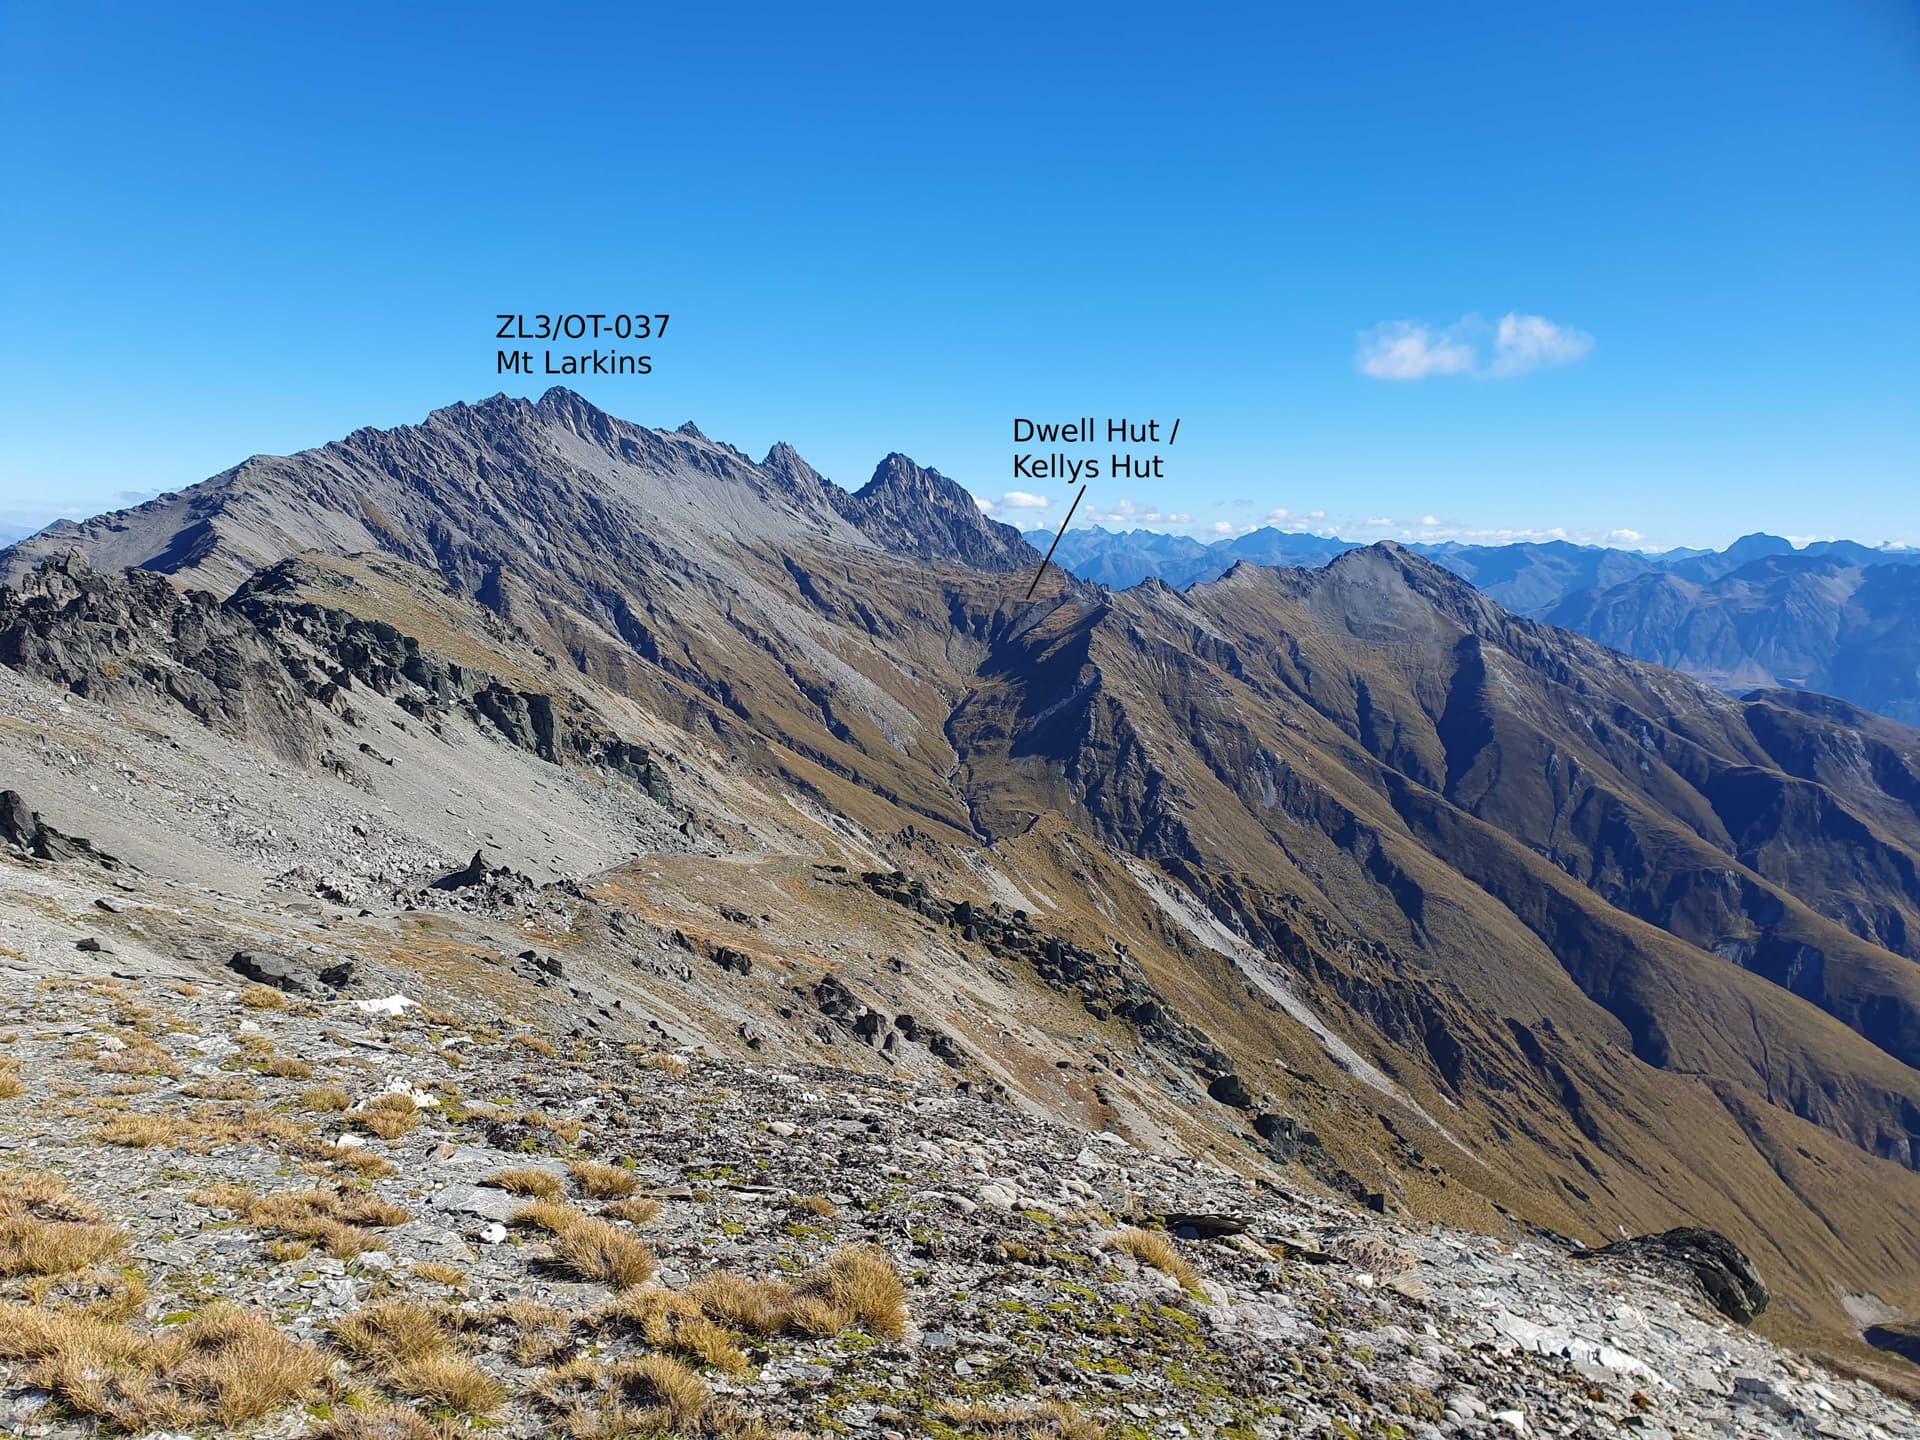
Tomorrow’s route to ZL3/OT-037 Mt Larkins
My stretch objective for the trip was to activate all 8 summits, finishing with Mt Major. That would have involved reaching Dwell Hut / Kelly’s Hut tonight, but with all the unplanned descents and ascents bringing today’s total climb to 2300m, that is clearly not going to happen. So I descend to the slump-tarns and camp the night in a sheltered hollow, sleeping the sleep of the dead.
Day 3
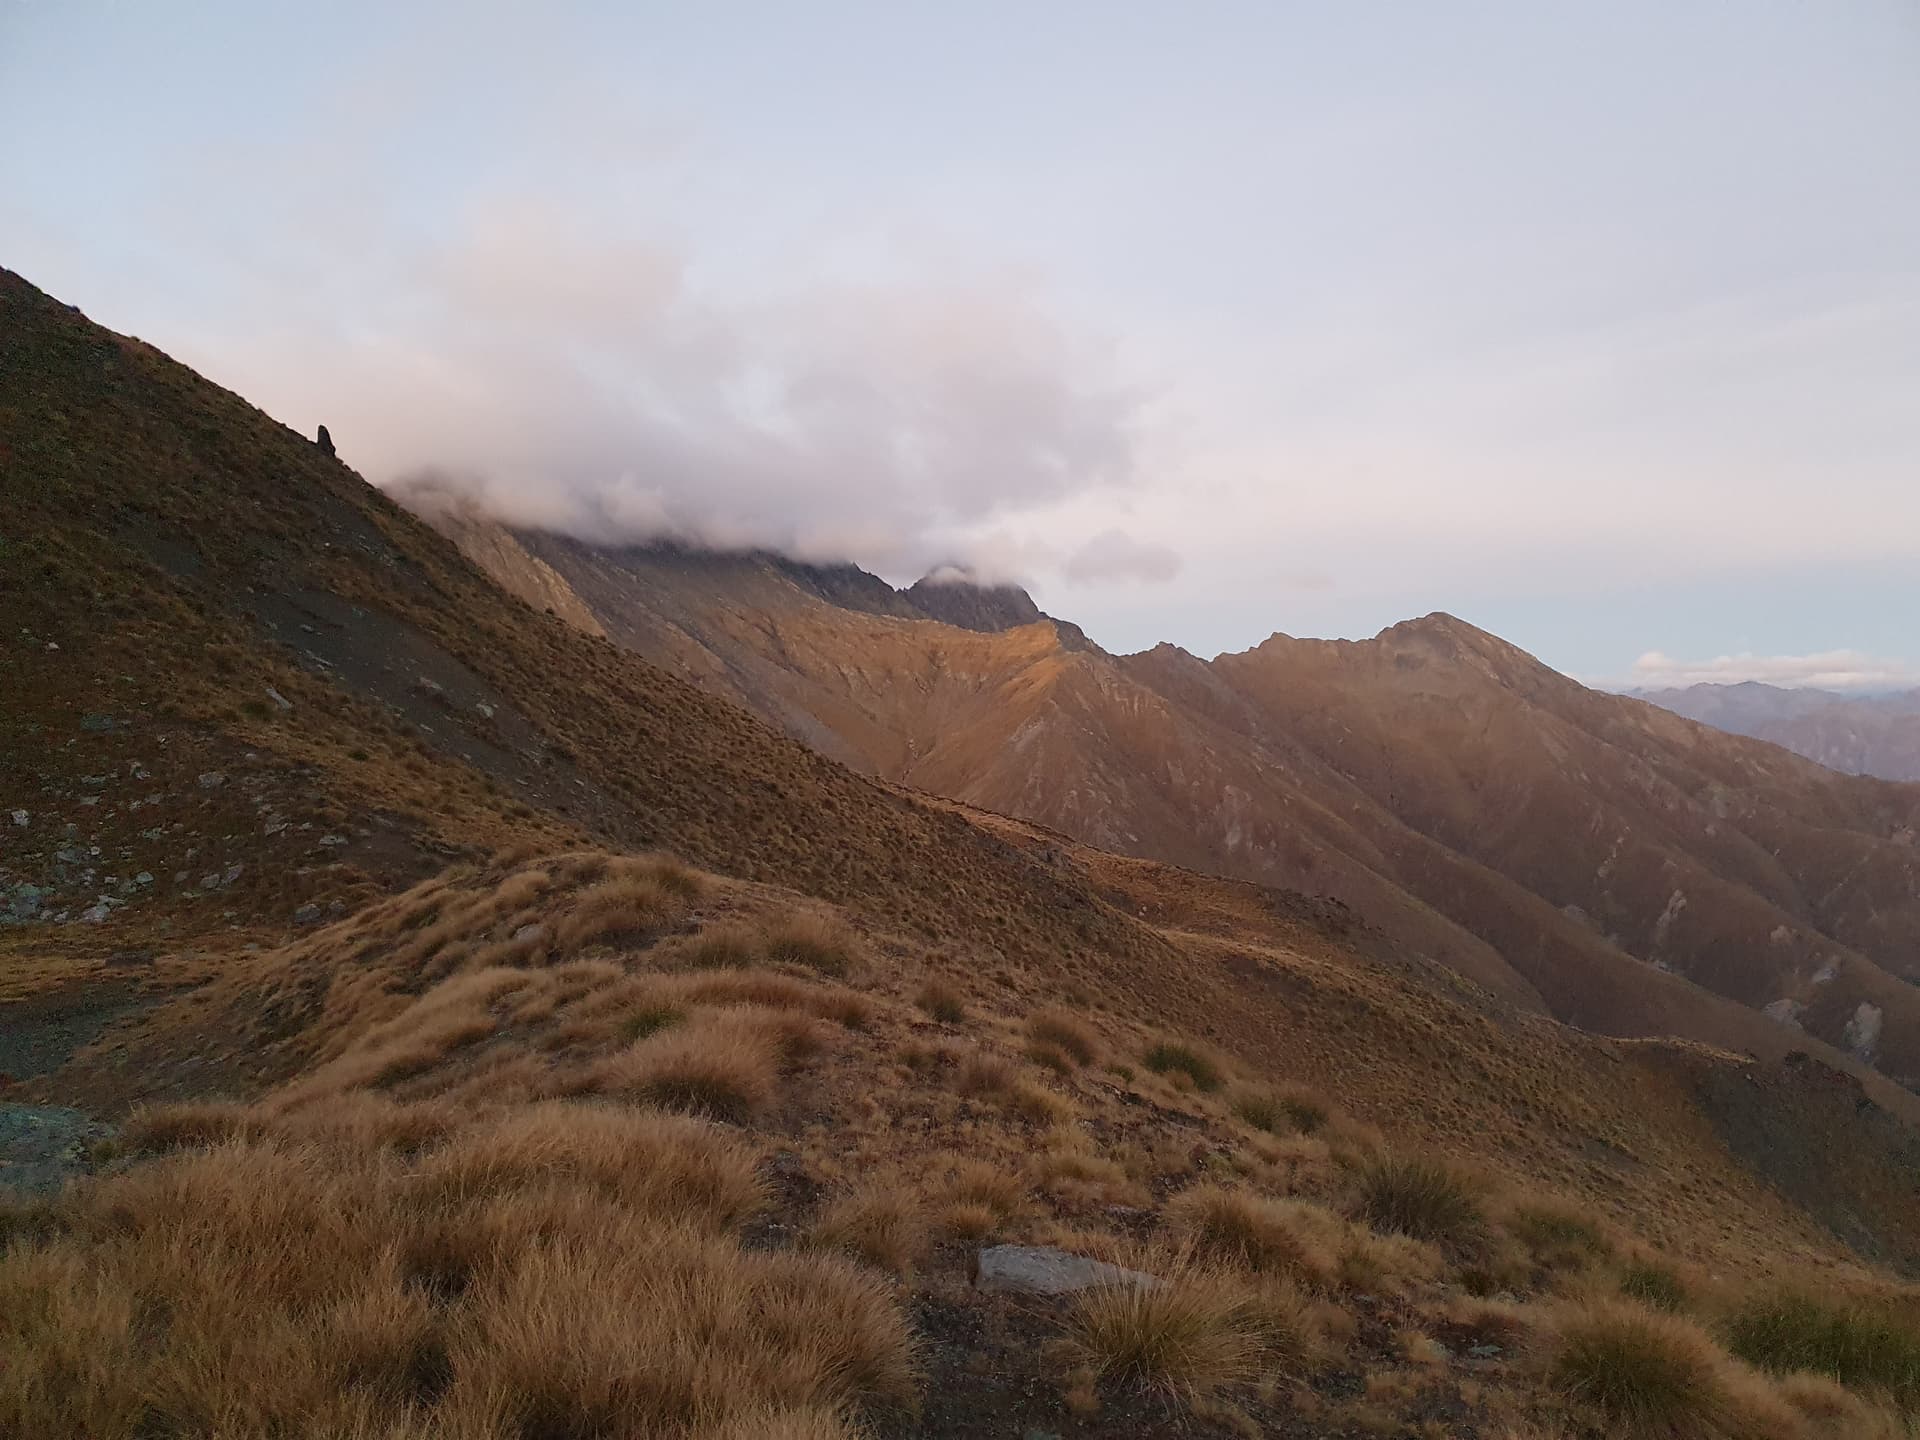
Clag forming on the Mt Larkins tops
True to the pattern of the last few days, the morning dawns to blue skies but clag on the tops. The sidle into the valley draining the Dwell Hut saddle is straight forward along goat tracks and 10am finds me at the unusual hut. This is the original Mountain Turk - a revolutionary alpine hut design built from a water tank. Unlike the later models, this one has been seriously modified with a roof added and exterior cladding. The newer models as far simpler, but less luxurious!
So again I have the luxury of dropping all but radio and survival gear at the hut and making the ascent to Mt Larkins with a lightened pack. On my last (non-radio) visit, the spot was little used. But instagram (or whatever this week’s equivalent is called) has kicked in and Mt Larkins is now on the tourist ‘to do’ list. As such, there’s a clear foot trail to follow through the mist, ascending first well trodden scree and later the skittering, exposed hard-pack spur. It was certainly easier last time with crampons a covering of snow. I’m barely comfortable in my mountain boots and with the support of my ice-axe. I do wonder how the tourists fare with their walking poles and trainers.
Activating Mt Larkins - tricky antenna deployment
Reaching the summit ridge its blowing 65kph, again near freezing and visibility is <10m. Full thermals are required, but soon we’re nosing round the last rock outcrop to the final slight saddle and the rocky summit. An 1m-wide overhang above the steep eastern faces provides a sheltered spot for an activation (just don’t knock anything over the edge). Antenna deployment proves really tricky. There is nothing but solid rock to play with, so the antenna must be tied off at each end - trying to find small protuberances that the line can be looped round, or cracks into which a knotted guy line can be jammed. It takes 4 attempts and 4 nervous ascents from my shelf to the gusty, exposed summit before I get lengths right and knots to hold on slippery rock.
First caller is @VK2IO on yet another Victorian summit - thanks Gerard for all the summit-to-summits! 15 freezing minutes brings the total to 10 before I pack up before hands become too numb, and begin the very careful hard-pack descent to the hut.
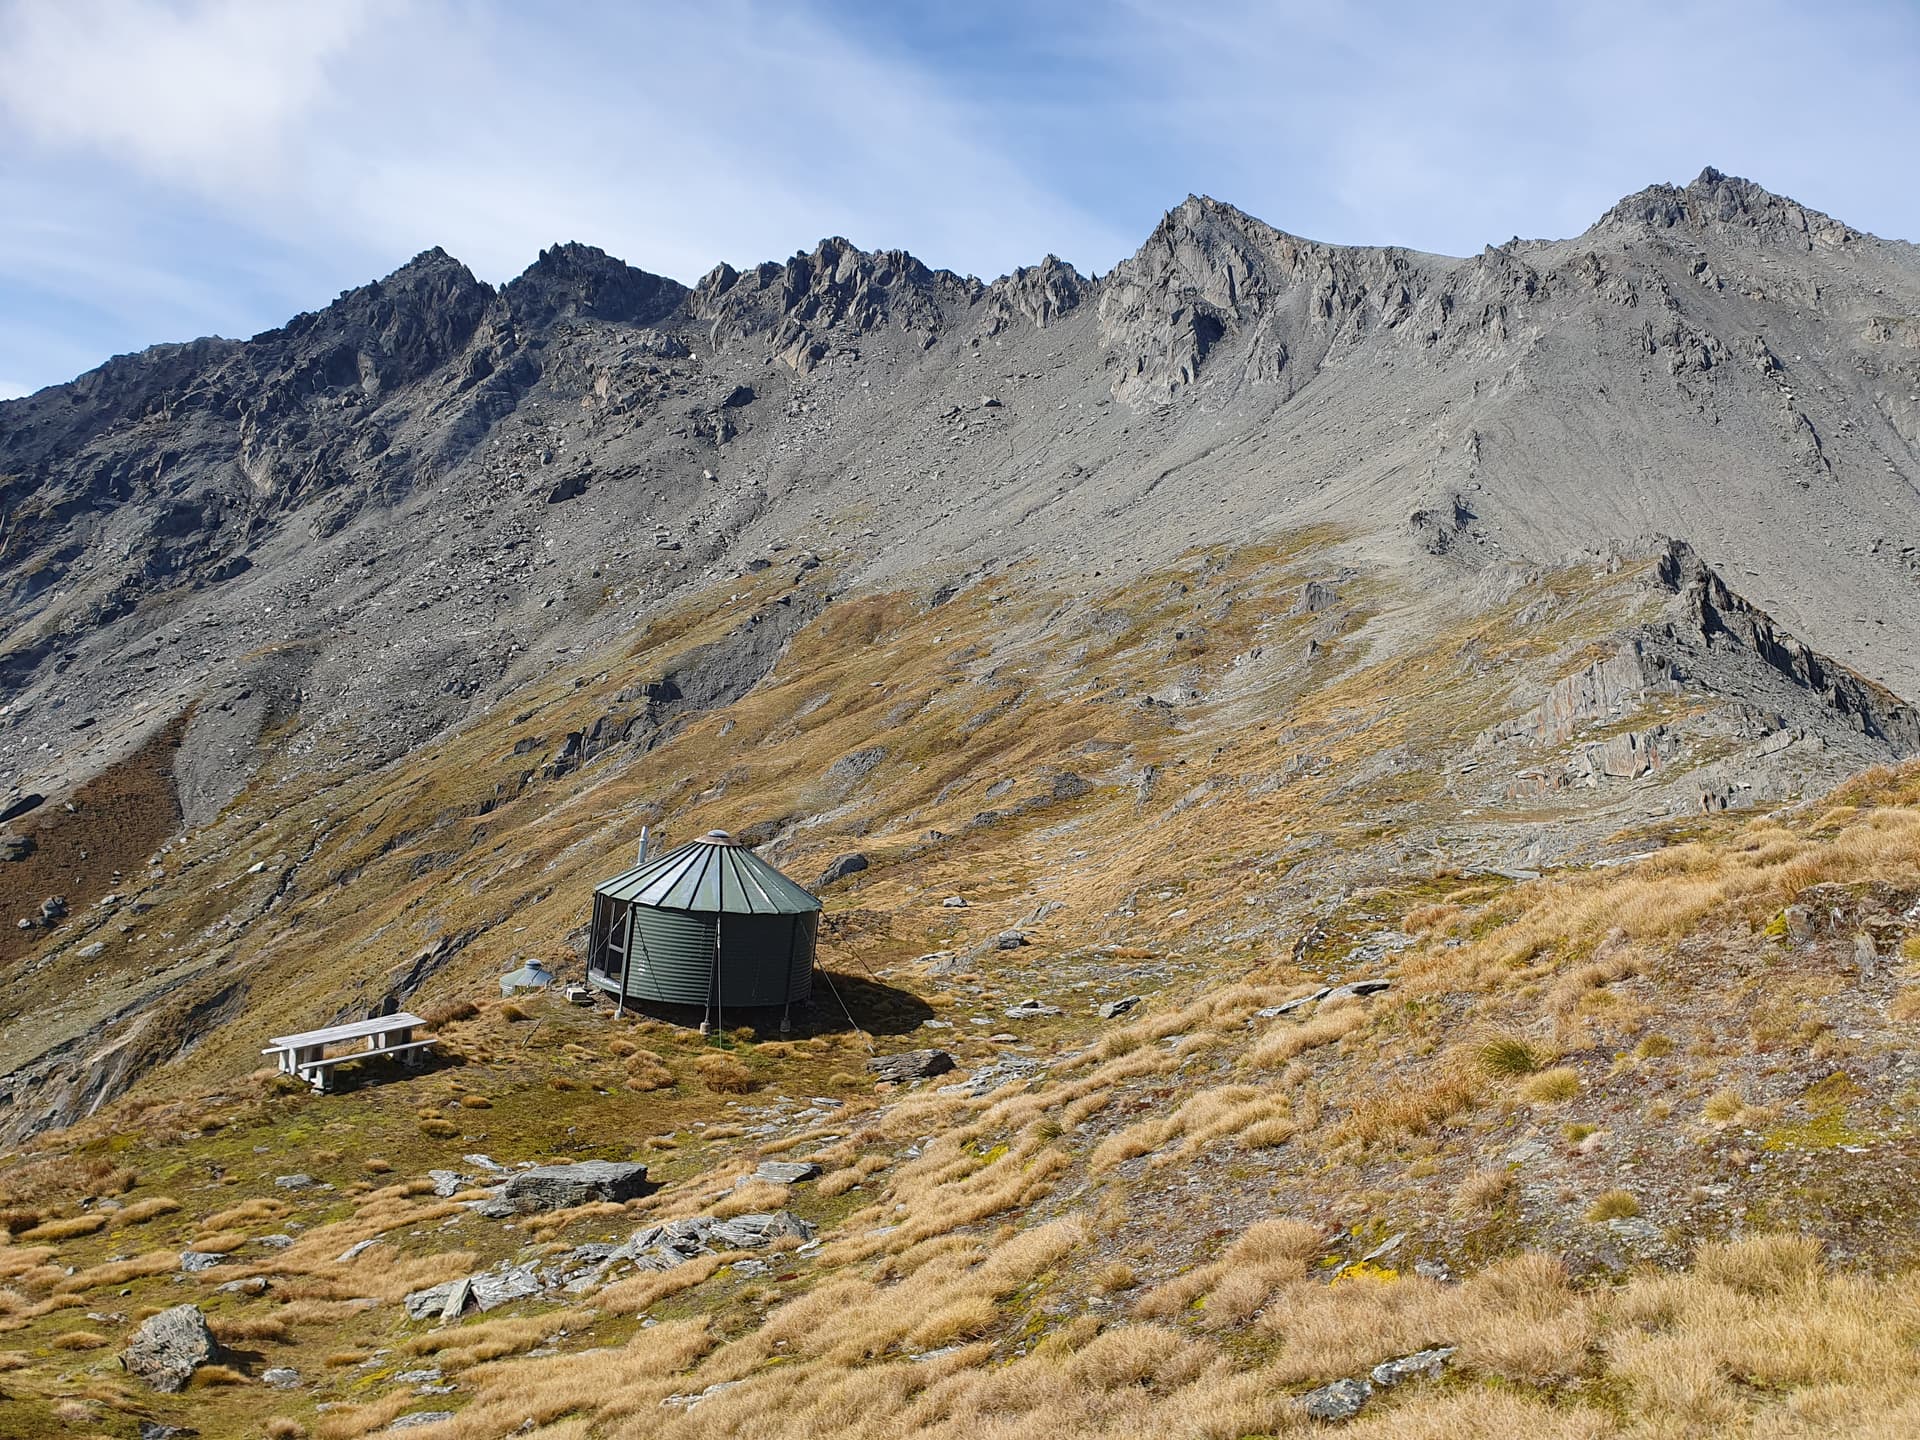
Dwell Hut and Mt Larkins
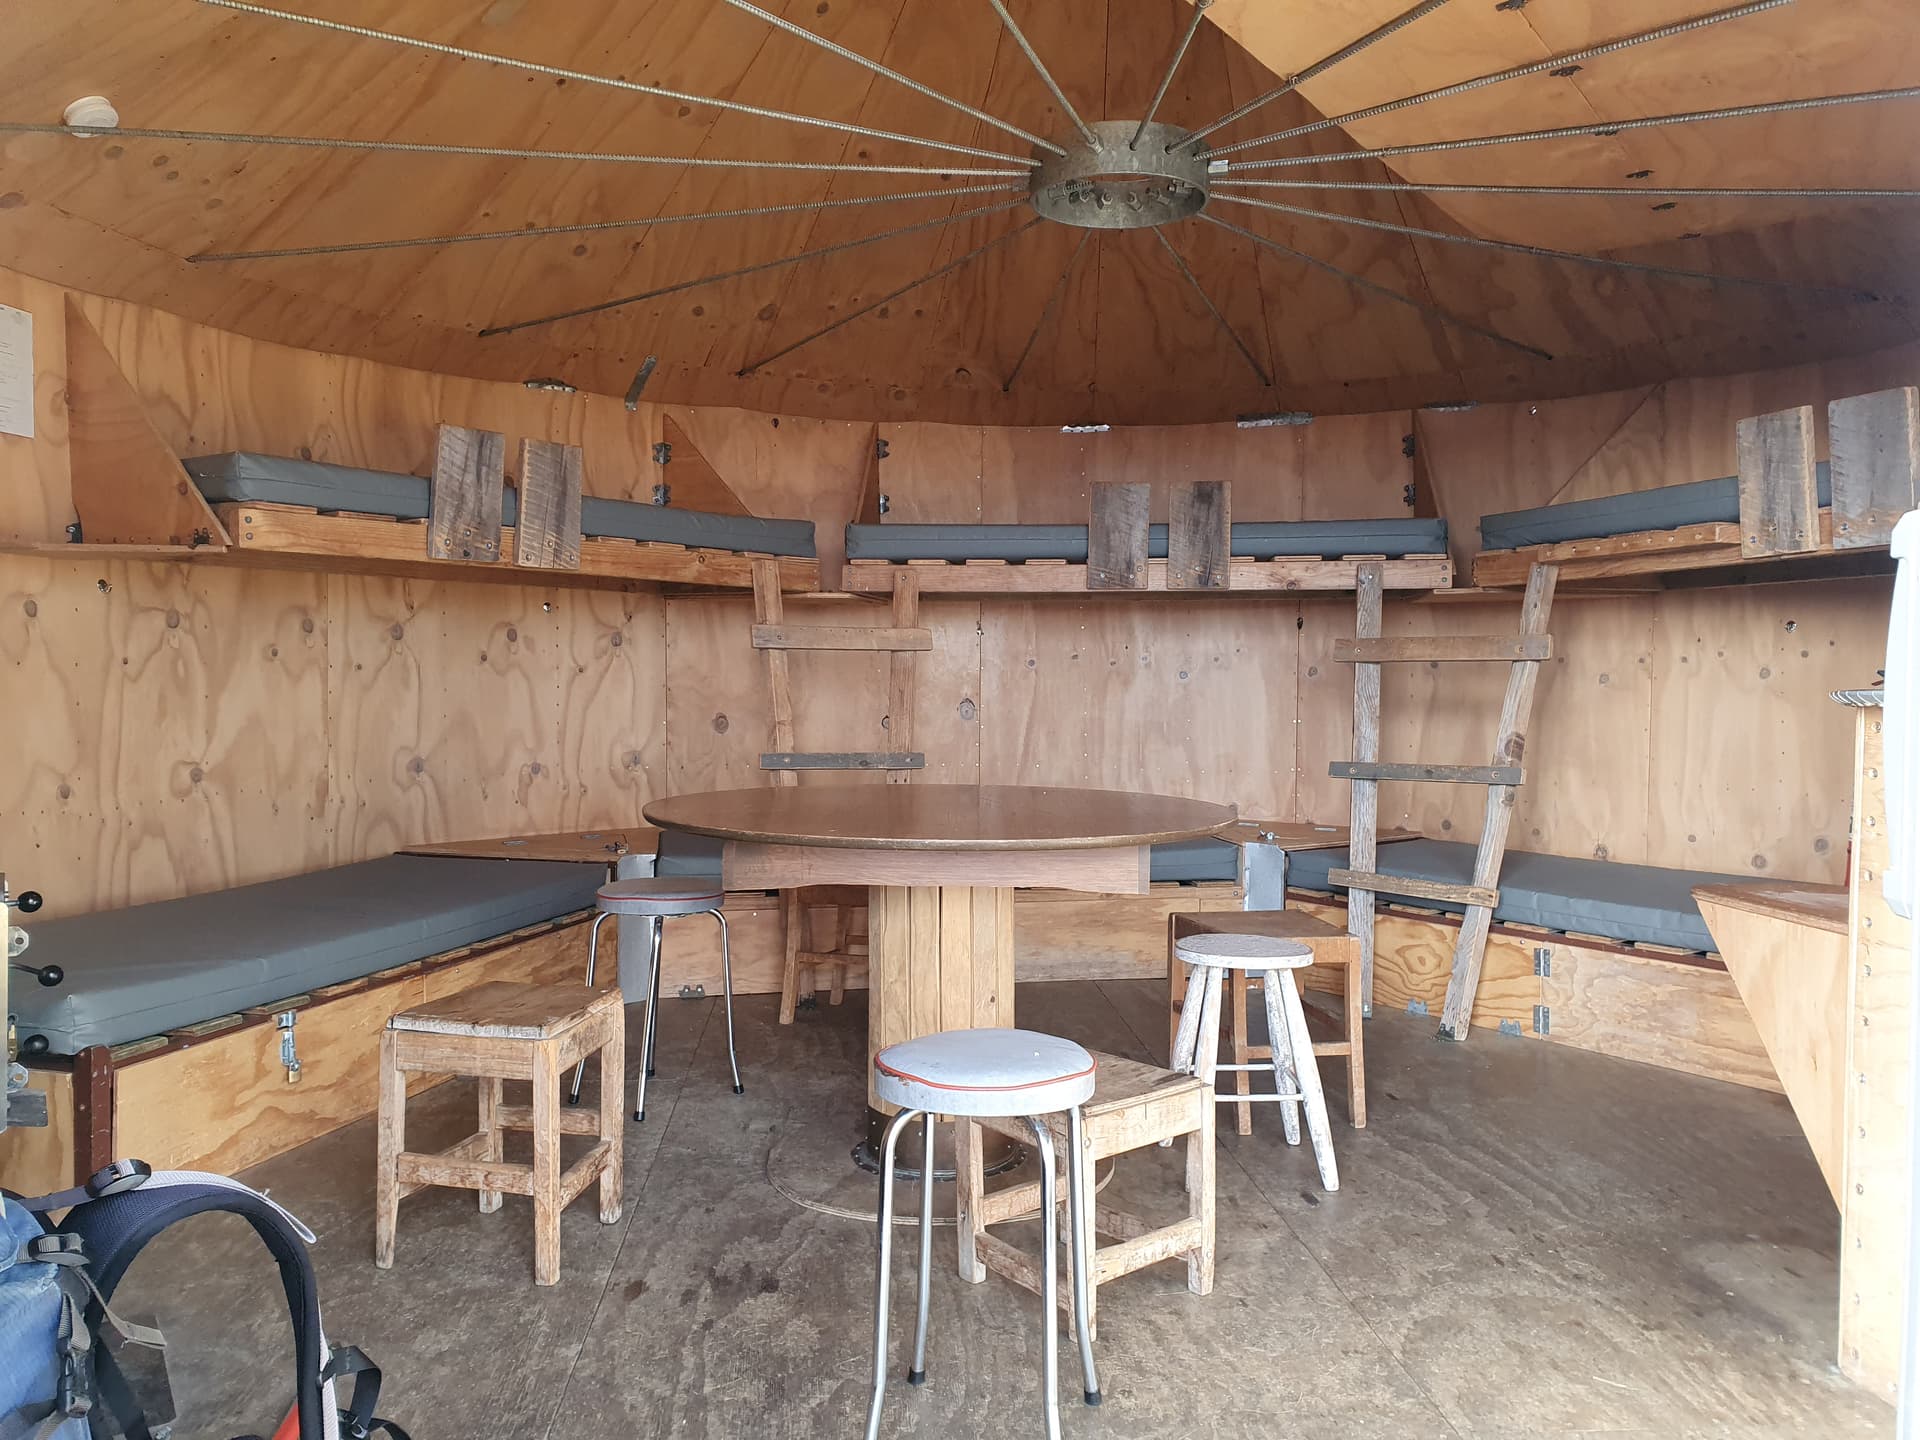
Dwell Hut - the original Mountain Turk
The walk out from Dwell Hut is straight forward, an hour of simple sidling to reach to start of the old mining roads, the comforts of Heather Jock Hut, the buzz of un-permitted drones, and the hoards. Then 10km of knee-jarring descent on the gravel of the old mine’s haul road.
50 points in the log, 5000m climbed, in 3 days. Through all the unexpected descents and ascents it felt as if I was working very hard for my points. But at the end, 100m of altitude per point seems quite reasonable - certainly far less than the ~200m per point rule-of-thumb for single-summit ZL3 activations. So the philosophy of ‘climb high, stay high’ worked despite the detours.
And a wonderful trip, beyond the well-trodden tourist trails, into the solitude of the upper Buckler Burn. SOTA at it’s best.