I had the opportunity to build a Slop Bucket 2 late last year. The Slop Bucket 2 is an Arduino based single band SSB and CW rig which was designed and kitted by Steve Weber, KD1JV, in limited numbers.
The firmware as shipped had some bugs so the firmware needed an update. I fell down a bit of a rabbit hole! I’d learnt that a different SI5351 sub routine had been utilised in the updated sketch and so the calibration data held in the EEPROM would no longer be valid. The EEPROM data needed to be wiped. The first thing that Slop Bucket 2 sketch does is check the EEPROM for valid data before doing the rest of the boot. Here is where I made my error! I thought I would be clever and run the EEPROM erase sketch provided in the Arduino IDE examples. The EEPROM erase sketch writes ‘0’ in each of the EEPROM locations. I ran the EEPROM erase sketch and then loaded in the new Slop Bucket 2 sketch into the ATmega328. I was horrified to see a blank display on the rig. I tried for a couple of days to get the rig working again but I had no luck. I thought I had damaged the display somehow.
After plugging away at the problem, and reading lots of material, I discovered that a blank ATmega328 chip contains an EEPROM full of 0xFF, not 0! Aha! I ran the EEPROM erase sketch again, but this time I modified the sketch to write 0xFF into all of the locations. Thankfully the rig fired straight up and I was rewarded by Adafruit logo test screen. To add insult to injury, I then discovered that the Slop Bucket 2 sketch includes a sub routine to erase the EEPROM for you! Doh! The problem came from the fact that there isn’t a detailed manual explaining all of the functions of the rig. I learned of the EEPROM erase function by studying the Arduino sketch.
The firmware sketch was never fully debugged, so I got hold of a third party modification of the sketch by ND6T. After uploading Don’s sketch, the rig functions as intended.
After finally getting the rig up and running, I made a case for it by using a cheap extruded aluminium enclosure which I obtained from a seller in China via Ebay. The case is a bit deep really but its nice and solid.
I intended to give the Slop Bucket a test drive during a SOTA activation but then lockdown happened and the rig was boxed and shelved.
I have been thinking recently that I really ought to try the rig. An opportunity to activate my nearest small summit aligned with a reasonable weather window yesterday morning, so I put my SLAB on charge whilst I did a few chores.
White Hill G/SP-006 is not the most glamorous summit, the route involves the use of wellies in nearly all seasons, it just seem like a continuous slog through peat bog.
Using a much repaired (Trigger’s broom?) SOTAbeams Band Hopper 3, I fired up the Slop Bucket 2 on 40m CW. Great - I can hear CW! Just for funniest, I tuned to 7.032MHz and plugged in a QRPme FreeKey. The frequency sounded clear to me, although it was a bit hard to tell because the IF filter is wide for SSB. I sent out a wobbly CQ after a couple of QRL?s. I was pleased when I was answered by Guido, HB9BQB/P on HB/SZ-022 for a summit to summit QSO. Having proved the CW capability, it was time to try some SSB.
I plugged in my home brew microphone and tuned the rig up to the SSB portion of 40m. It was great to hear lots of good signals but it took me a while to find a clear sounding gap between stations. I settled on 7.165MHz. I made sure that the frequency was clear and then I fired off a spot to SOTAwatch to announce my presence. Almost straight away I heard a few chasers coming back to me. Manuel, EA2DT was the first call that I picked out. I was pretty ecstatic to be honest, I’ve tried QRP SSB on 40m before and it was hard work, but working Manuel seemed easy! I worked another 12 stations before pulling the plug. The receive audio was very nice. I concluded that turning the modulation pot up a bit might be beneficial but other than that I I thought the radio was very impressive.
I have a Slop Bucket mk1 kit that’s built apart from 2 LEDs, so I really ought to get it finished.
Speaking to fellow SOTA enthusiasts on a radio you’ve built and troubleshooted yourself - magic!
73, Colin
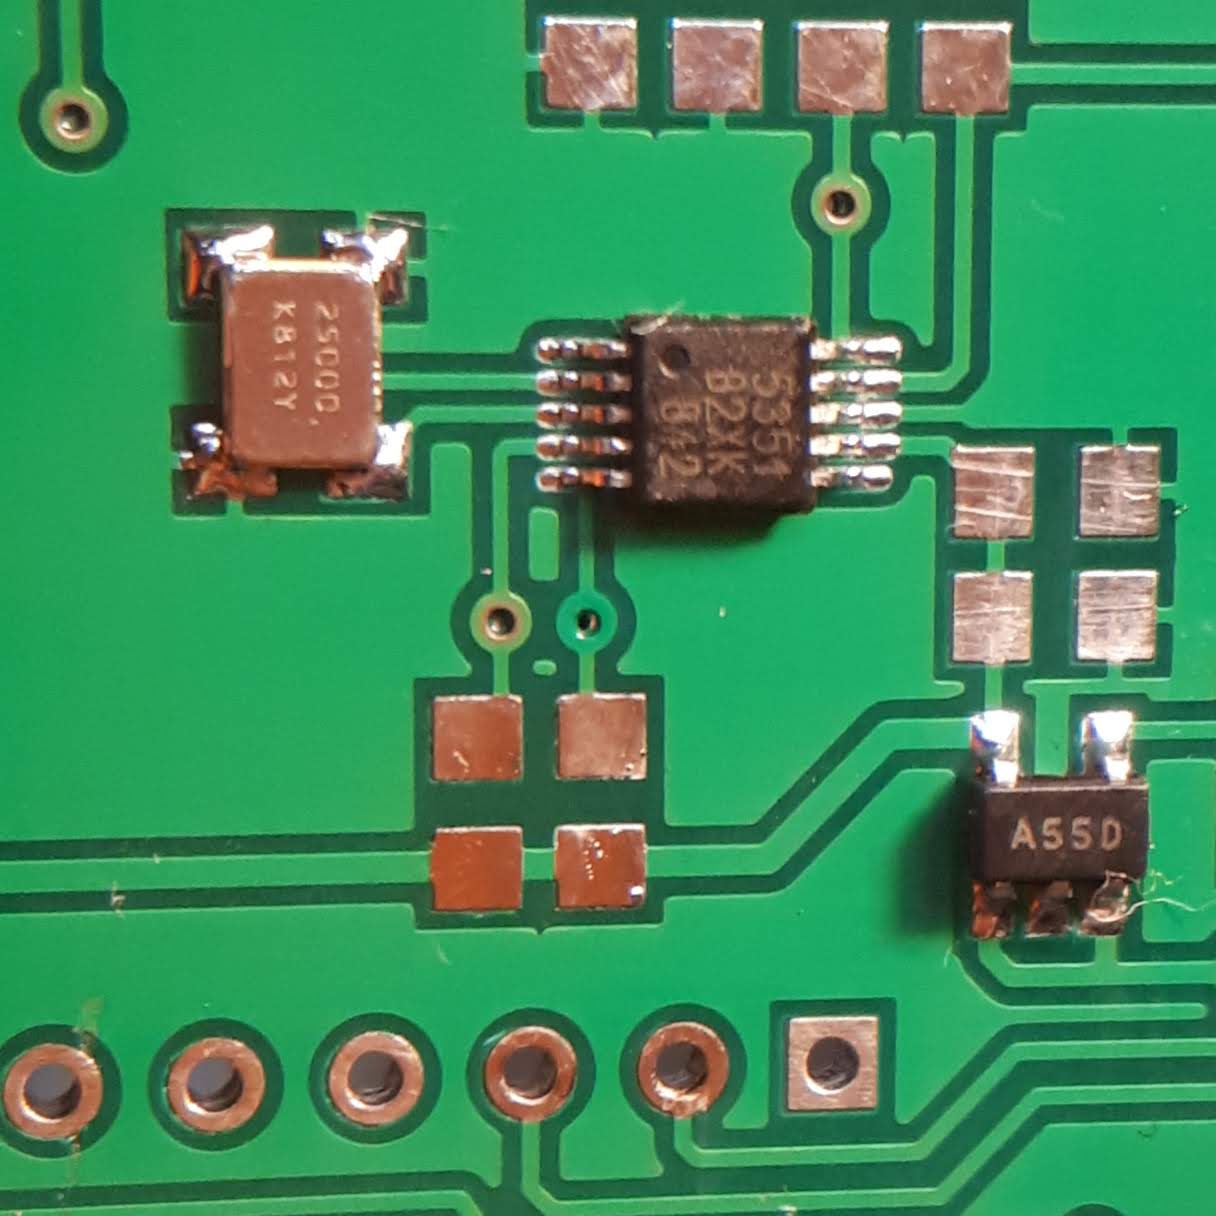
The first SMDs going down, including the MSOP 10 SI5351. I soldered this by hand with my iron!
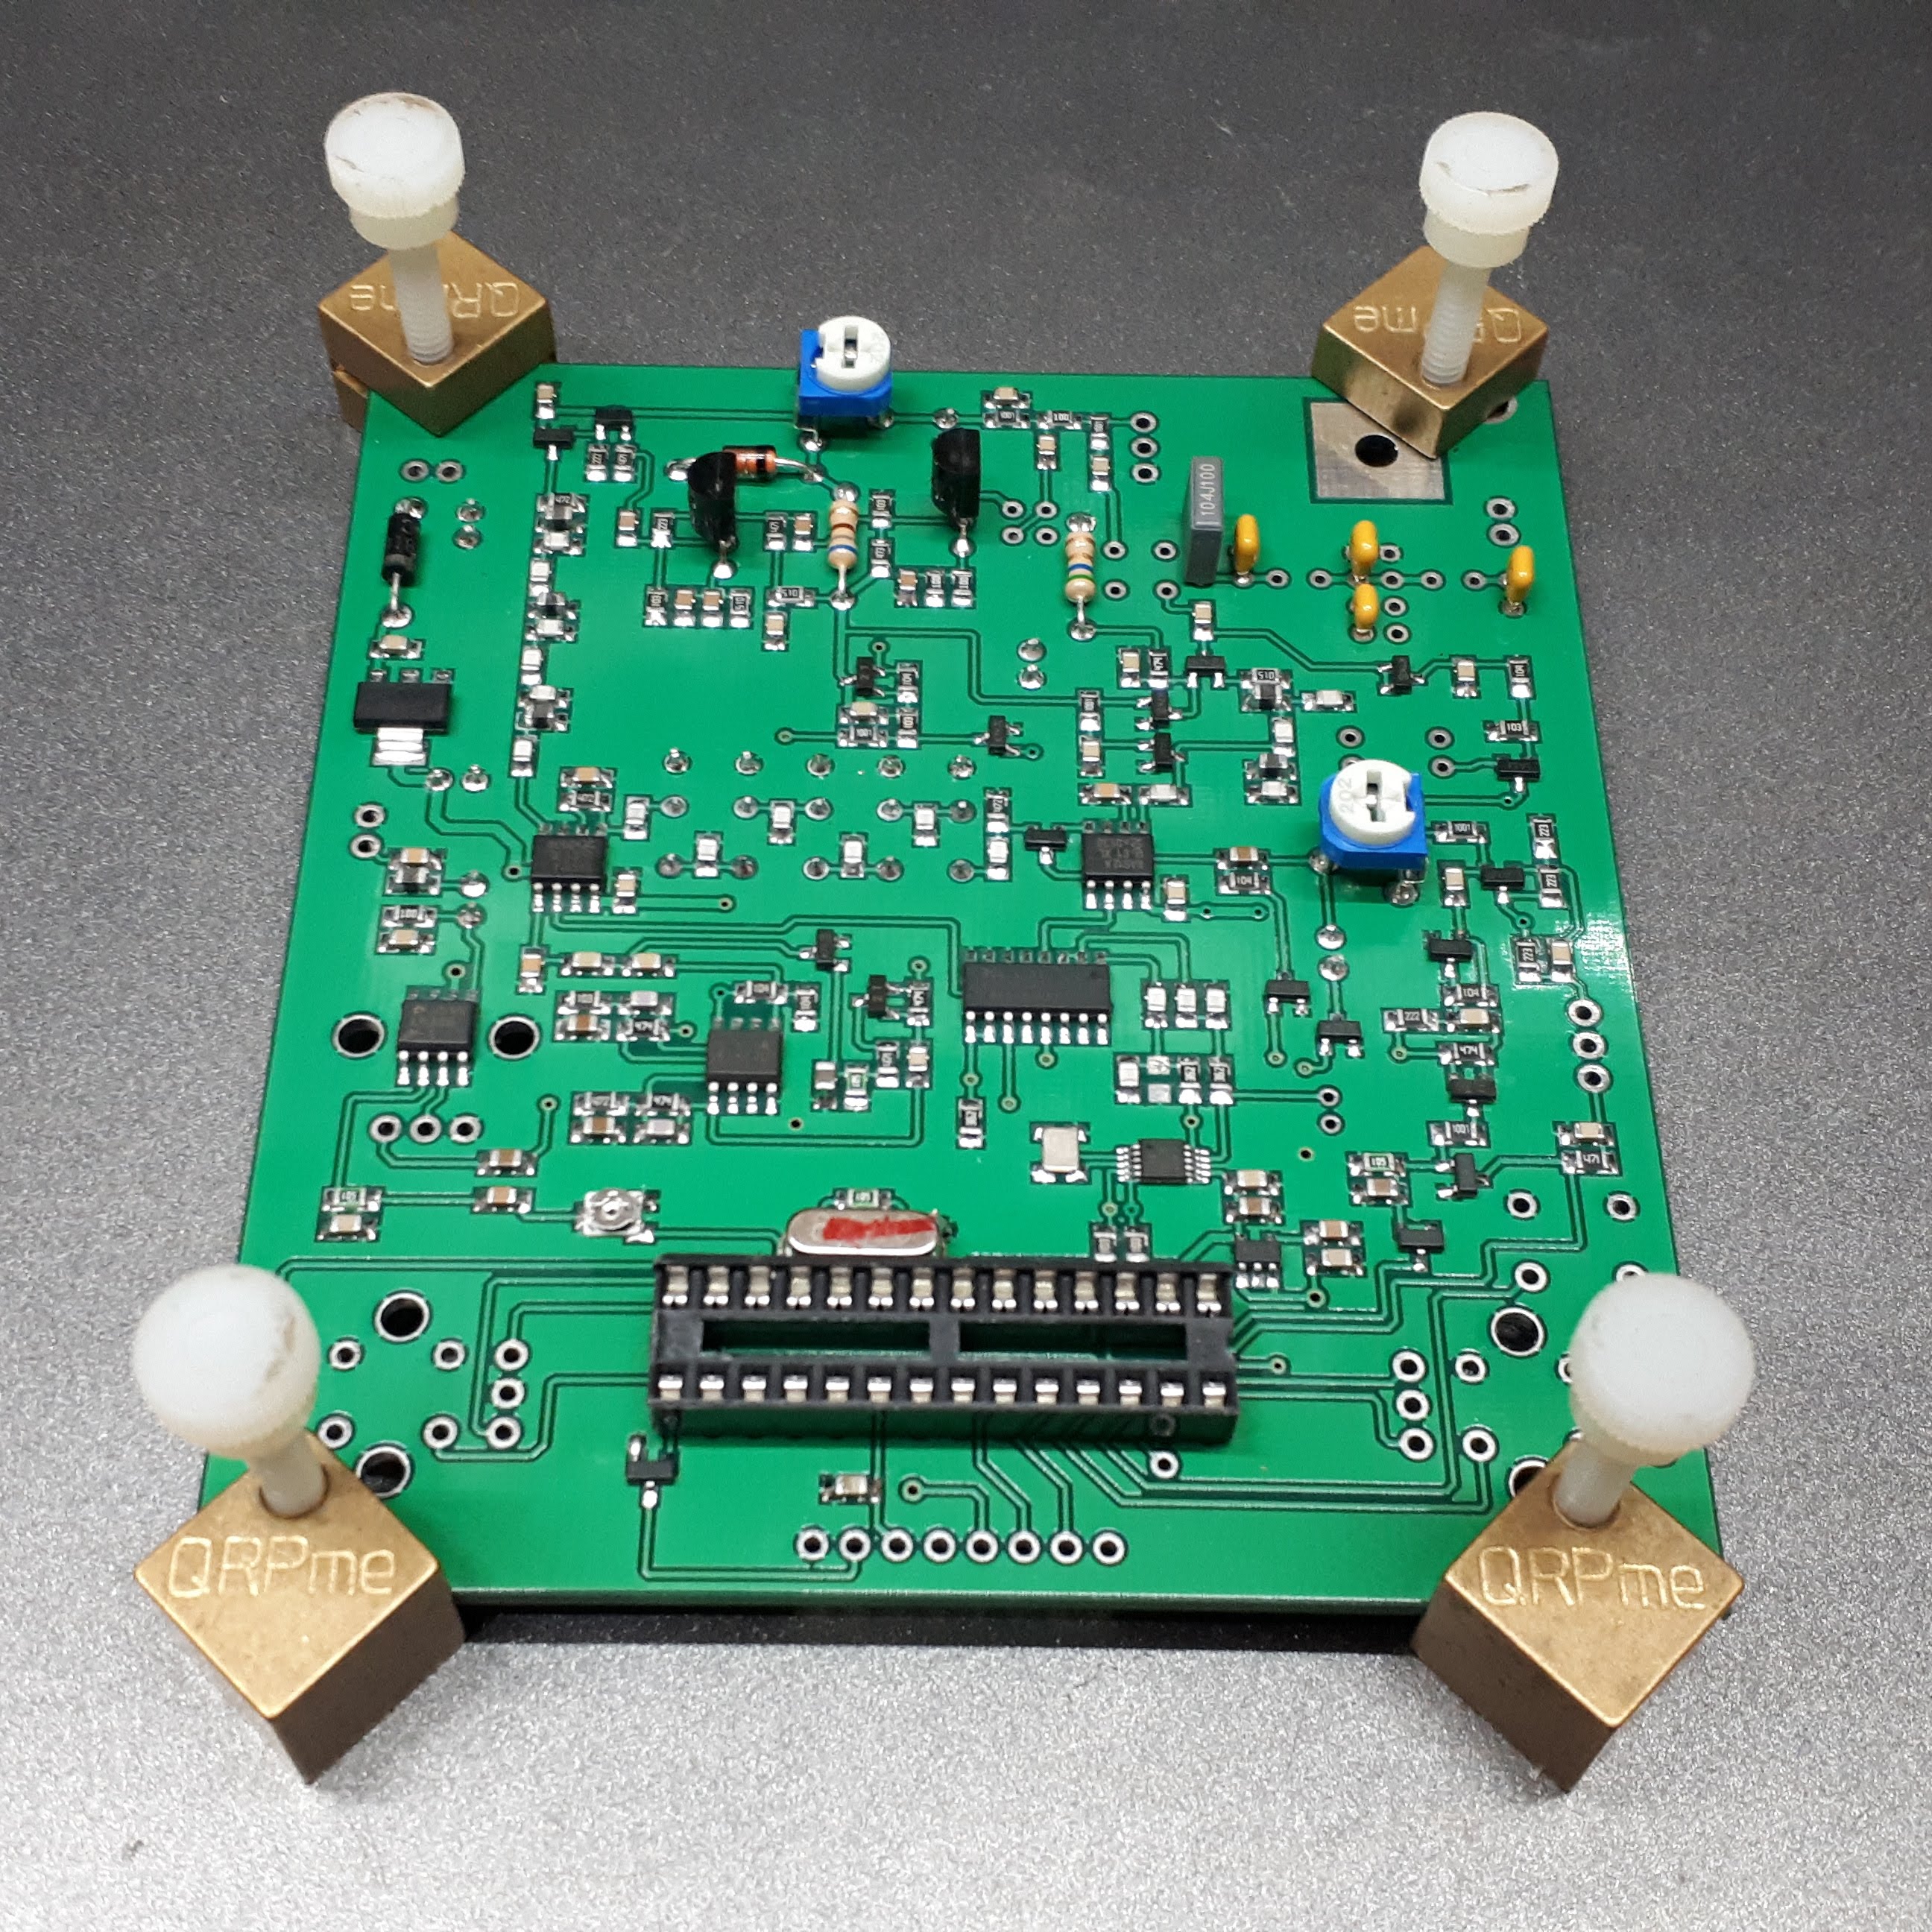
More parts added.
Smoke test- none escaped

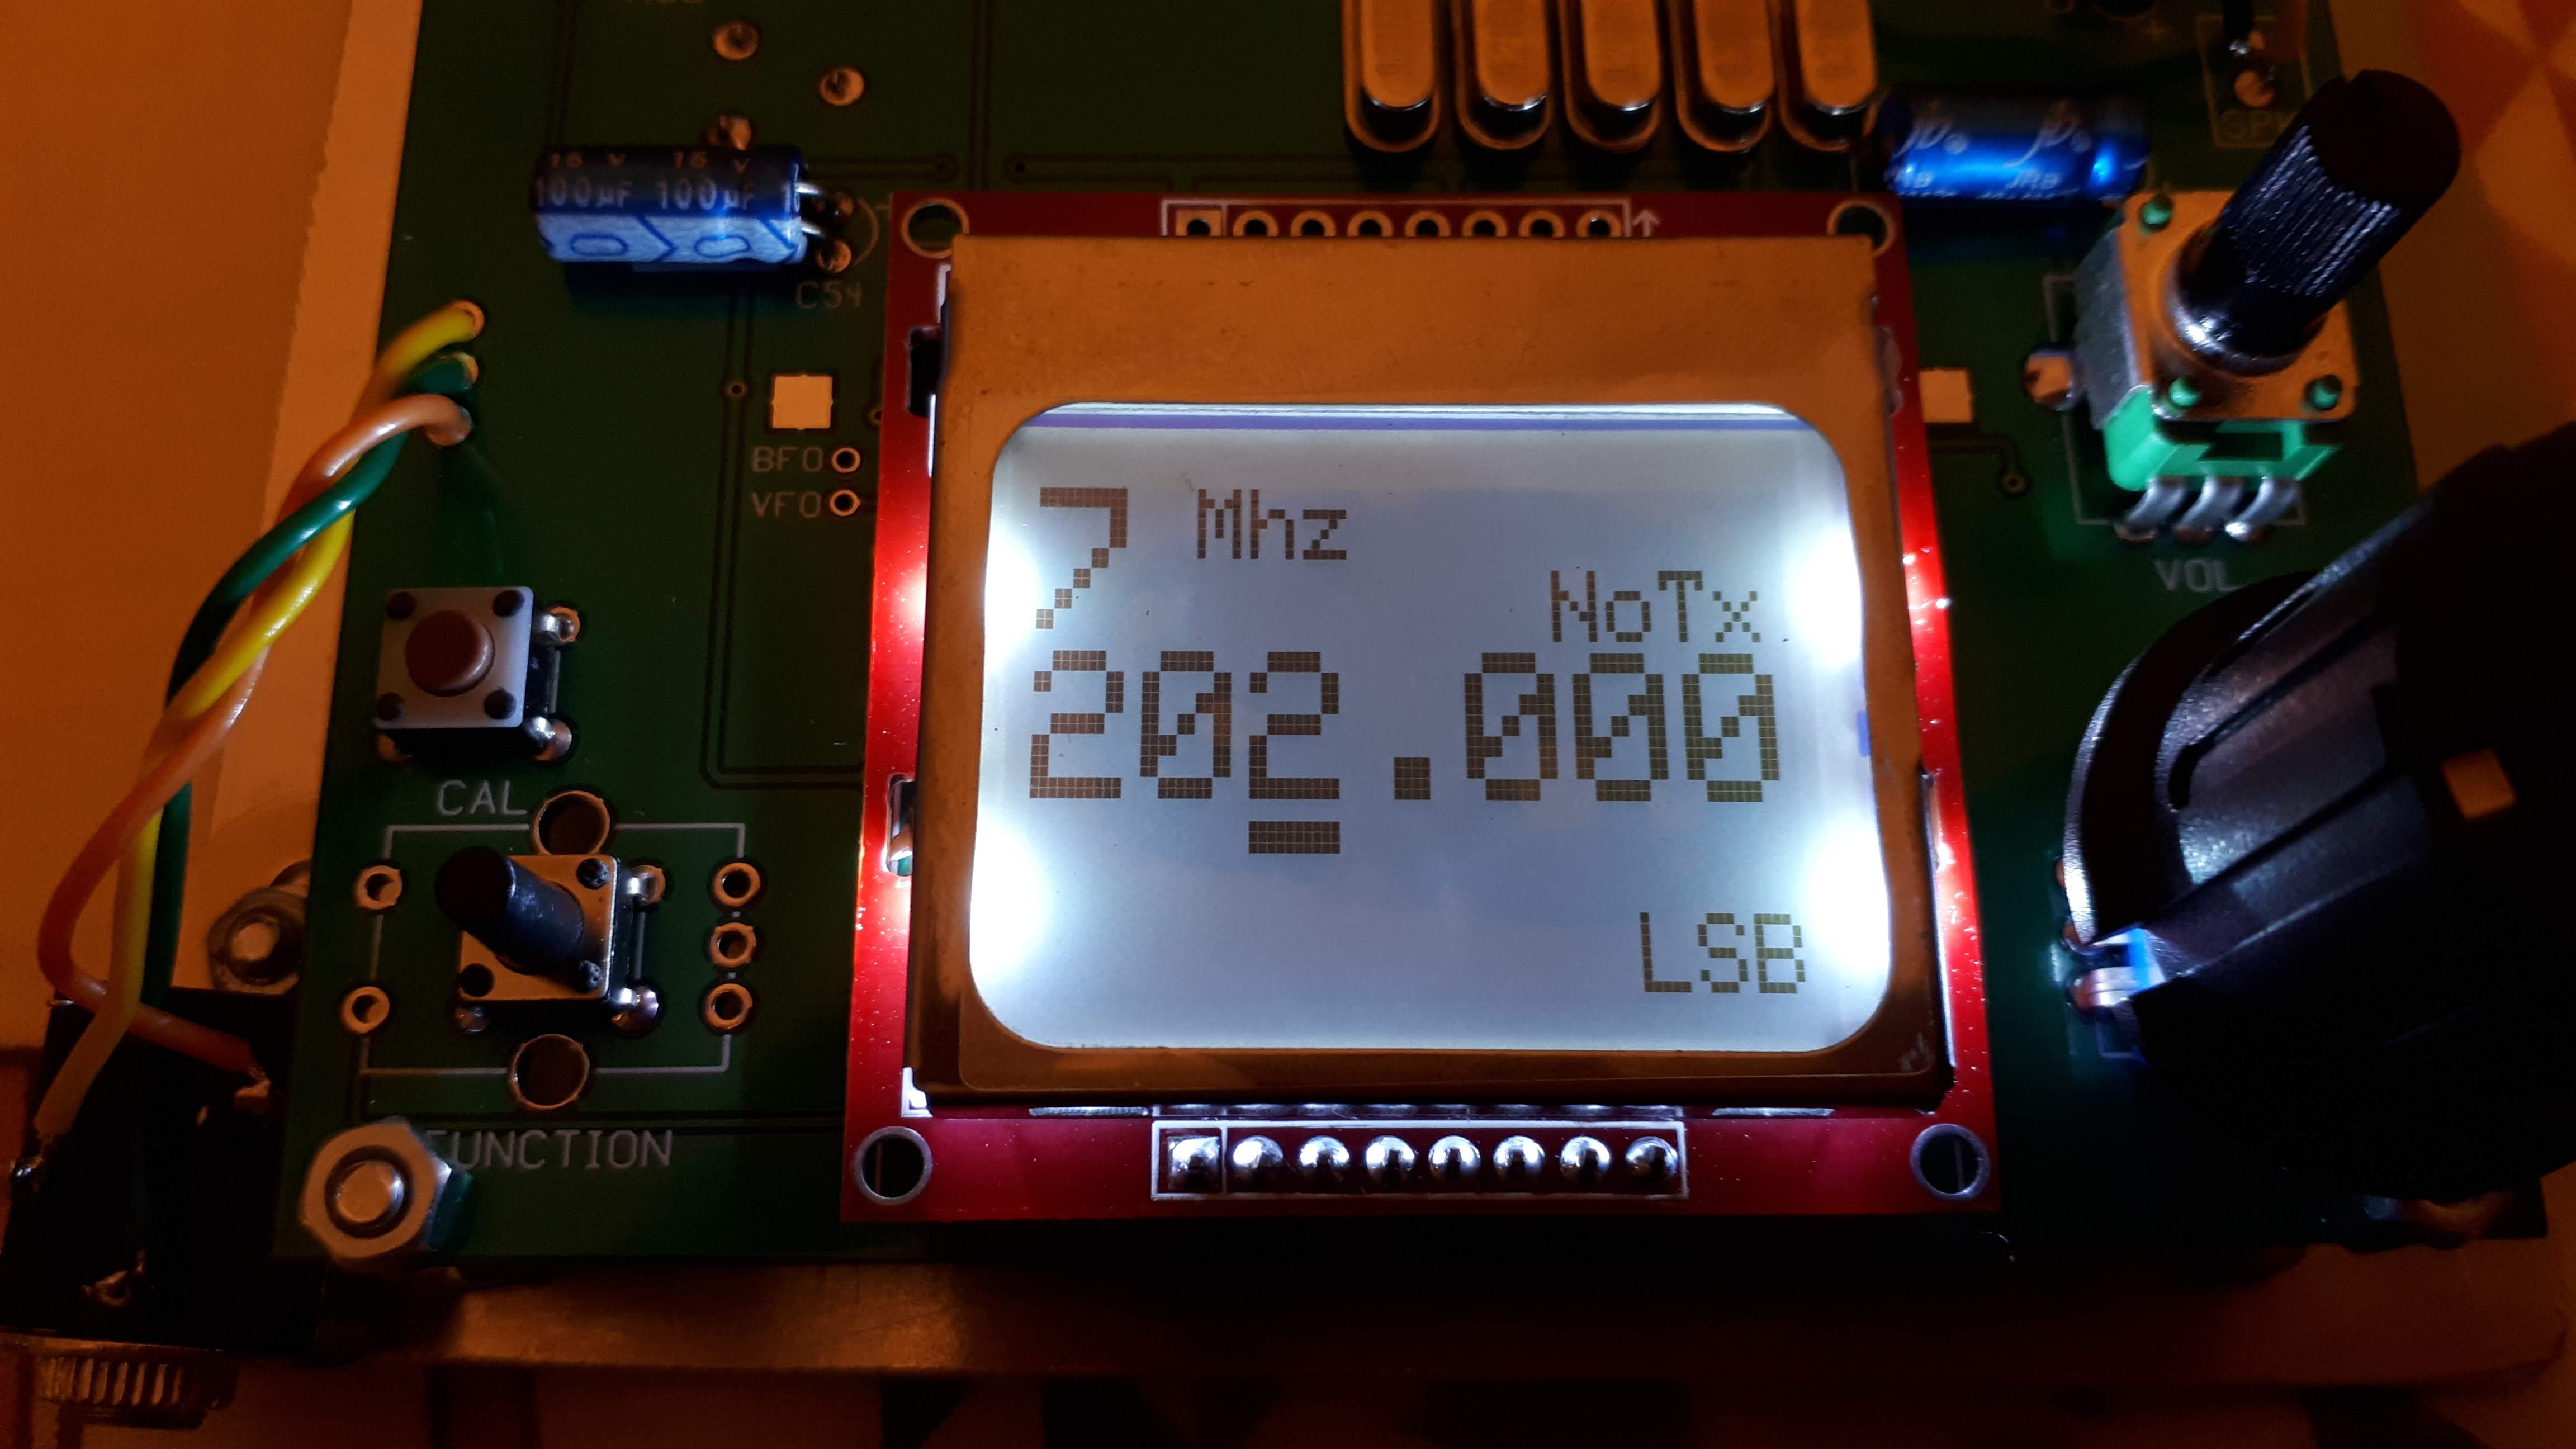
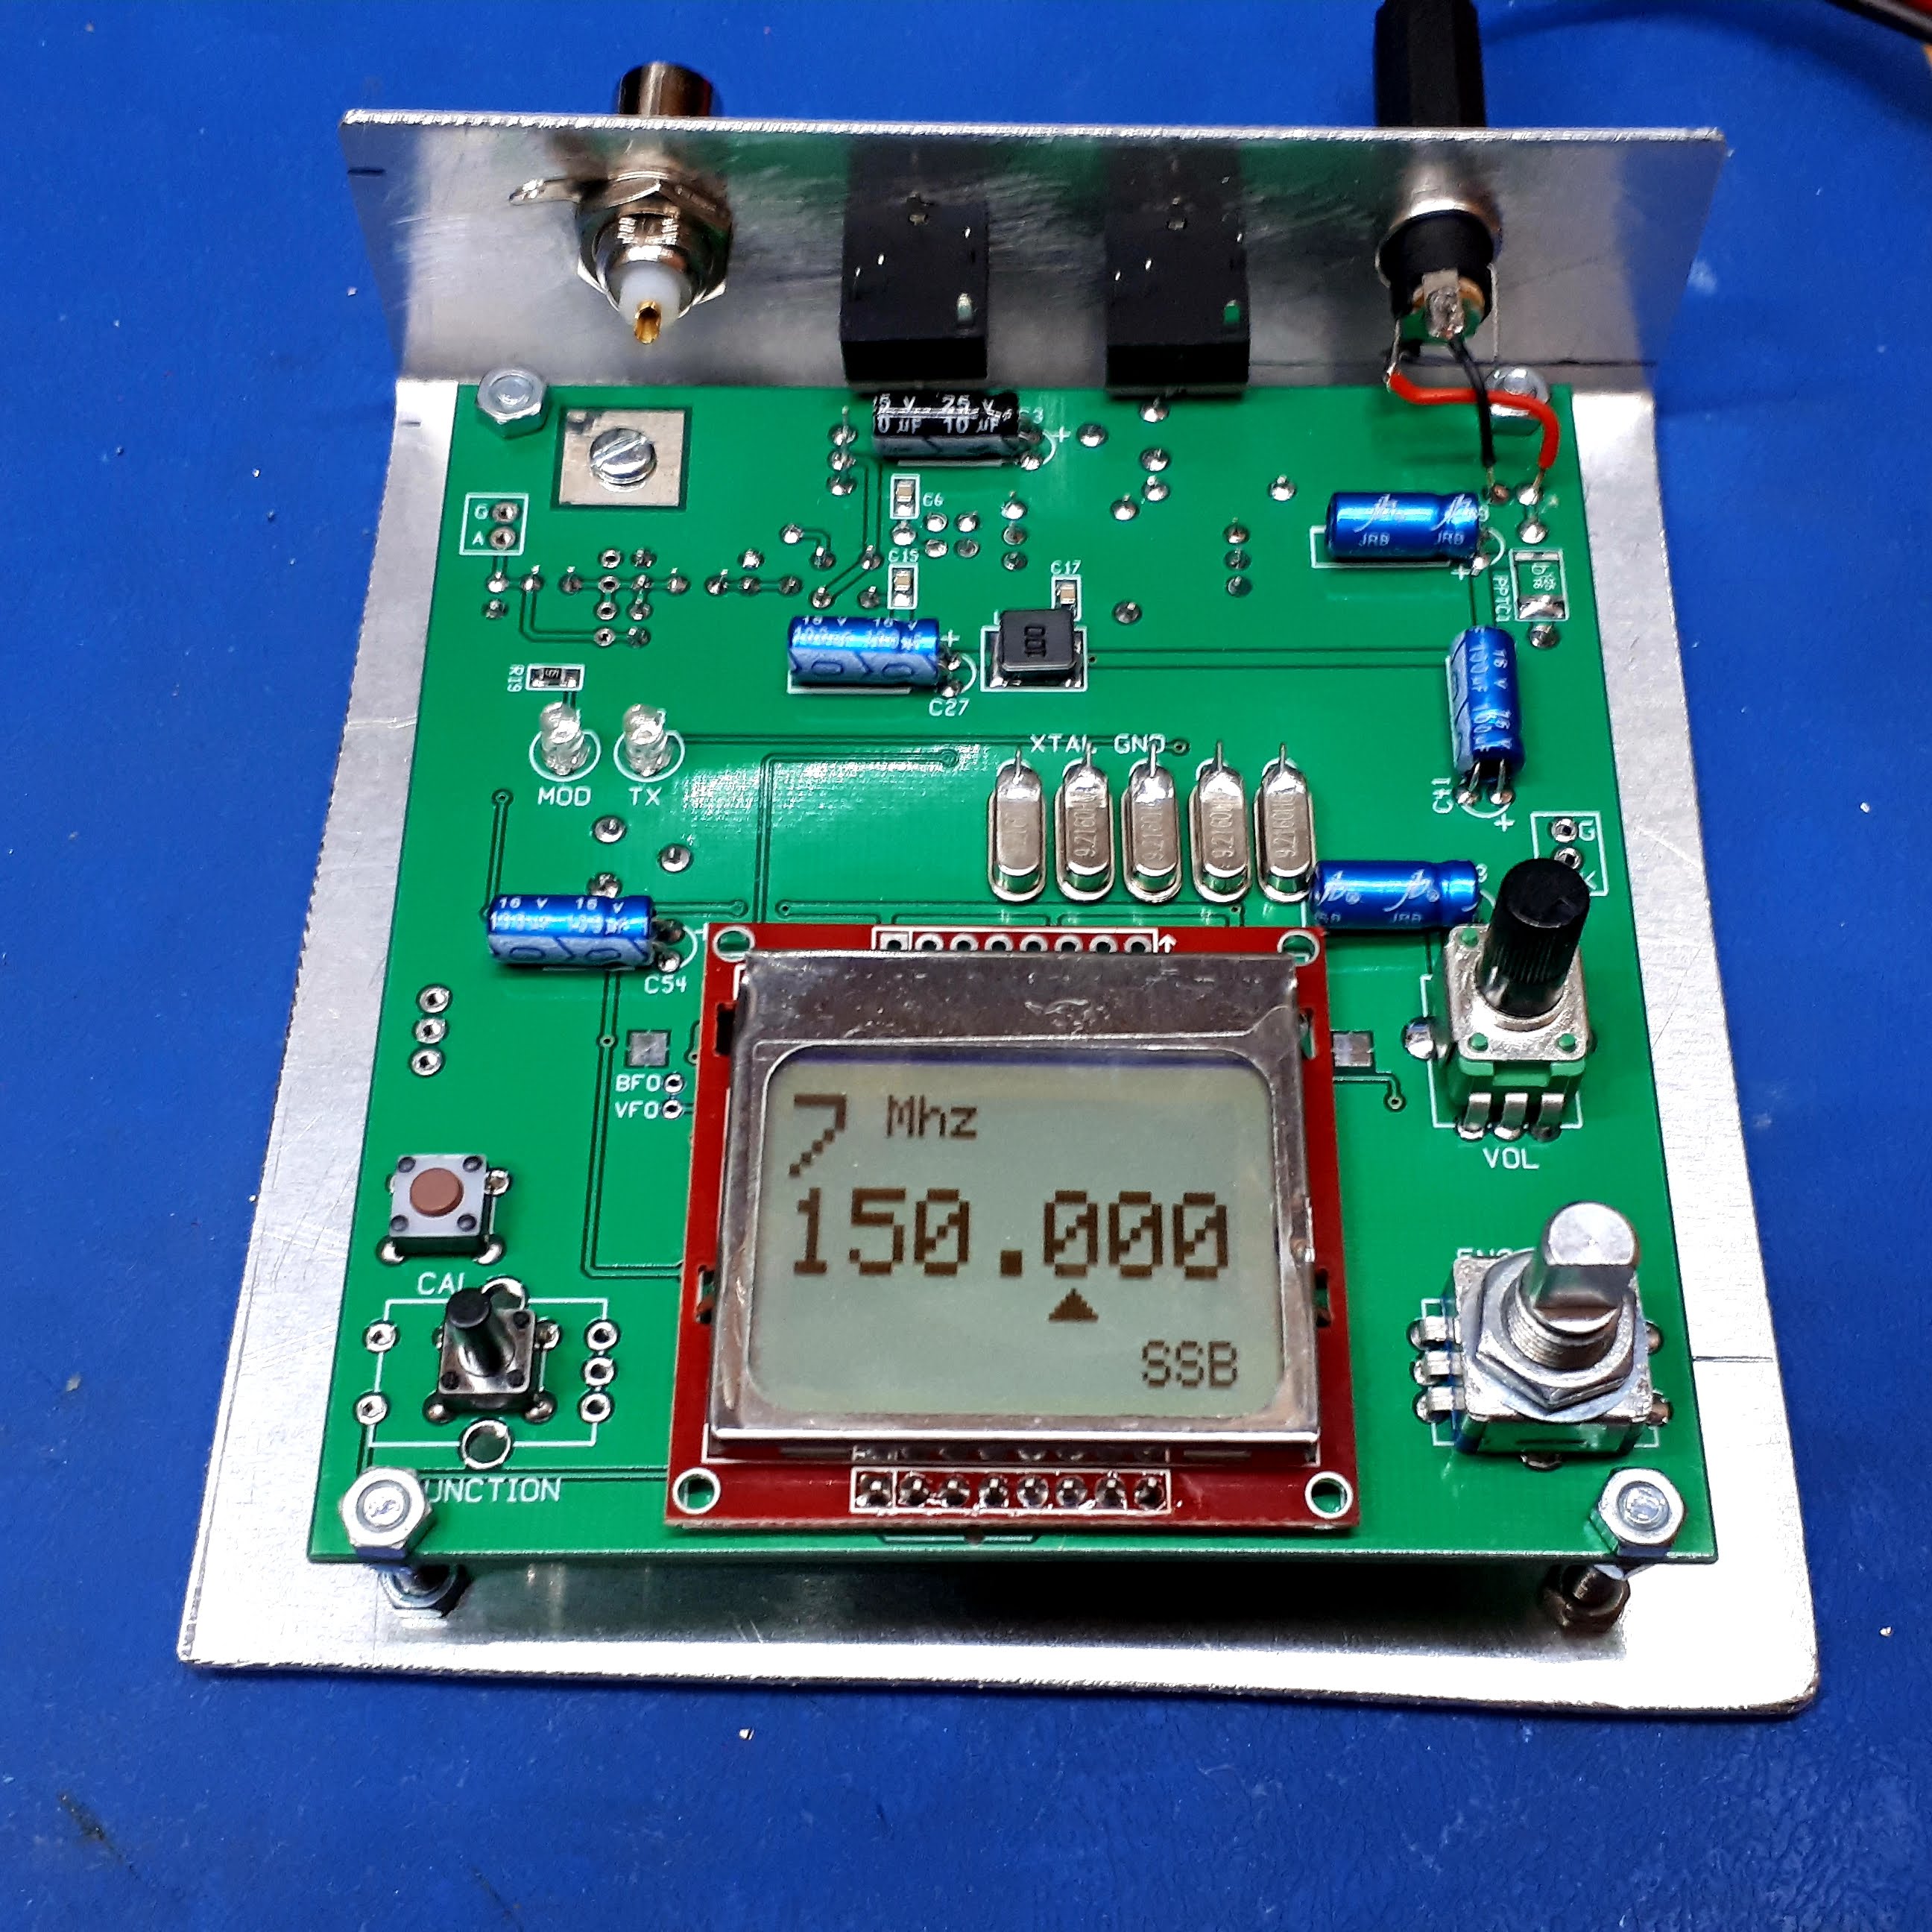
Modified the firmware sketch to disable transmit above 7.200MHz as US limits were programmed.
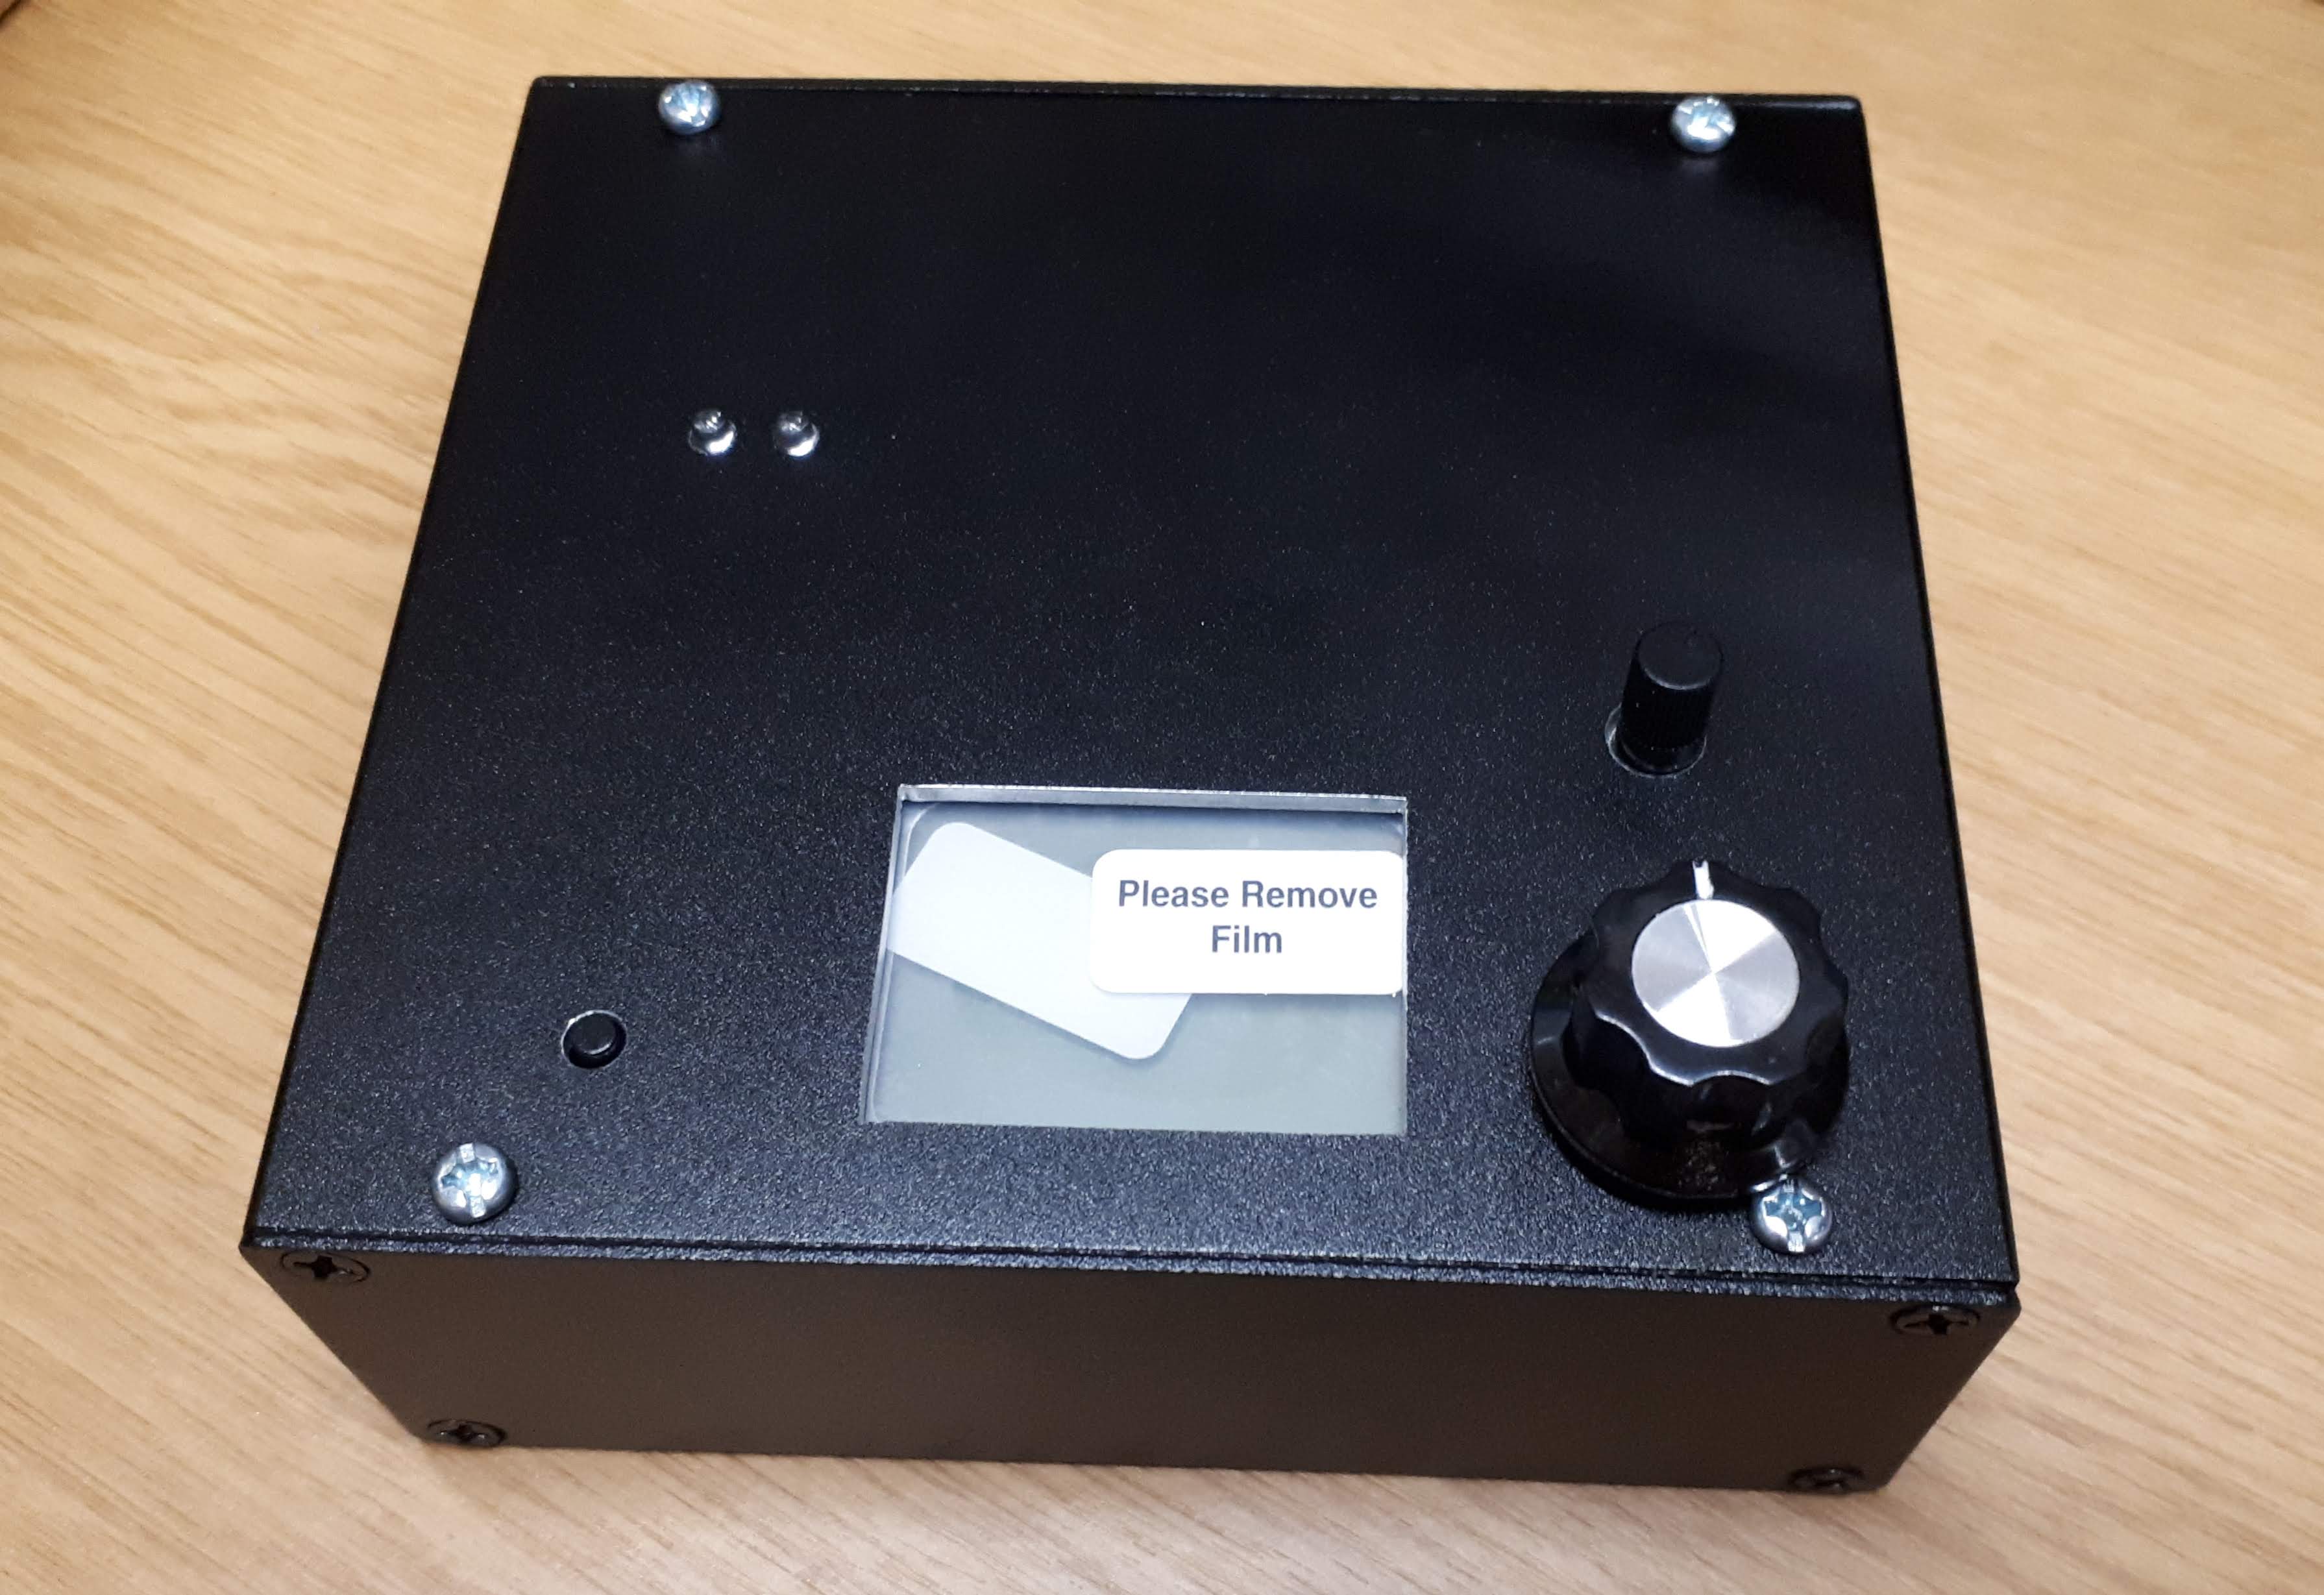
Case made from extruded enclosure.
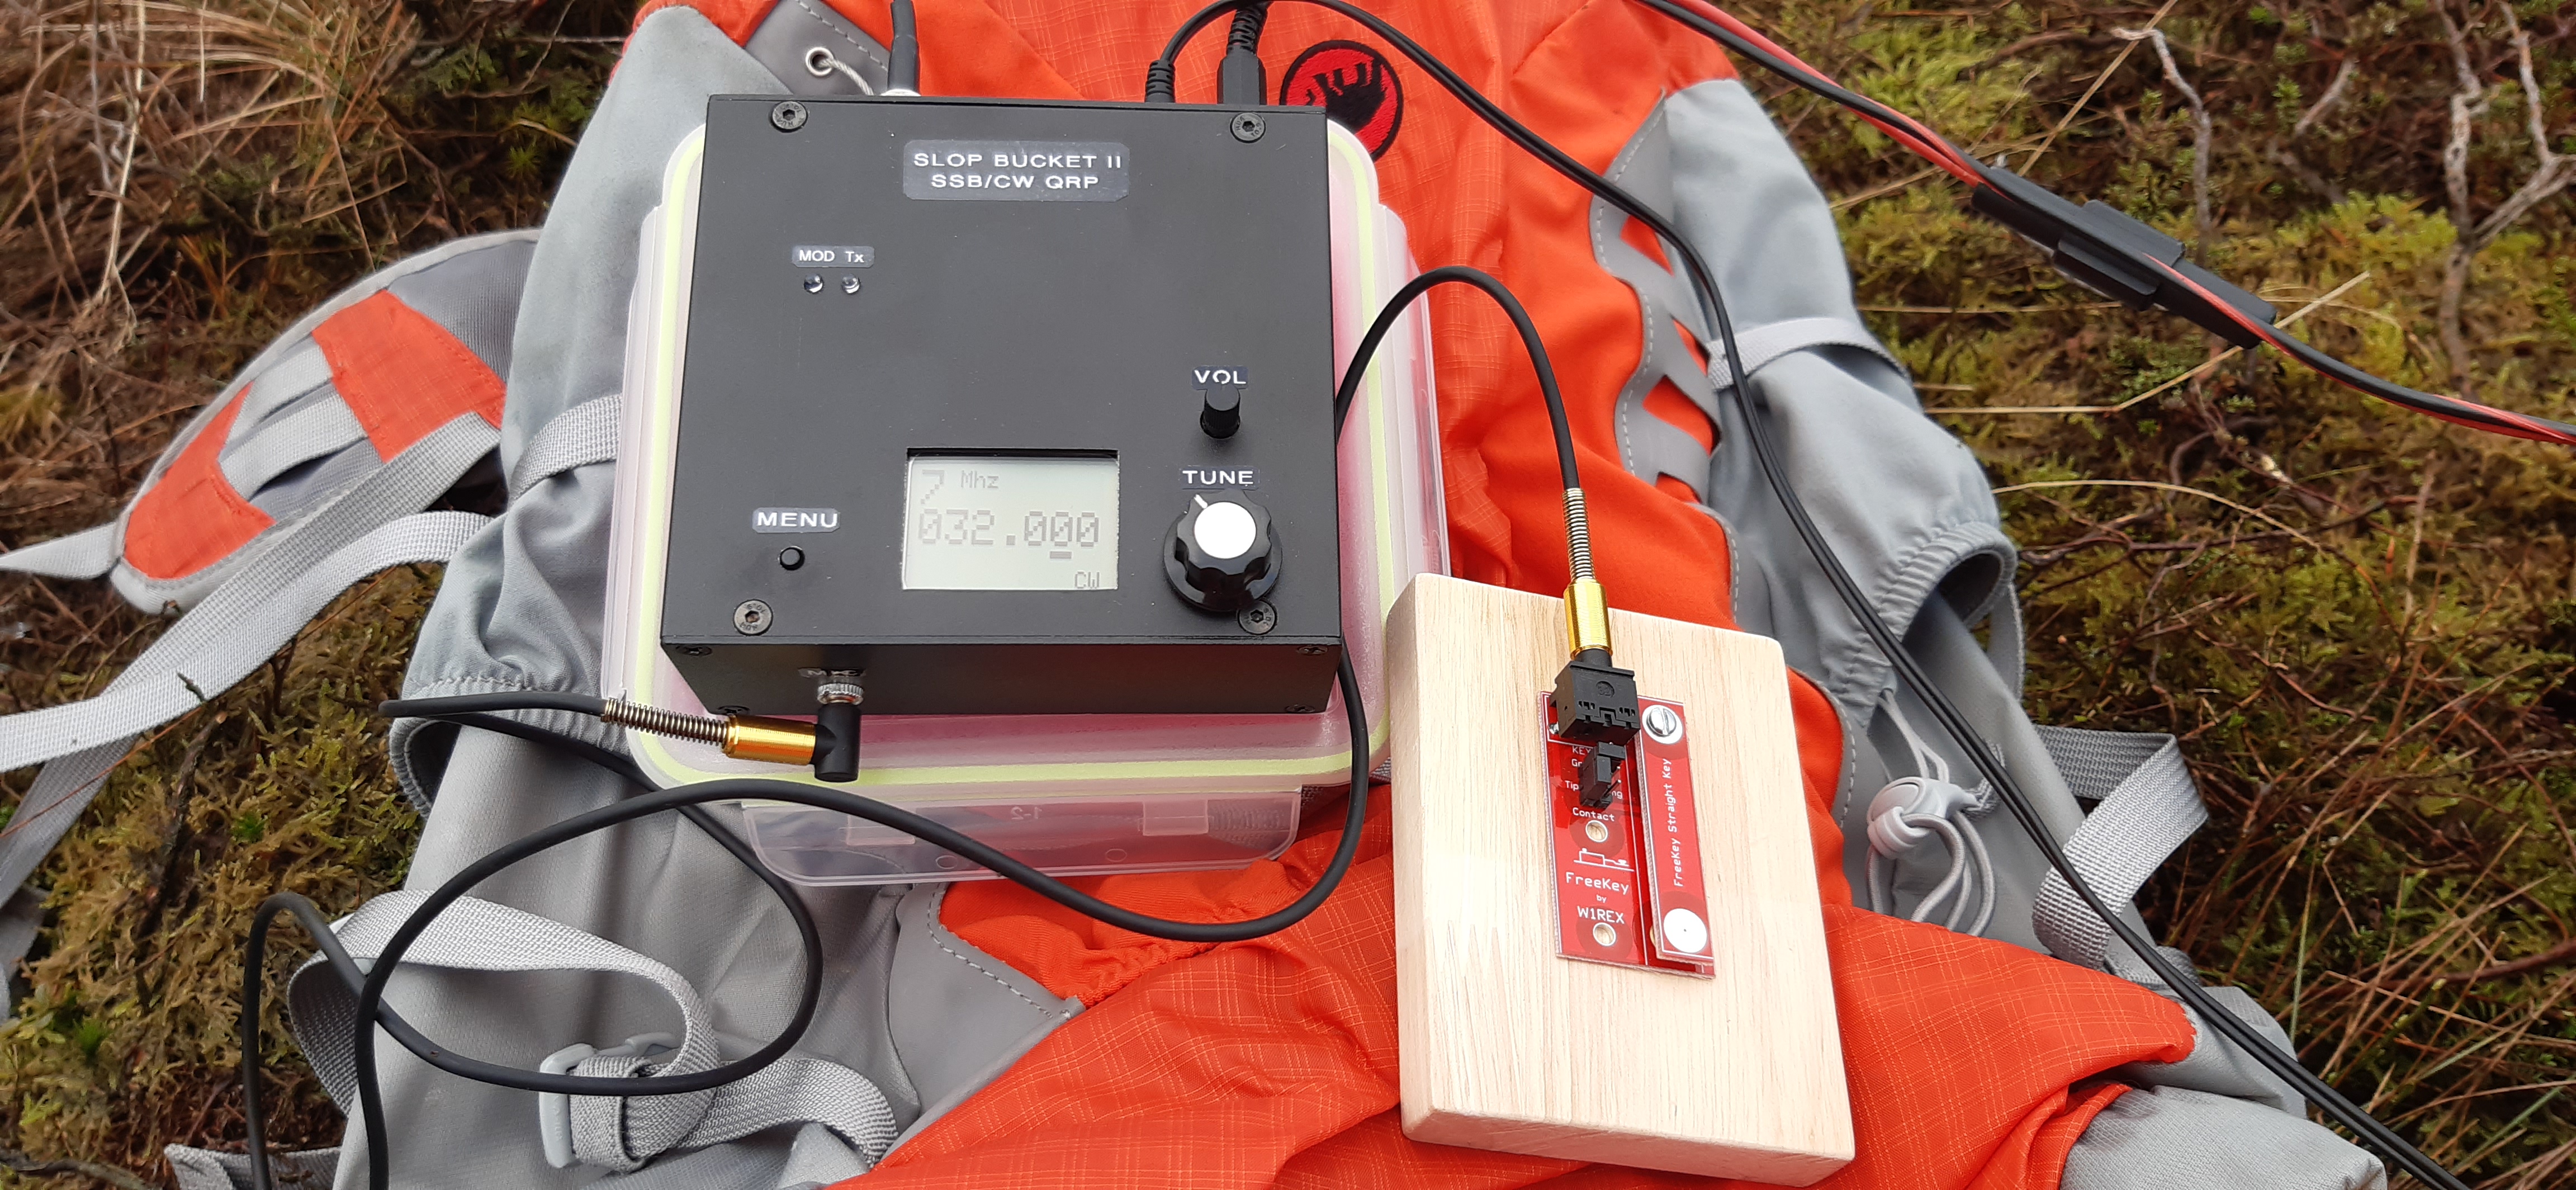
QRPme FreeKey straight key used for QSO with HB9BQB/P (sorry for the wobbly Morse!)
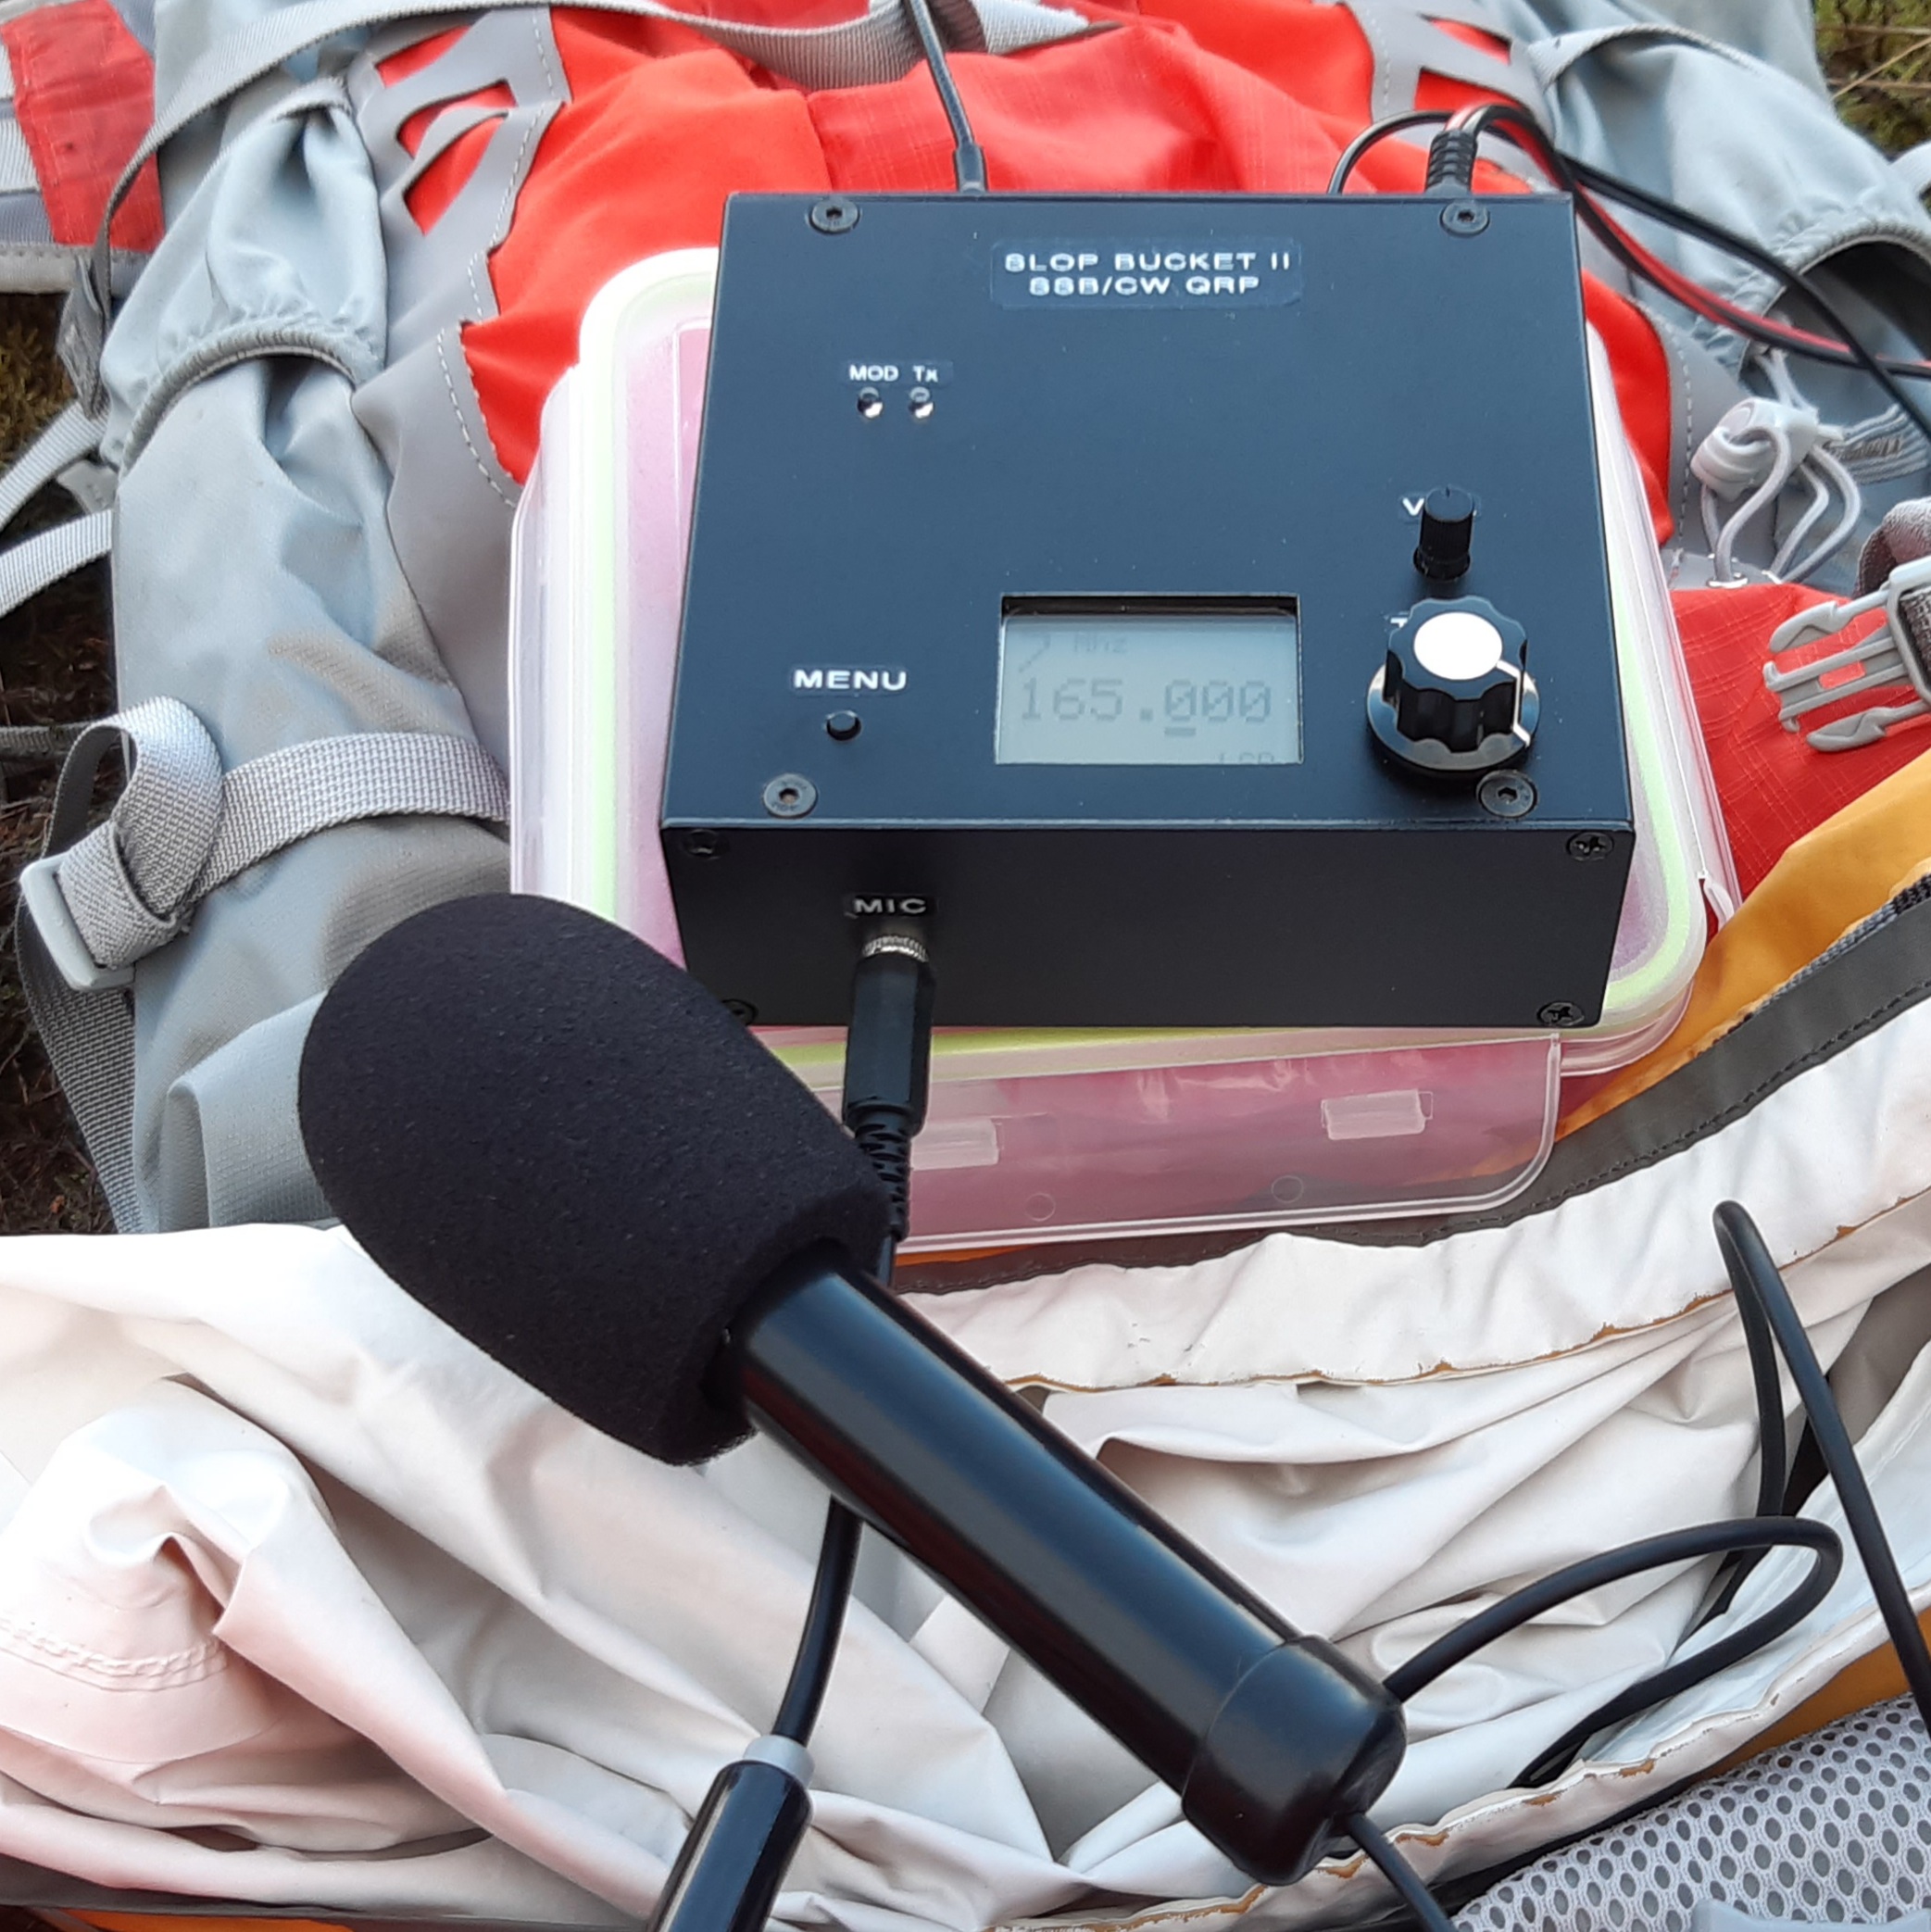
Home brew mic borrowed from my scratch built 20m SSB rig.
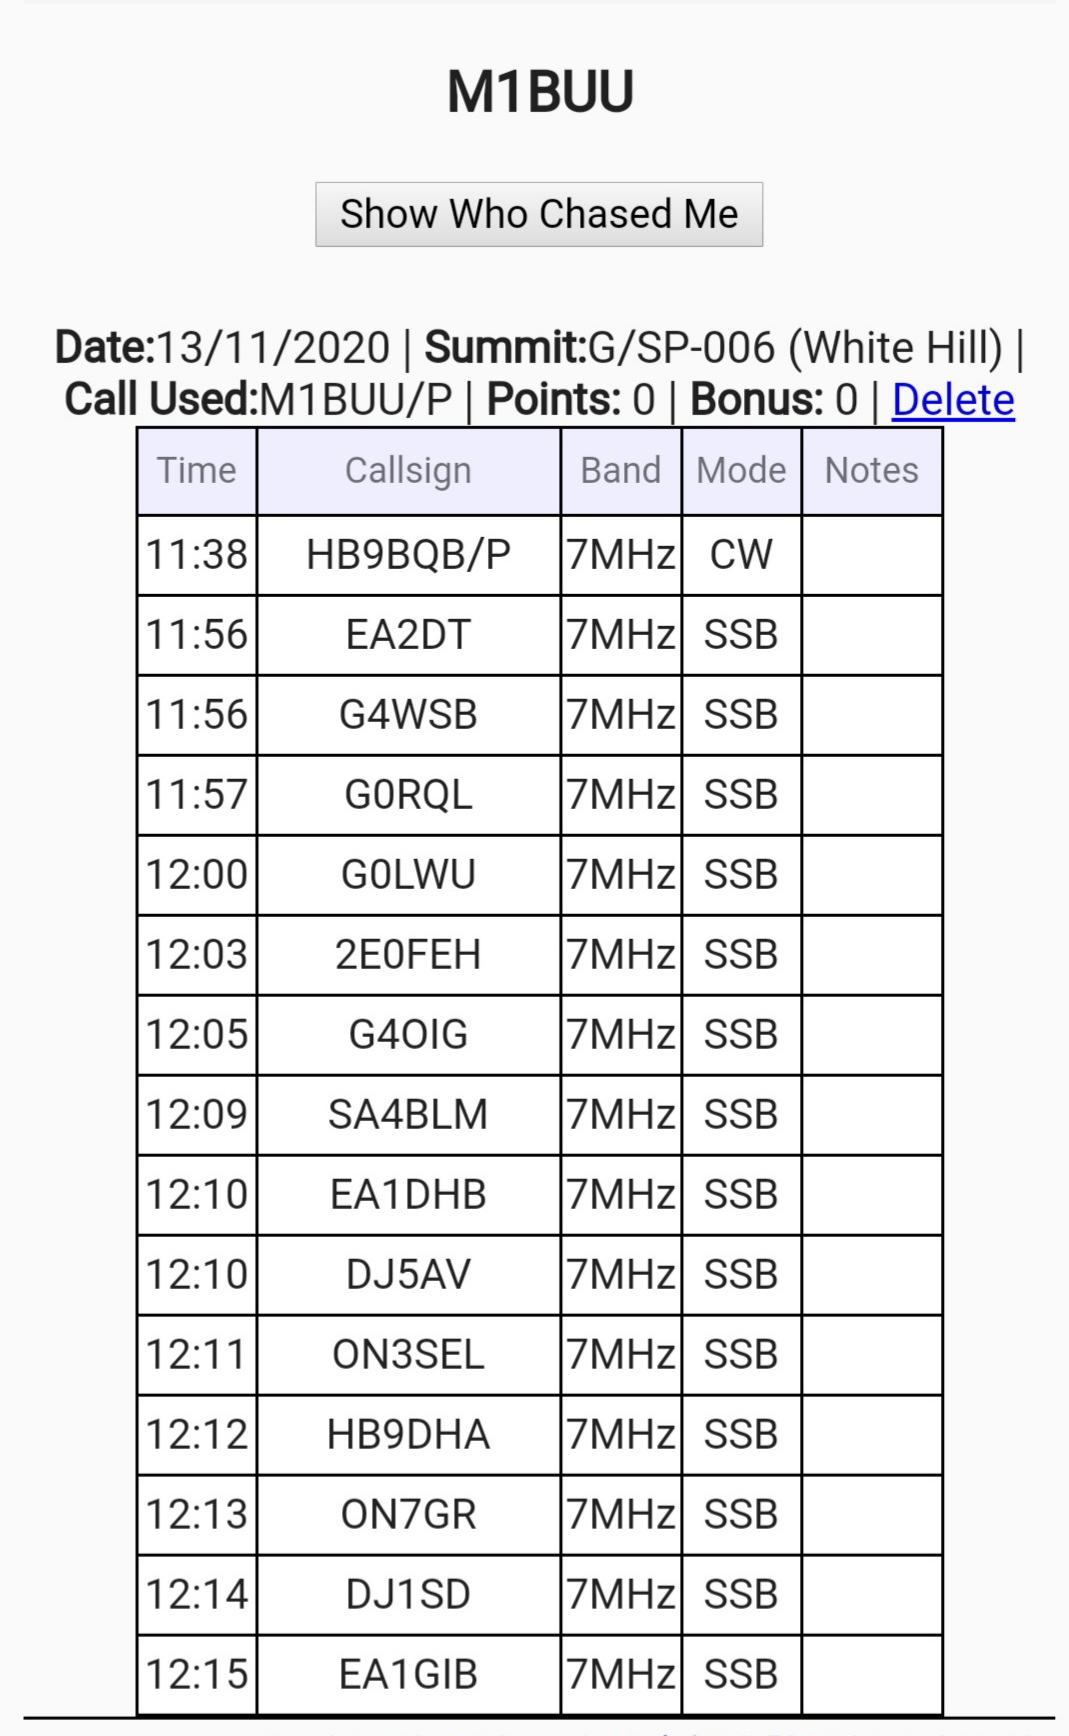
A pleasing haul