Dear all,
I write this post to explain a problem I sometimes have when posting my activation log on my activation reports.
The way I do it is capturing the log as a screenshot at the very moment of uploading it into the database. The I paste it on Paintbrush for later use when writing the activation report.
Since I have Windows XP on this laptop, my Painbrush doesn’t have the feature it has in my work laptop with which it’s possible to reduce the size of the view in order to capture the whole log in one single trim, so I have to capture a long log in 2 or 3 different trims from my Paintbrush.
In the case of my last report, I trimmed one for the top part of the log and another for the bottom part, then pasted them on the activation report and the usual problem is both parts of the log don’t come with the same width, so I have to modify the size of one of the 2 images to match the other’s width.
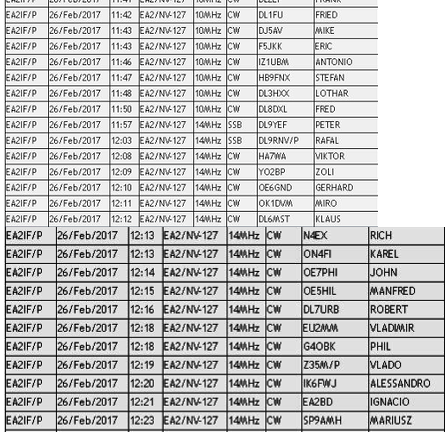
This is what I initially got with the top and bottom parts of my log in my last activation report. Different widths as expected:
Then I modified the width of the top image in order to match the bottom one while maintaining the same proportion between width and height of the top image.
While in the edit mode, everything looks like the match is perfect, and both images seem to have the same width:
But, after clicking Save and exit, I realised that the top and bottom parts of the log have different widths.
Anyone knows why is this happening?
I’ve been doing this for a long time and it works fine sometimes but it doesn’t some others.
I don’t know what I may be doing wrong.
Anyone can help me with this?
From the page source it is clear that the image immediately above with the first part and second part is actually one single image. That would mean that when you have two images immediately below one another, the upload process combines the two into one image. Why that process combines them at different widths, I do not know but I suspect that the combining mathematics will take into account the height of the two images or in other words the number of log entries.
Two things you could try.
Only use images with the same number of entries - - or
Insert a dummy word in between the sections so that they are uploaded as two separate images and then edit that dummy word out after it has been uploaded and has appeared in the reflector.
No idea whether either of these will work but its a case of try it and see.
Jim
Hi Jim,
Thanks for your input. However, let me try to explain a bit better this issue.
In this post it is indeed a single image, but it’s in my last activation report called Mt. Iguste EA2/NV-127 by EA2IF/P on 26/02/2017, from where I took the screenshots shown as single images on this post.
The first image in this original post above is a screenshot I’ve taken while editing my mentionned activation report and right after having trimmed from Paintbrush and posted on the activation report post the top and bottom part of the log.
The second image in this original post above is a screenshot I’ve taken while editing my mentionned activation report and right after having modified the width of the top part of the log image and the height as well into width 441; height 589 keeping the same proportion of the original image, which was width 374; height 500. As you can see in the right part of this second screenshot, the top and the bottom images are looking the same size now.
The third image in this original post above is a screenshot I’ve taken right after having clicked on Save and Exit to leave the edit mode. Then the just editted post is shown to me on the screen and I see to my frustration that the top and bottom parts of the log are still having different widths.
I would do several test to see different ways to fix this but I feel bad because everytime I edit the activation report with a test modification, it comes back to the top of the list and this will surely be annoying to many of you and embarrasing to me.
Is there a way for me to do off-line testing or I can work in some way that the activation report doesn’t come back to the top of the list whenever I do a testing change?
Thanks, Andy, for the help.
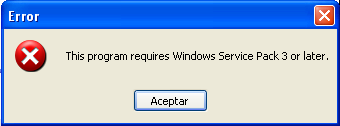
I’ve recently got this program installed on my work laptop and have used it from time to time with no issues.
I have just downloaded onto my radio-shack laptop and I got an error message when I tried to install it.
Well, unless you have any other idea, it looks to me like I’ll have to keep messing around with Paintbrush…
Ah! Sorry, I misunderstood.I thought you were demonstrating the problem. Anyhow the page source of the original post shows that the upload ignored your adjustment as the original dimensions are there. I couldn’t read the small print of your post without magnifying it several times - old eyes.
As for off-line testing you could simply use the PM feature of the reflector for a message exchange between you and Ignacio to try out layouts.
Of course the PM image was captured with picpick and pasted into this post.
Jim
Dear all, Mr Stubborn (i.e. myself) has finally managed to figure out the way to have the full log with top and bottom images having the same width. You can see now the just editted activation report looking great with the 2 images having the same width.
The fact is that one of the images can be perfectly modified in width to match the other image width only as long as these images from screenshots taken directly from the sota database have been trimmed out of Paintbrush and pasted here, but it doesn’t work like that when the images are trimmed out of Paintbrush from two different .png files which I had previously created with a screenshot each taken from the sota database.
I don’t know why this happens like this but it does. I let the programming experts to think about it and explain it
Cheers,