Because I work 40 hours per week, I only chase after work (~5:15 PM) and on weekends. I decided to look for a way to remotely operate my KX3 station – where an Internet connection is available. A web search brought me to RemoteTX. net. The list of radios that had been remoted included the KX2 but not the KX3 so I contacted Marcus, AK7MG, who hosts the website. He was actually working on the KX3 and K3(S) interfaces but at that time had not completed them. He asked if I was interested in trying out the current interface and, of course, I said “Yes”. He owns a KX2 and, thus, could not validate his interface for the KX3. Although he had other people trying the KX3 interface, some things such as his remote power-up circuit had not been verified. The power-up requirement for the KX3 differs from that of the KX2. Working with Marcus, we discovered that powering-up the KX3 requires 9V rather than the 5V as originally thought. I use a 9V battery and since power-up only requires a 1 second pulse; it should last a very long time. What was not initially available was remote CW operation which was my principle interest. Marcus and I kicked around some ideas and eventually he came up with an excellent solution which works quite well. Now I can remotely operate my KX3 on CW or phone using either my iPhone or iPad. The website details other options. Voice operation requires either Apple AirPods or a headset as the microphone and speaker on those devices are so close.
Marcus has done a great job on his website (RemoteTx.net) with detailed explanations, diagrams and links to required accessories. He has been very helpful, responsive and accommodating.
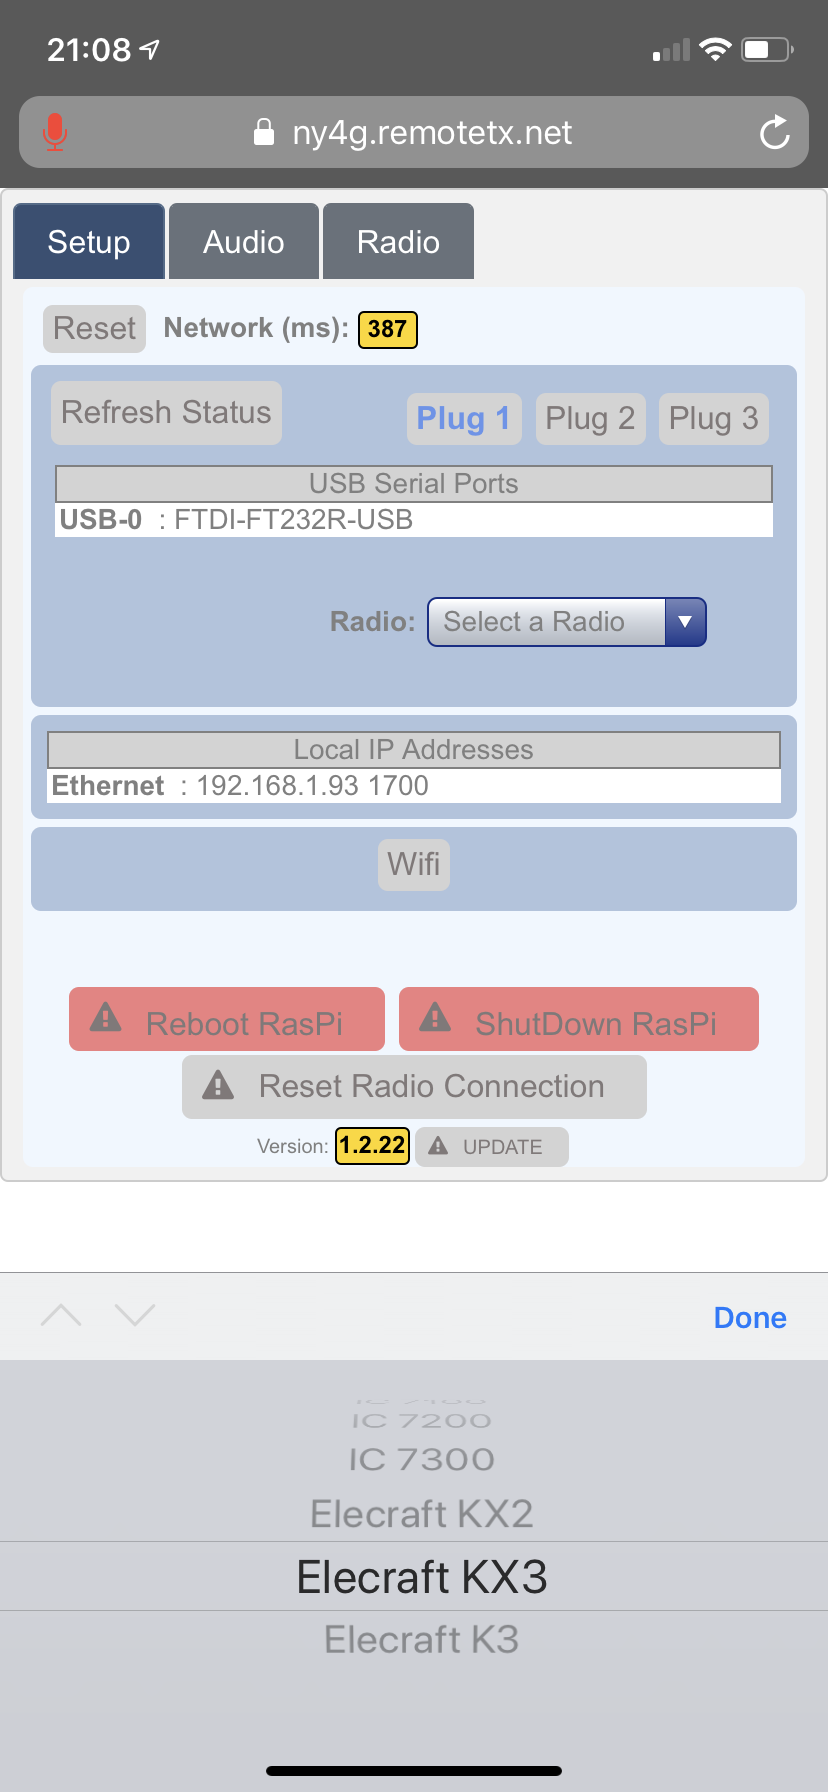
What equipment does remoting require and what does it cost? At the station end the requirements are: Raspberry Pi 3B/3B+ with a 16 GB micro SD card & power adapter running RemoteTx software (free download), a sound card dongle for the Raspberry Pi, the Elecraft control cable that comes with the radio, a small relay for remote power-up, a couple TRRS cables for audio in/out (I used a pair from Elecraft), a TRRS splitter (to permit both MIC audio in and remote power-up), a TRRS cable for power-up (one end goes into the splitter and the other end is cut off and wired to the relay / battery) and a few interconnect wires to connect the relay to the Raspberry Pi. All of these items are available on Amazon.com for under $75 US. Wiring up the power-up circuit requires only basic soldering skills. You will also need a RemoteTx service subscription which costs $40 for 6 months or $70 per year. Initially, you will need to configure your Raspberry Pi to the RemoteTx Cloud using an Ethernet connection but afterwards it can be re-configured to operate via WiFi which is what I did.
Currently, interfaces are available for the Elecraft KX2, KX3 and K3(S), the Icom 7100 (HF only), 7200 and 7300. Interfaces for the Yaesu FT-991a, Kenwood TS-480 and TS-590 are in development.
I was neither encouraged nor compensated for this review. I just hope that it helps some other “working stiffs” such as myself to get in a little more chasing.
Interesting to me as I have a KX3 and a IC7200… What approach is used for CW, is it recorded and buffered out, I have read of some latency problems with some remote control software for the CW mode. A few milliseconds of extra gap in a voice doesn’t matter but sometimes it will corrupt morse.
I have the same question as Andrew VK1DA. Prior to this I had been remotely using my K2 through Teamviewer and Skype - rather primitive but it works for CW only.
As an alternative software if you want to remote from a smartphone - the Android PocketRxTx app supports the KX3 and K3 range (but not the KX2 as yet).
There are more and more situations where remote control of small portable rigs can be useful so well done to Marcus, AK7MG with his RemoteTx solution.
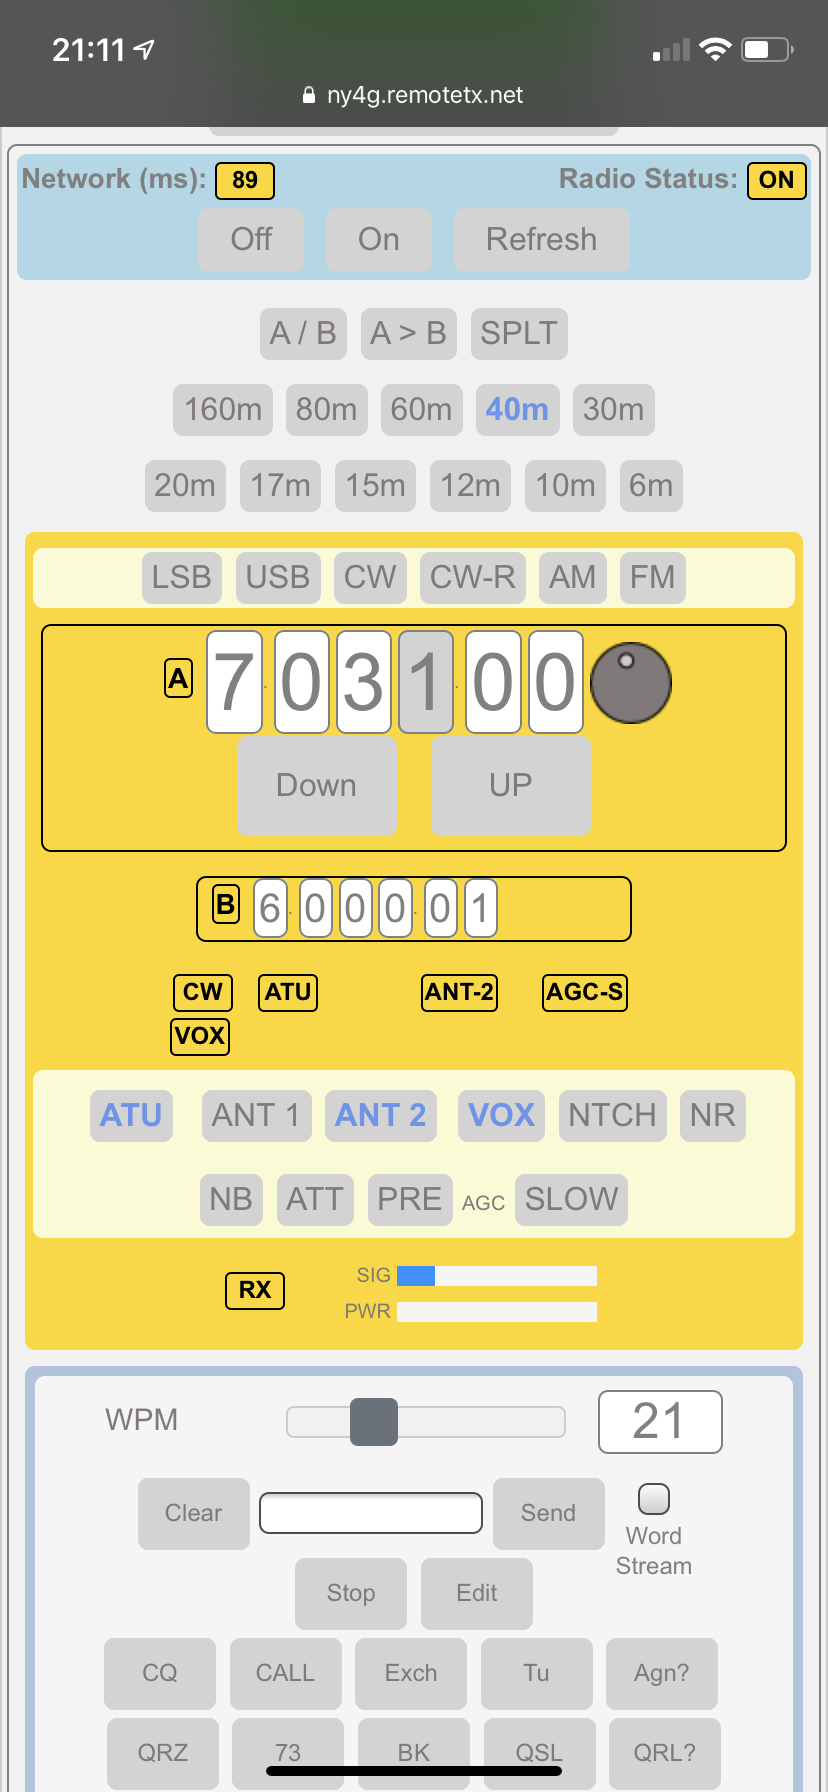
"CW is accomplished on the KX2 and KX3 with a keyboard text entry interface that is displayed when CW or CW-R mode is selected. Text is sent to the radio over the network a word at a time and then the radio keyer generates the morse code keying. This pretty much eliminates the inter-character timing issues that typically plague CW over a network. If you type at a rate slightly faster than the WPM setting of the radio, you will get a continuous stream of properly spaced CW. The interface also has 10 user configurable macro buttons for often used sequences. Attaching a bluetooth keyboard to a phone/tablet works very nicely.
Tuning a CW signal is pretty easy by alternating between CW and CW-R which the interface makes very easy to do.
Our local radio club had a brief talk on remote radios a couple of years ago. My understanding is that the key to being able to use CW remote is “latency”. This can be tested between the computer location and your remote station simply by using the “ping” command from a command line terminal. If your latency is anything greater than about 20msec then don’t bother (for CW)…
Regarding the latency issue when transmitting CW to a remote station, let me explain you how I do it with my current setup.
My radio is an IC-706 MKI and the interface is made with a couple of Remoterig devices, one is CONTROL and the other one is RADIO.
Remote rig CONTROL is here with me together with the removable front control panel of my IC-706.
Remoterig RADIO is away from me with the rest of the IC-706 radio at the remote location.
Remoterig CONTROL has a built-in electronic keyer with a speed control knob, and it produces its own side tone, so I plug my paddle into this Remoterig CONTROL and I hear perfectly the side tone produced bu this keyer.
At the remote location, the Remoterig RADIO is connected to the CW KEY jack of the IC-706 and so the radio, properly set as for straight keying receives the morse coming through internet from the Remoterig CONTROL and produces the real CW to be put on the air. As the radio produces the CW, it also produces the side tone, and this side tone from the IC-706 arrives with a delay to me. If I hear the side tone from the keyer in the Remoterig CONTROL and also the delayed side tone coming through internet from the IC-706 radio, it’s just impossible to do any good morse. To avoid such a mess, all I did was setting the volume of my IC-706 side tone to zero and so I only hear the side tone of the Remoterig CONTROL keyer. I know there’s a certain delay between the dots and dashes I hear from the Remoterig CONTROL keyer and the time when those dots and dashes actually get out on the air, but that’s never been a problem so far.
73,
I also am using the Remoterig solution for a remote station at my cabin in NW WI. The rig is a TS-480. My internet access is DSL, but I’ve never had any significant latency issues. The Remoterig boxes have configurable parameters to help manage latency. It’s as close to a remote turnkey solution as I’ve seen, and requires no additional fees once you’ve invested in the hardware.
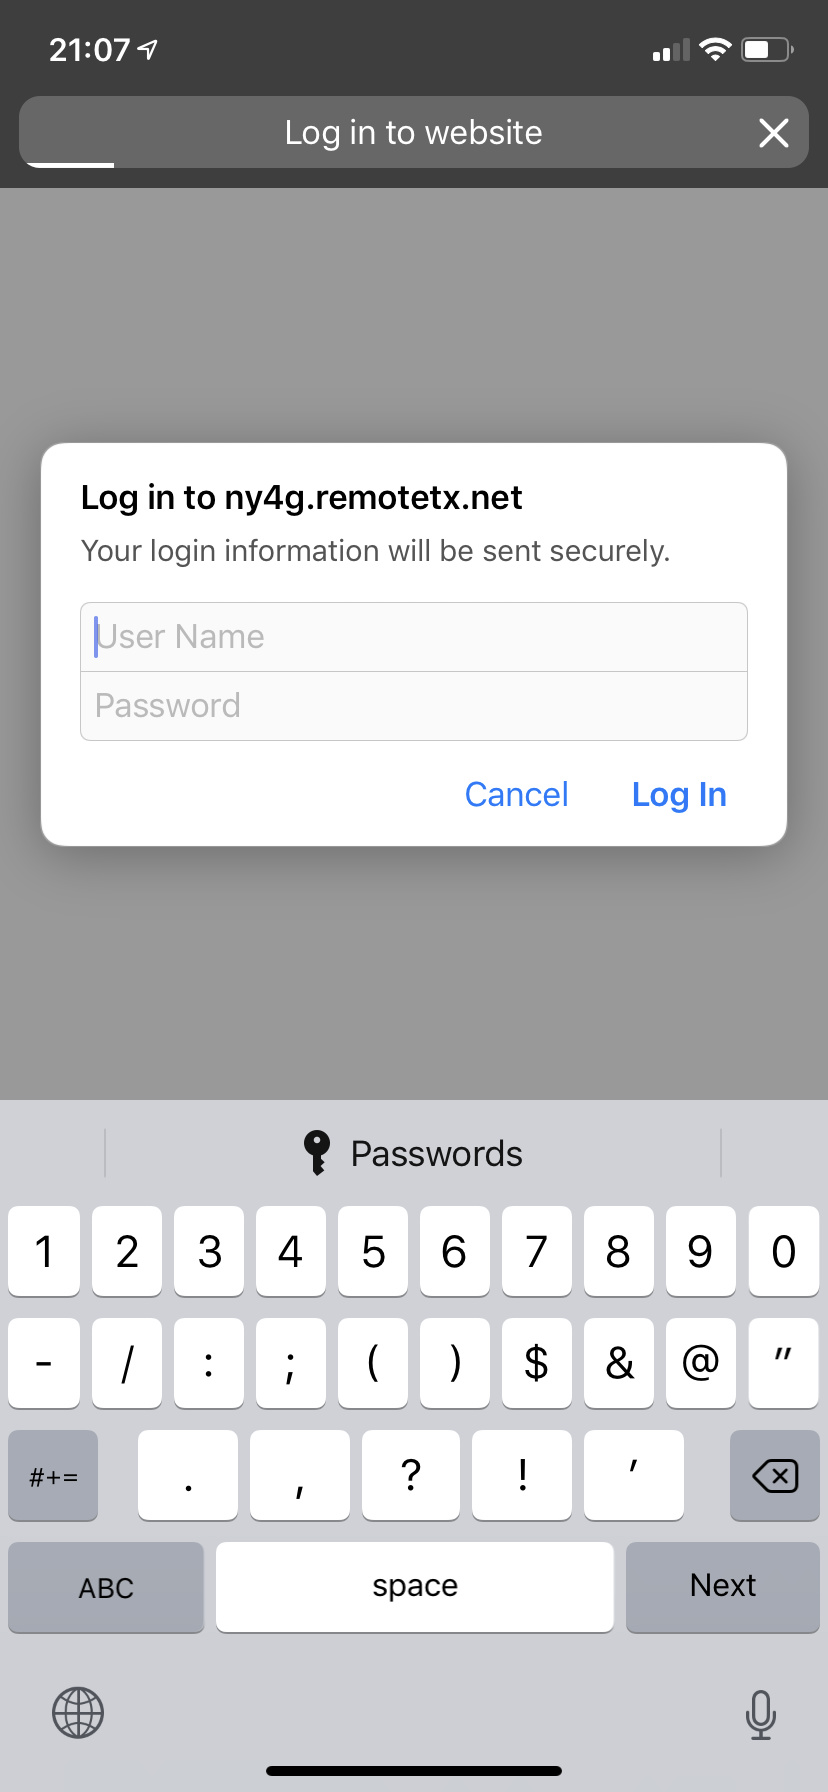
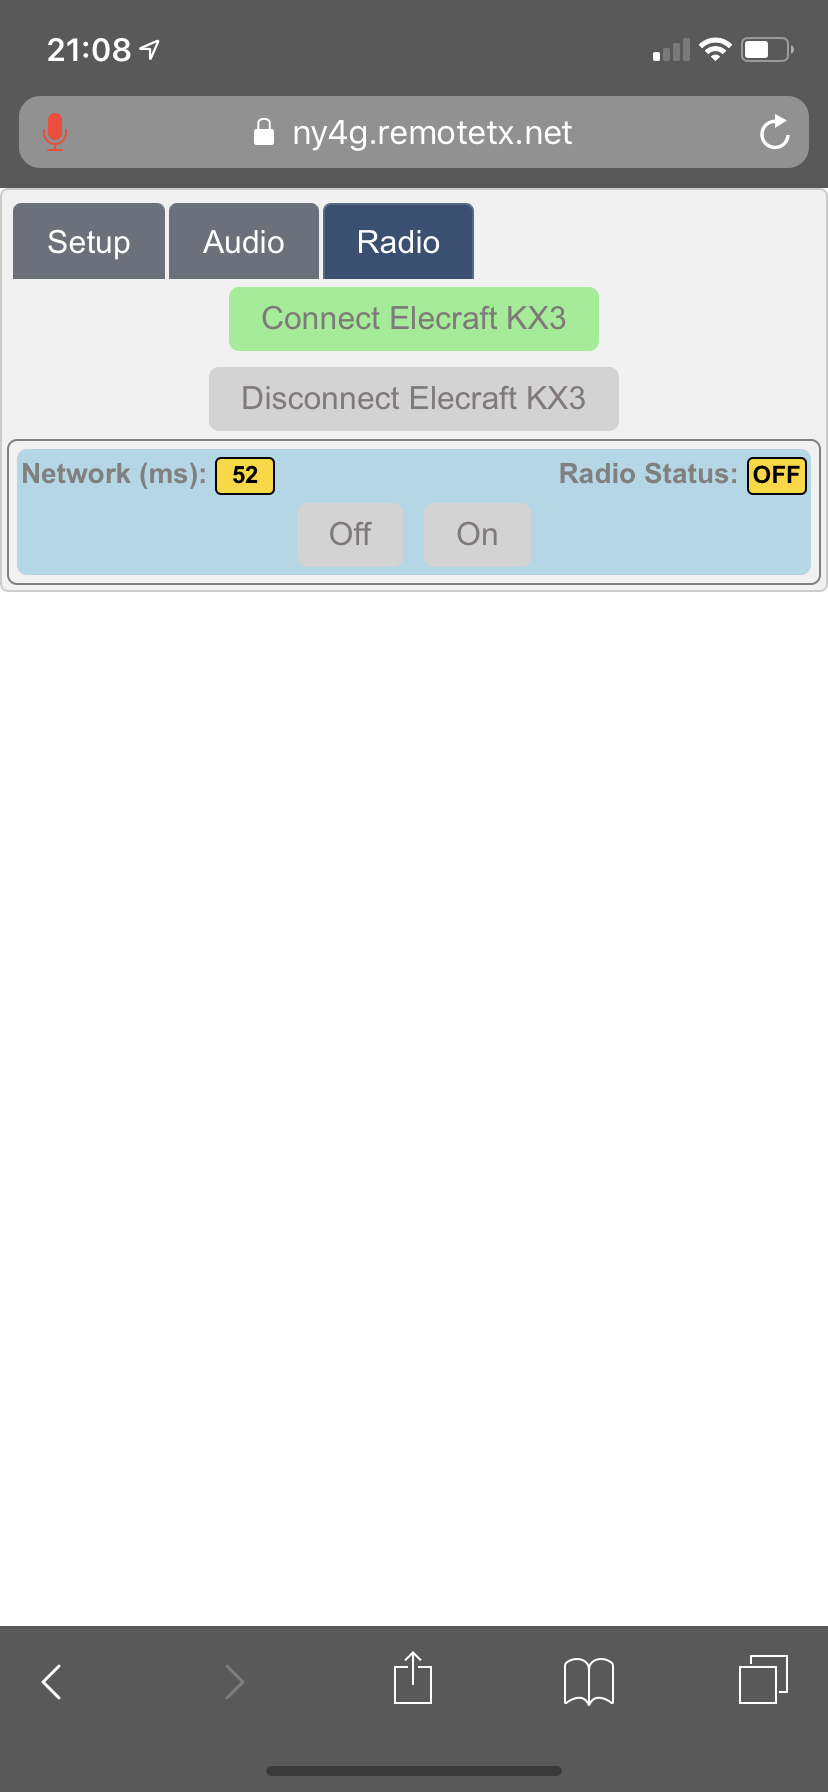
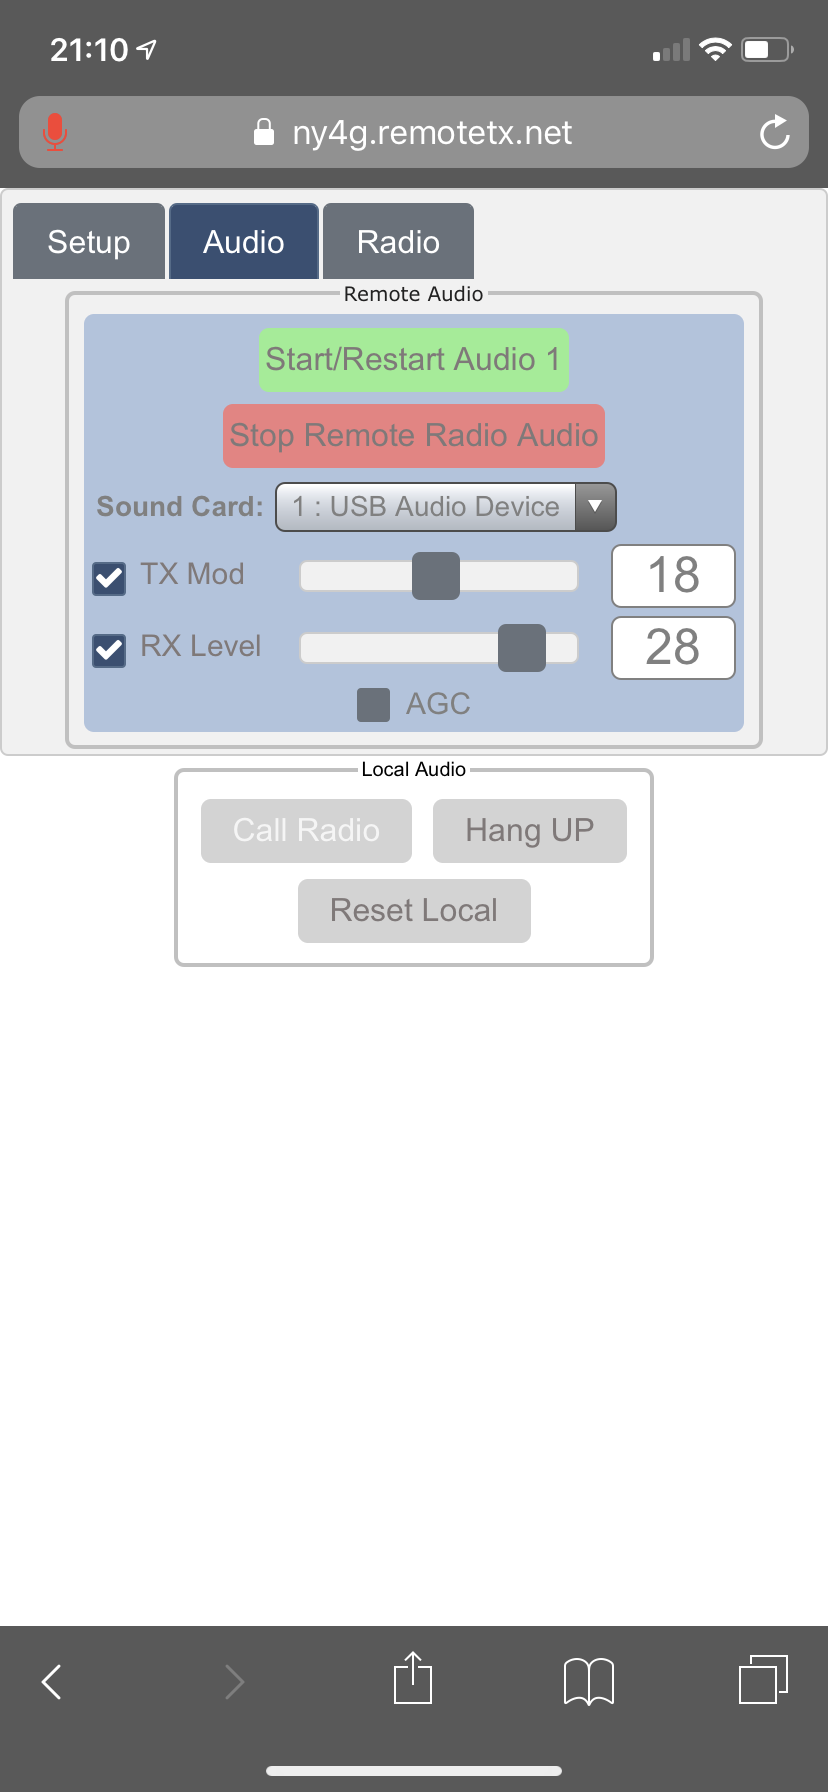
I have now been able to remote my KX3 with the 100 watt KXPA Amp. The first step is to login using any browser. The one I am showing as an example is the browser on my phone.
All this is possible using a Raspberry Pi computer (the size of a cigarette box). I turn on the KX3 using a 9V battery and a relay connected the the Raspberry Pi which applies the voltage across the mic terminals momentarily to turn on the radio. The Raspberry Pi is connected to my router via an ethernet cable. All you need is an account at RemoteTX.net. Several other radios are supported. I have been able to chase just about from anywhere. To be a discrete carry a set of earbuds. It would be strange hearing morse code in a restaurant or a crowded bus.
This is the Raspberry Pi mounted on a piece of plexiglass. The 9V battery powers the relay. The RPi also controls a USB controlled outlet strip which powers down the main 12V power supply. This power supply in turn powers down a StationPro2 which shunts all antenna connections to ground and turns off everything supplied by12V source in the shack. The power down is a click on “Plug 1” in the setup tab in the remote TX screen. This can power down 2 more items - in my case - “Plug 2” is 500w amplifier
I have been using a pig remote for a few years now and want something more, and I have purchased but not yet setup an MFJ-1234, which if I understand correctly can work with a VNC viewer on a phone to run FT-8.
For the ignorant such as myself, how do all these Raspberry Pi solutions differ from each other?
Does Marcus’ solution let you use the rig’s CW decoder? I don’t think the MFJ-1234 or the pig remote lets you use the rig’s decoder.